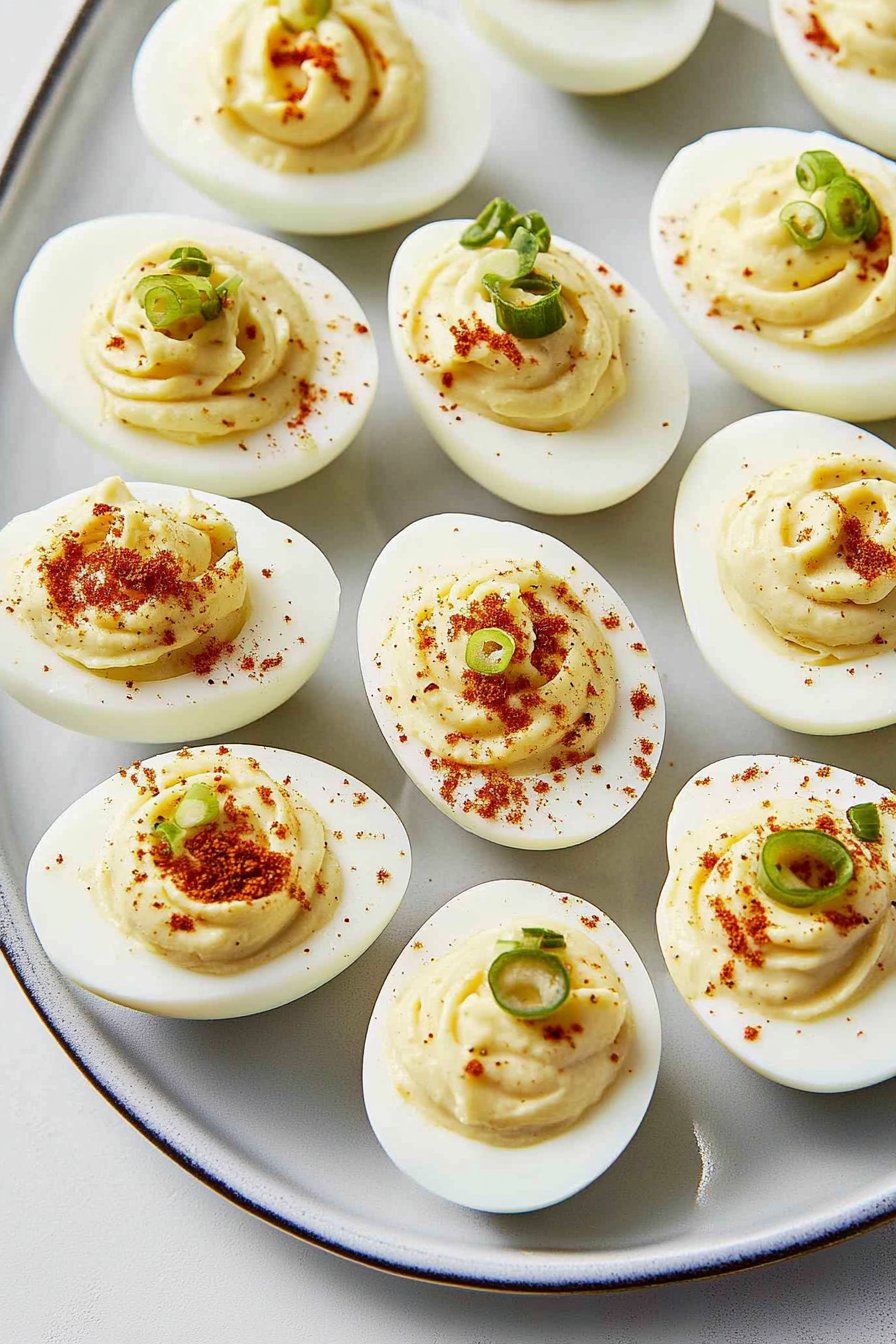
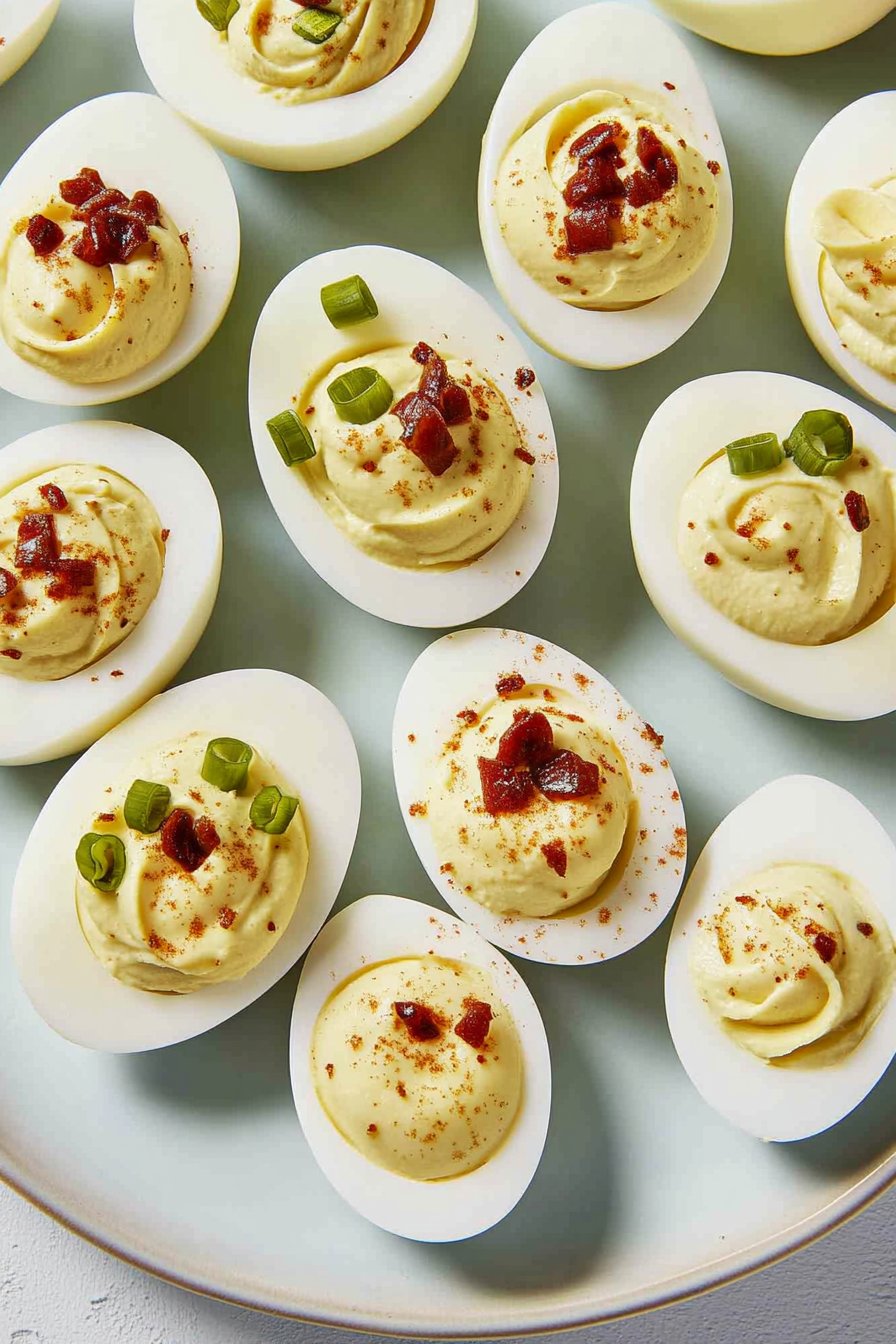
Deviled Eggs
Deviled Eggs: A Little Nostalgia and a Whole Lotta Flavor
I can’t even count how many times deviled eggs have been the accidental star of my family’s get-togethers. You know, that dish nobody admits to loving but somehow disappears first? My earliest memory is of my aunt, elbow-deep in yolks, muttering about how “real” paprika is worth the splurge—though my cousin always snuck in smoked stuff instead. (Honestly, either’s fine, but don’t tell her that.) There was this one Easter where we lost half the batch to, let’s just say, a particularly wobbly folding table. We still ate them, grass and all. I mean, it builds character, right?
Why You’ll Love This (Trust Me, I Make These Constantly)
I make deviled eggs when I need something easy and people-pleasing, usually because my family’s circling the kitchen like hungry seagulls. They go nuts for these, even the picky ones. Maybe it’s the creamy, tangy filling or that dash of paprika (which, by the way, seems so simple but makes people think you did something fancy). And if I’m being honest, there’s no dish I can whip up faster when someone texts “hey, we’re dropping by in 30”—not that I don’t briefly panic every time.
What You’ll Need (and What I Sub In a Pinch)
- 6 eggs (or more, but 6 fits in my saucepan nicely)
- 3 tbsp mayonnaise (sometimes I use Greek yogurt if I’m feeling virtuous, but my family usually notices)
- 1 tsp yellow mustard (Dijon if you want a bit of bite)
- 1 tsp white vinegar (apple cider vinegar also works—my gran swore by it)
- Salt and black pepper, to taste
- Paprika, for topping (smoked or sweet, you pick—honestly, I use whatever’s in the spice rack)
- (Optional) a pinch of sugar, especially if the filling tastes too sharp
- (Optional) chopped chives, dill, or a few capers for a little extra pizzazz
How I Actually Make Them (Warnings and All)
- First, put your eggs in a saucepan—single layer, don’t crowd them. Fill with cold water, covering the eggs by about an inch. Bring to a boil over medium-high heat. Once it’s bubbling, slap on a lid, remove from heat, and just let them sit for about 10-12 minutes. (I once left them for 20. They were, well, rubbery. Lesson learned.)
- Drain and dump the eggs in a bowl of ice water. This is apparently “the secret to easy peeling”—though, confession, sometimes it still takes a bit of luck or old eggs. (I read about that here and it mostly checks out.)
- Peel ‘em. If you get a stubborn one, gently roll it on the counter first. Or, as my neighbor does, just sigh and make egg salad instead.
- Slice eggs in half lengthwise. Pop out the yolks with a spoon—this is where I always end up breaking at least one white, but nobody cares once they’re stuffed.
- Mash yolks in a small bowl with a fork (or, for especially smooth filling, use a sieve—though I usually just can’t be bothered). Add mayo, mustard, vinegar, salt, pepper, and sugar if using. Mix until creamy. Taste! This is my favorite bit—even if I tell myself it’s ‘just to check the seasoning’.
- Either spoon the filling back into the egg whites or use a zip-top bag with the corner snipped off for a makeshift piping bag. (I tried a proper piping bag once. Too many fiddly parts to clean, honestly.)
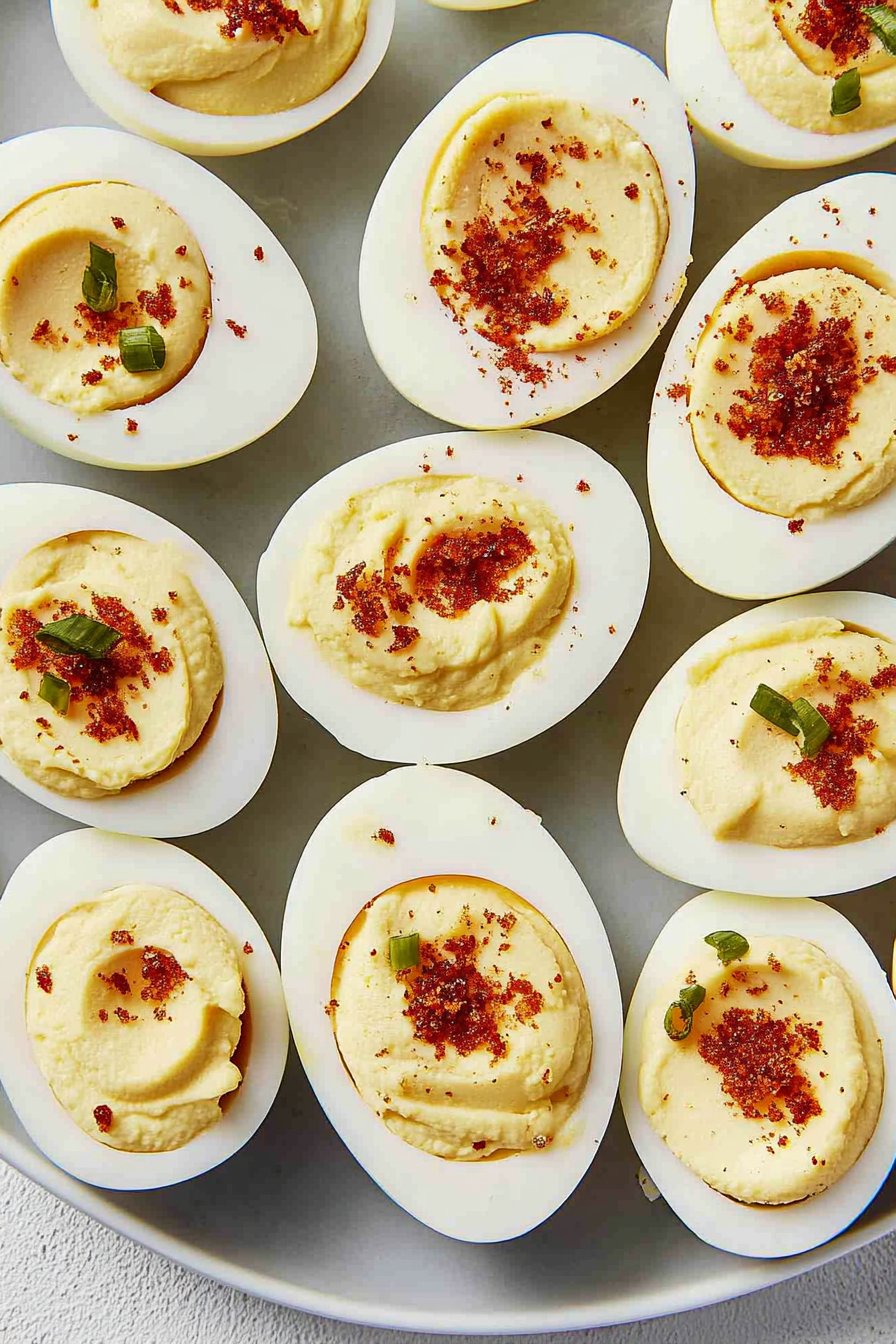
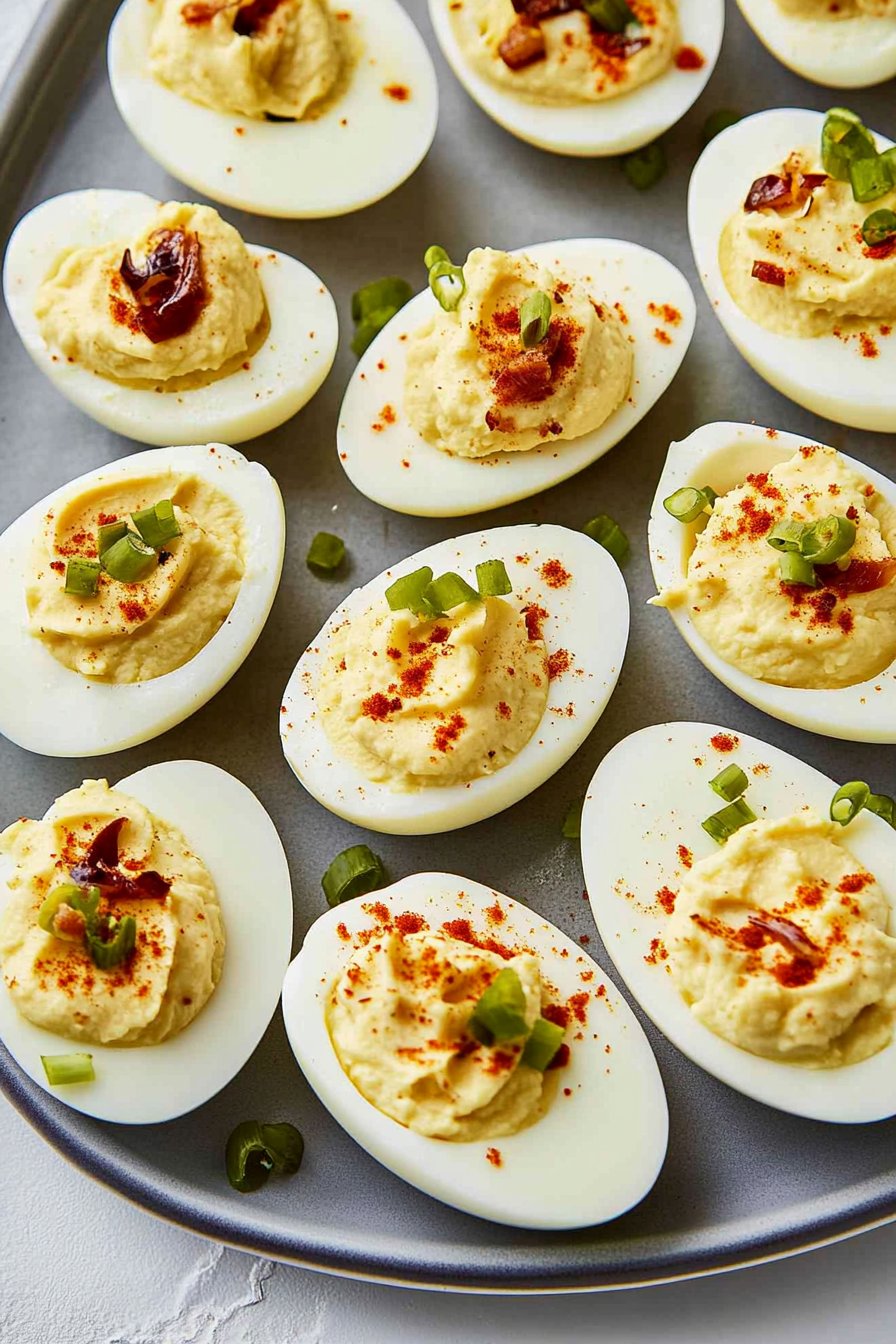
- Sprinkle generously with paprika and top with chives, dill, or whatever else is calling your name.
Notes: Stuff I’ve Learned the Hard Way
- Older eggs really do peel easier. I have no idea why, but it’s true. If I buy a fresh carton, I’m in for a world of frustration.
- If the yolk mix looks too thick, a splash of milk or even more mayo loosens it up. Don’t overthink it.
- Sometimes I just eat the filling with a spoon. No judgment, right?
Variations: Experiments (Some Good, Some Regrettable)
- Once swapped half the mayo for cream cheese—super rich, a bit heavy, but not bad if you’re feeling indulgent.
- Added a dab of sriracha for a spicy kick. My uncle loved it; my daughter said it was “ruined forever.”
- Tried pickled jalapeños once. Wouldn’t repeat—too overpowering, unless you’re a real heat chaser.
- Sometimes I add crumbled bacon. Okay, not sometimes. Almost always, if I have extra from breakfast.
Equipment (Or, What If I Don’t Have That?)
- Saucepan (any old pot works—I’ve used a deep frying pan in a pinch)
- Bowl for ice water (in a bind, just run them under cold tap water, works almost as well)
- Sharp knife
- Fork or small whisk for mashing
- Piping bag or zip-top bag, or just a spoon. Honestly, spoons are underrated.
How to Store (If There’s Any Left!)
Keep deviled eggs in an airtight container in the fridge—best eaten within 2 days, but honestly, in my house they don’t stand a chance past the first afternoon. They do start to get a bit weird and weepy if you leave them too long. Just being real here.
How I Serve ‘Em (Usually Before Dinner)
I always put them out before the main event—right on a chipped plate my mom handed down. Also, if it’s a BBQ, they pair weirdly well with a cold beer (don’t ask me why, it just works). Sometimes I scatter a few extra chives on the platter so it looks like I made an effort. Fun fact: my youngest insists on calling them “egg boats.”
Pro Tips (Learned the Hard Way… or After a Few Mishaps)
- Don’t try to rush peeling by skipping the ice bath. I did once. Regretted it. The shells clung on for dear life.
- If you overfill the eggs, they look great but it gets messy fast. Actually, I find it works better if you do a little less per egg and then go back and top them off.
- Always taste the filling before stuffing. Once, I forgot the salt entirely—no one said a word, but my pride was wounded.
FAQ (Yes, People Actually Ask Me These Things)
- Can I make these ahead?
Yeah, totally. Actually, I think they taste better the next day. Just keep the filling and whites separate if you want them to look perfect. - How do you transport them without making a mess?
I use an old Tupperware lined with paper towel—or, in a pinch, just wedge them in tightly and drive slow. Or check out these egg carriers; wish I’d known about them before the Great Backseat Disaster of 2019. - Can I make them with miracle whip instead of mayo?
You can! The flavor’s a bit sweeter. My neighbor loves it, but I stick with mayonnaise most of the time. - Why does my yolk filling look lumpy?
Either the yolks were a little undercooked or not mashed enough. It’s all right—nobody’s judging. But next time, mash a bit longer. - Can you freeze deviled eggs?
Umm, not really. The whites turn weirdly rubbery—trust me, I tried. Not worth it.
So, that’s my (occasionally messy) take on deviled eggs. If you end up with yolk on your shirt, welcome to the club. And if you want more eggy inspiration, check out this site—I sometimes browse there when I’m in a rut. Happy cooking, mate!