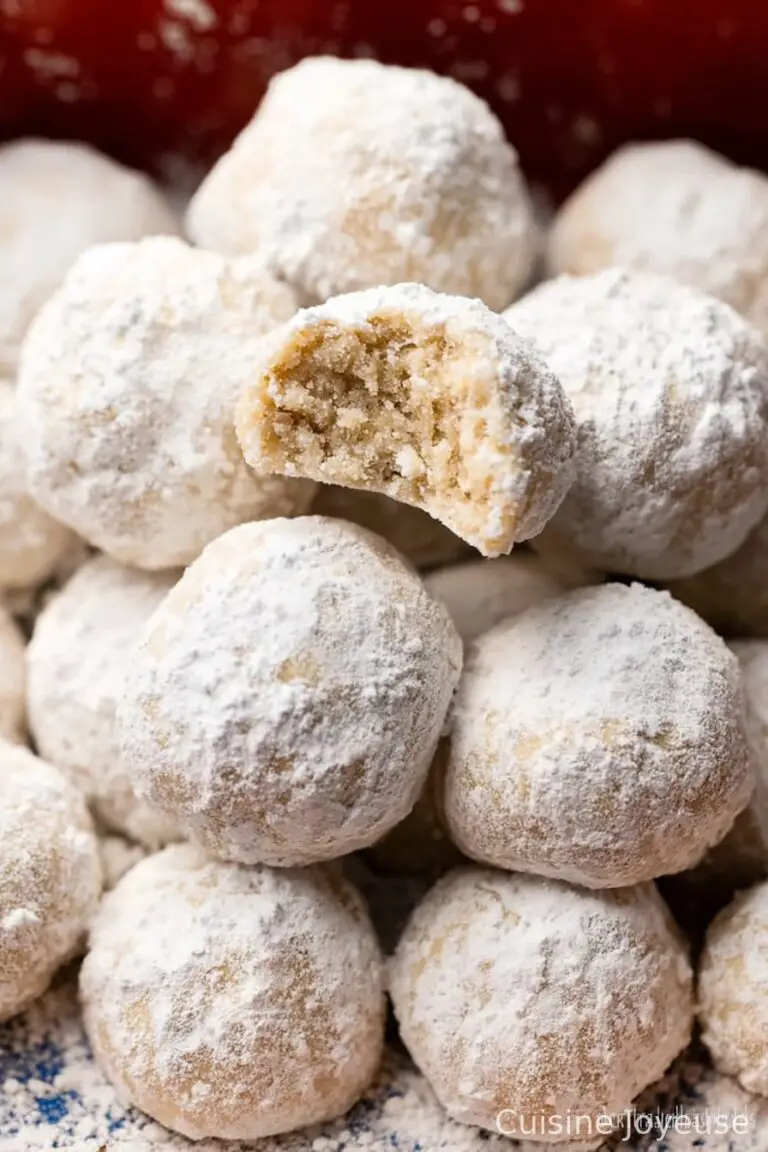
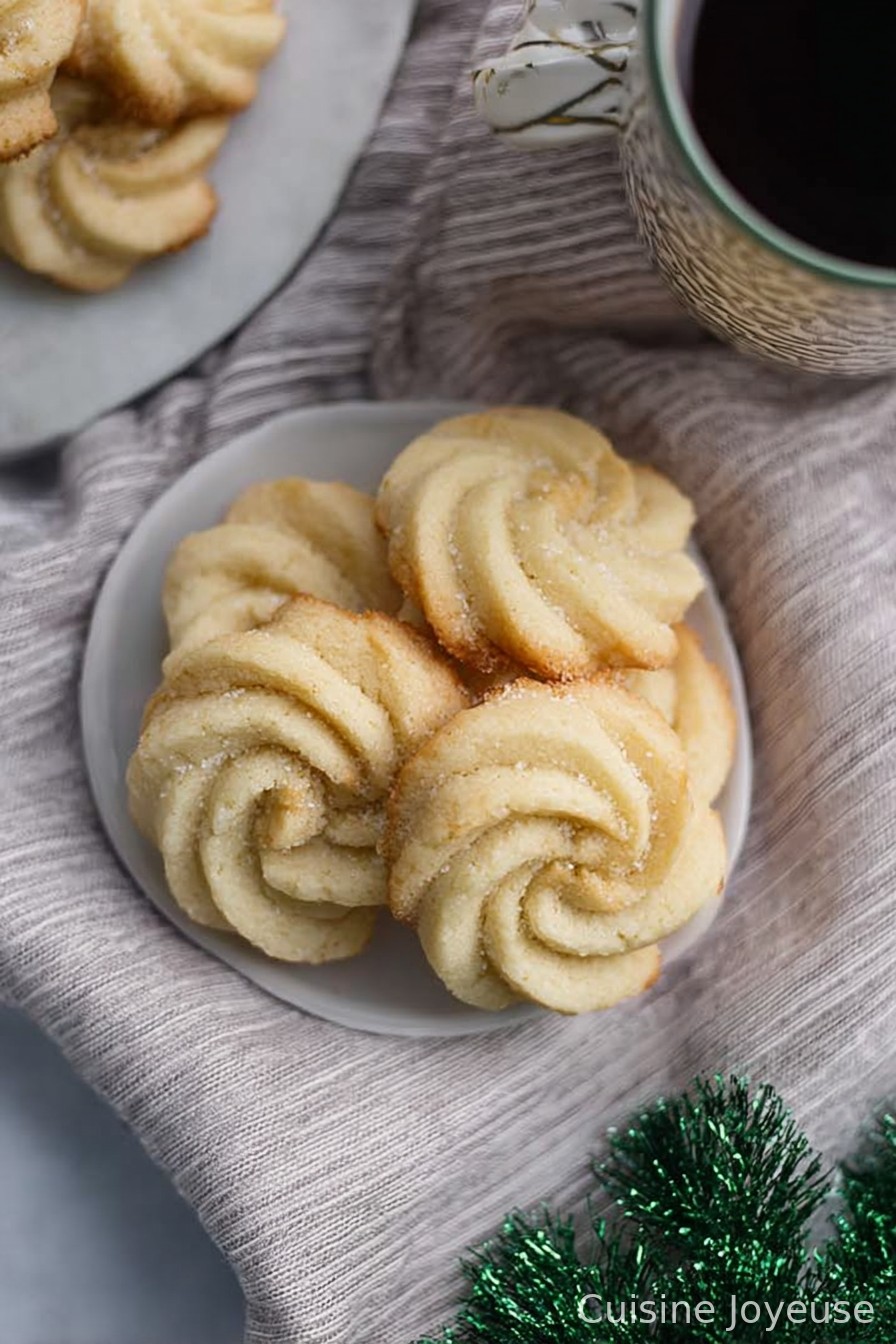
Danish Butter Cookies
Let me tell you—whenever I bake these Danish Butter Cookies, I’m immediately transported back to my grandma’s kitchen, where she’d keep the ‘sewing kit’ tin (you know the one) secretly stuffed with cookies instead of thread and buttons. To this day, I get a grin just smelling that first buttery whiff wafting from the oven; it’s honestly the only time you’ll see my usually grumpy cat hover near the kitchen, pretending not to care.
Why I Always Come Back to This Recipe
I make this whenever I’ve got a craving for something rich but not fussy—plus, it’s the only cookie both my sweet-toothed niece and my not-so-easily-impressed uncle fight over (seriously, it’s wild at family gatherings). And on hectic weekdays when I just can’t deal, the dough comes together in a snap. Okay, I’ll admit, piping them out used to make me grumble—my first batches looked like mysterious blobs—but once you get the hang of it, it’s weirdly therapeutic! (And hey, if all else fails, blob-shaped cookies still taste like cookies.)
What You’ll Need (And a Few Cheeky Swaps)
- 1 cup (225g) unsalted butter, softened to room temp (I’ve accidentally used salted before—works in a pinch, just skip extra salt)
- 2/3 cup (135g) granulated sugar (if you’re out, I’ve swapped in superfine/caster sugar, and nobody noticed)
- 1 large egg, room temperature (In a mad rush, I once used two small ones—no disasters)
- 1 teaspoon pure vanilla extract (or, if you’re feeling Danish, sub a few drops of almond extract—grandma swore by it)
- 2 cups (250g) all-purpose flour (I did try whole-wheat once out of misplaced healthiness. Regret.)
- 1/4 teaspoon salt (only if your butter isn’t salted, obviously)
- (optional) Demerara sugar or pearl sugar for sprinkling (I sometimes skip this—depends how fancy I’m feeling)
How I Actually Make Danish Butter Cookies
- First, get your oven hot: preheat to 350°F (180°C). Line a baking tray with parchment. If you’re like me and always forget, you might end up scraping cookies off the tray—worth preparing ahead!
- In a big bowl, beat the butter and sugar until fluffy and pale; I use a stand mixer, but a handheld one (or even elbow grease, on a stubbornly cold day) works. The creaming’s kind of boring, but don’t skimp—this is where the magic happens.
- Crack in your egg, add the vanilla, and beat until smooth-ish. At this point, it will look split sometimes—don’t panic, it sorts itself out once you add the flour.
- Add flour and salt, blend on low (flour snowstorm is a real thing), then go up to medium. Stop as soon as it’s coming together; too much mixing = tough cookies. Learned that the hard way.
- Spoon your dough into a piping bag fitted with a star nozzle (Wilton 1M is what I use, but a ziplock bag with the corner snipped works in a pinch—results may vary!).
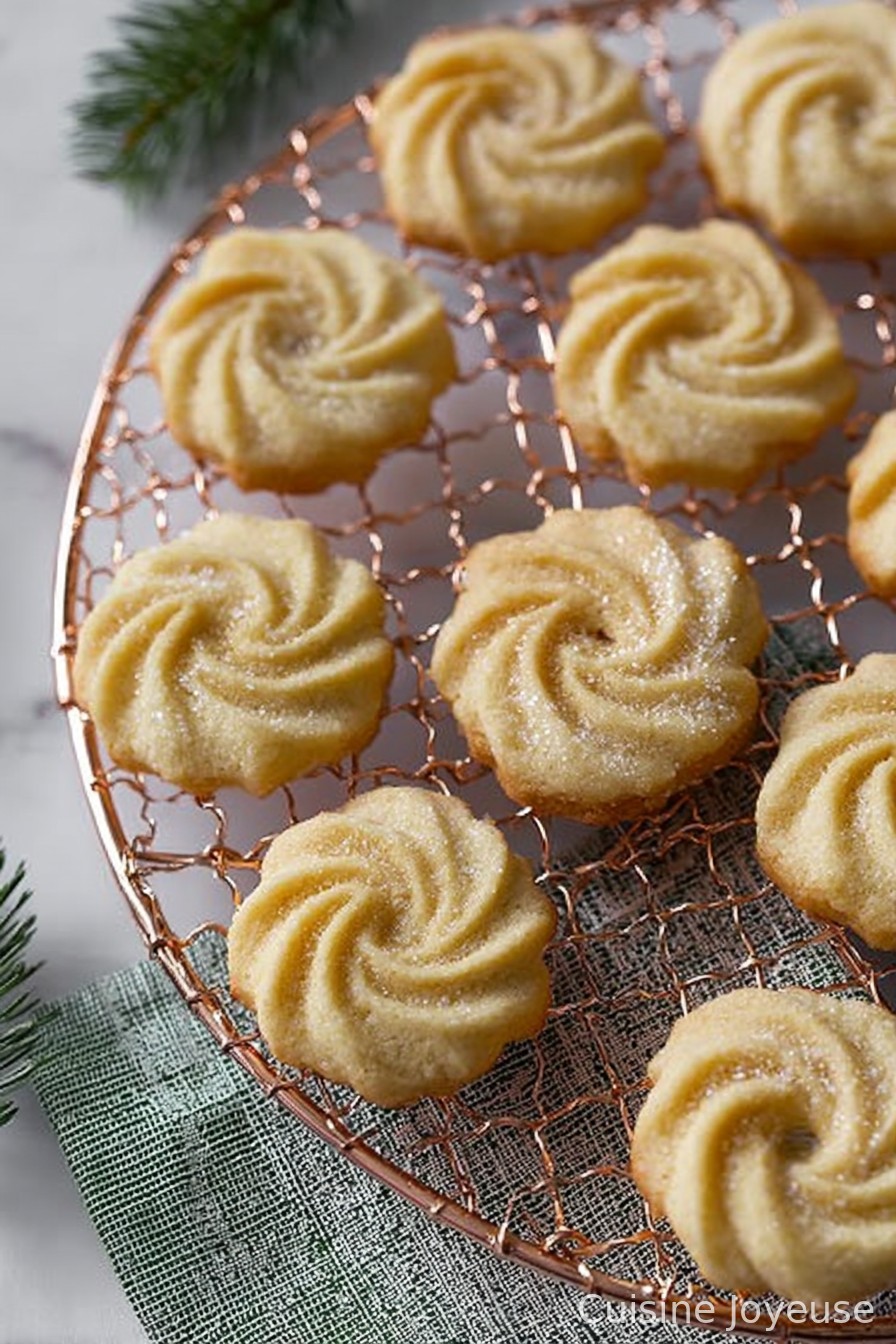
- Pipe little 2-inch rounds or S-shapes (nobody says you can’t be creative; once I did a batch of accidental squiggles and the kids loved them), about 2 inches apart. If piping drives you mad, just roll small balls and flatten them with your hand.
- If you’re feeling extra, sprinkle a little demerara or pearl sugar over the tops. Or don’t. You’re the boss.
- Bake for about 12–14 minutes, until the edges are just golden. Keep an eye the last few minutes—they go from perfect to whoops in a flash. (This is where I usually sneak a taste straight off the tray—risk of burnt mouth be darned.)
- Cool on the tray for a few minutes, then transfer to a rack. They crisp as they cool, so don’t stress if they seem too soft.
Random Notes & Things I Learnt the Hard Way
- Piping bag exploded once—don’t overfill, just refill as needed.
- If dough seems too stiff, add a tiny splash of milk. Too soft? Chill it for 10 minutes.
- Trying to save time by doubling the batch? Not always best—two smaller batches bake more evenly.
Tweaks & Experiments (Some Wiser Than Others)
- Orange zest is a game changer for winter. But one time, I added cocoa powder… let’s just say, not every experiment’s worth repeating.
- Lemon extract makes them zingy—my cousin calls these ‘Sunshine Cookies.’
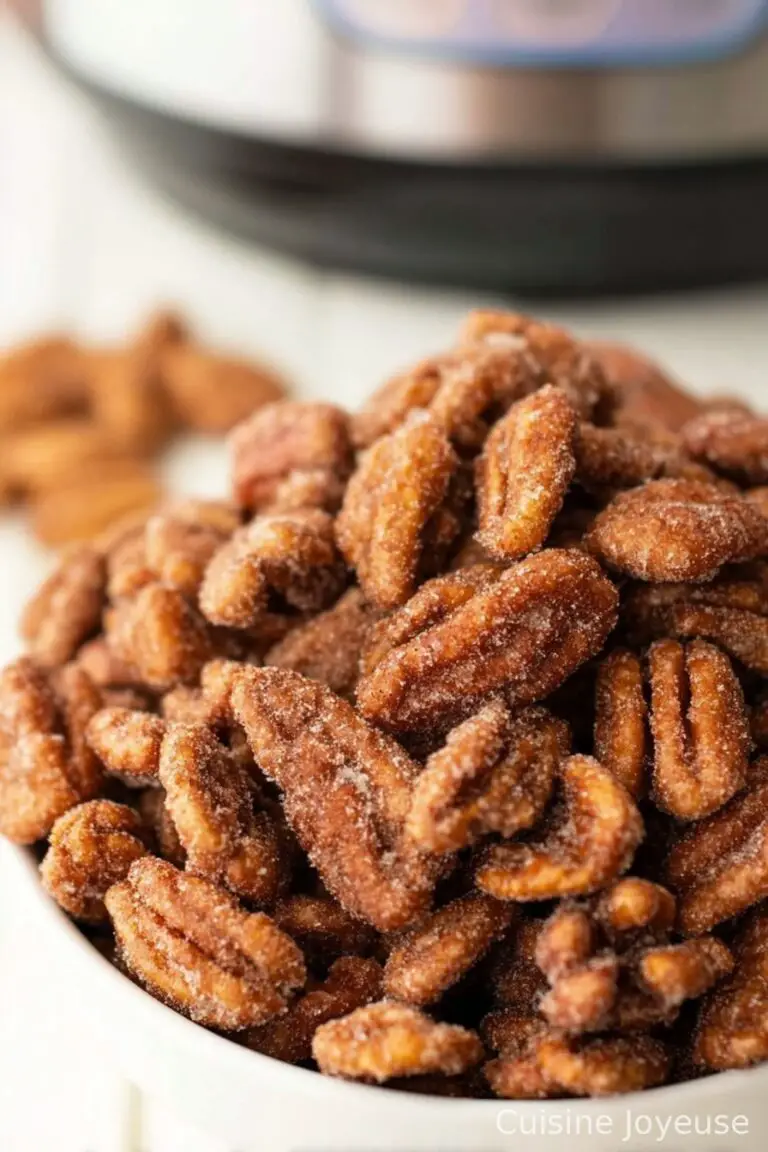
- For extra crunch, stir in a handful of chopped pistachios or pecans (unsalted!).
Do I Really Need Fancy Tools?
A piping bag/star tip makes them look all proper bakery-style. But honestly, I’ve used a plastic sandwich bag with the corner snipped off—and once, a spoon and fork to mash out rough circles. Not as pretty, but flavour’s the same!
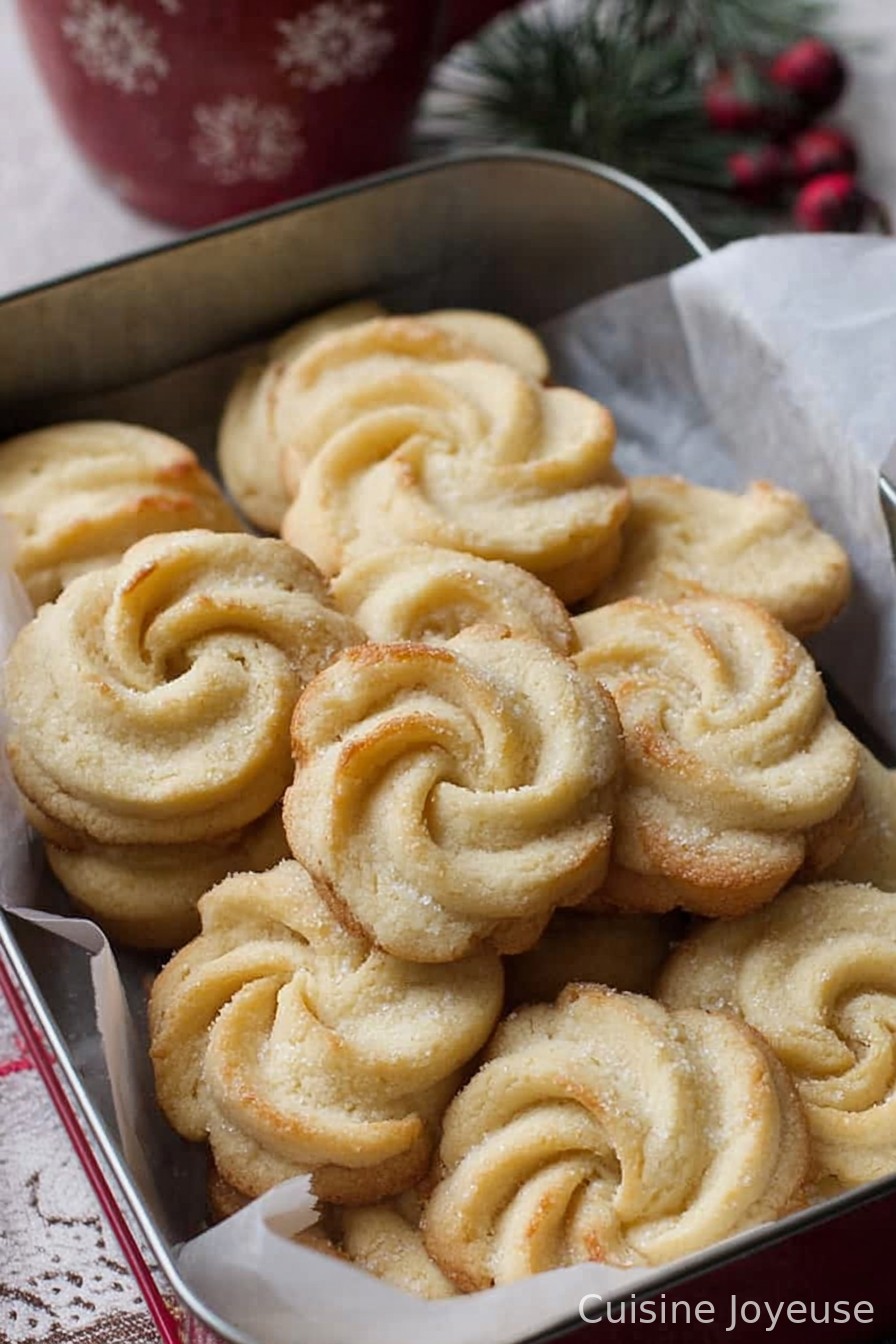
Keeping ‘Em Fresh (Or Trying To…)
Store in an airtight tin at room temperature—should last up to 7 days, or so people claim. In my house, they last maybe two days, tops. Theoretically, you can freeze the dough, but I always forget it’s there.
Serving These Up (Our Family Drama)
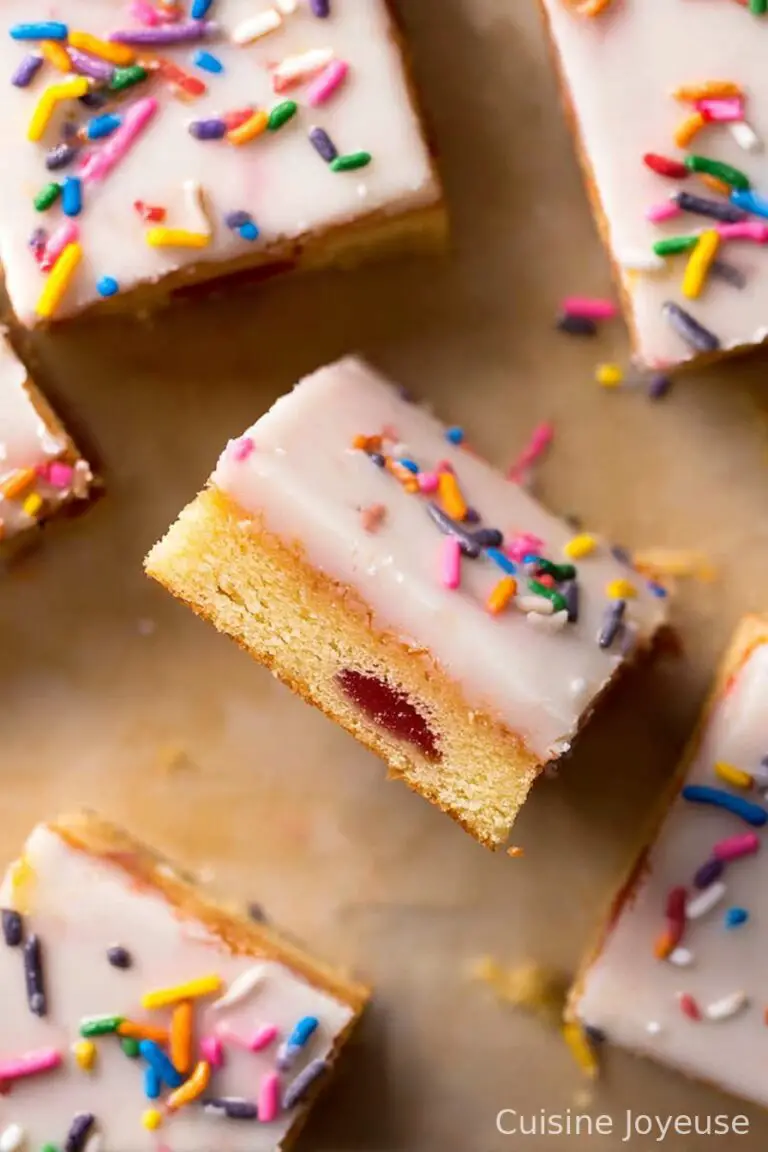
I love stacking them on a big plate with tea in the afternoon—that’s when family corners me for ‘just one more.’ For Christmas, sometimes I sandwich two with raspberry jam. Absolute chaos on the plate, but so worth it.
Lessons Learned the Hard Way (My Honest Pro Tips)
- Rushing the creaming step? Regret. The texture’s all off—and not the good kind.
- Piping on a hot day? Dough turns mushy—chill your hands or the dough, or just don’t bother (!).
- Bake one tester first; ovens are all liars, honestly.
FAQ (Because My Friends & Relatives Seriously Ask)
Q: Can I use margarine?
Well, I tried it once. Wasn’t awful, but honestly, butter’s what gives that true flavor. You do you, though.
Q: What if my dough’s too thick to pipe?
Add a teaspoon of milk at a time, mix gently—don’t overdo it! (I once made a paste, not dough. Oops.)
Q: Can kids help?
Absolutely! In fact, enlist them for the sugar sprinkling stage; just be prepared for a bit of kitchen chaos.
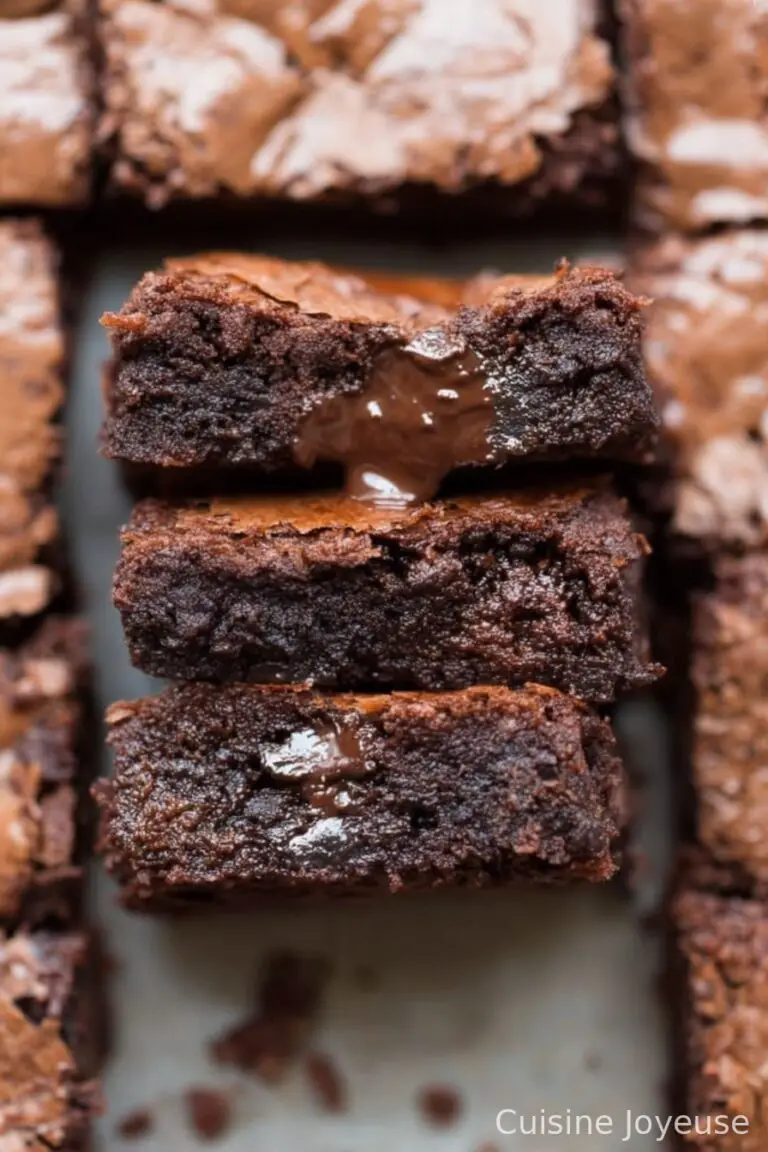
Q: Have you ever dipped them in chocolate?
Why yes, yes I have, and it’s as decadent as it sounds. Let them cool first then dip away. It’s messy, but so fun.
Somewhat off topic, but one time I made these for a bake sale and a squirrel ran off with half my stash before anyone could buy them! Nature appreciates a good Danish Butter Cookie, evidently.
Ingredients
- 1 cup (225g) unsalted butter, softened to room temp (I’ve accidentally used salted before—works in a pinch, just skip extra salt)
- 2/3 cup (135g) granulated sugar (if you’re out, I’ve swapped in superfine/caster sugar, and nobody noticed)
- 1 large egg, room temperature (In a mad rush, I once used two small ones—no disasters)
- 1 teaspoon pure vanilla extract (or, if you’re feeling Danish, sub a few drops of almond extract—grandma swore by it)
- 2 cups (250g) all-purpose flour (I did try whole-wheat once out of misplaced healthiness. Regret.)
- 1/4 teaspoon salt (only if your butter isn’t salted, obviously)
- (optional) Demerara sugar or pearl sugar for sprinkling (I sometimes skip this—depends how fancy I’m feeling)
Instructions
-
1First, get your oven hot: preheat to 350°F (180°C). Line a baking tray with parchment. If you’re like me and always forget, you might end up scraping cookies off the tray—worth preparing ahead!
-
2In a big bowl, beat the butter and sugar until fluffy and pale; I use a stand mixer, but a handheld one (or even elbow grease, on a stubbornly cold day) works. The creaming’s kind of boring, but don’t skimp—this is where the magic happens.
-
3Crack in your egg, add the vanilla, and beat until smooth-ish. At this point, it will look split sometimes—don’t panic, it sorts itself out once you add the flour.
-
4Add flour and salt, blend on low (flour snowstorm is a real thing), then go up to medium. Stop as soon as it’s coming together; too much mixing = tough cookies. Learned that the hard way.
-
5Spoon your dough into a piping bag fitted with a star nozzle (Wilton 1M is what I use, but a ziplock bag with the corner snipped works in a pinch—results may vary!).
-
6Pipe little 2-inch rounds or S-shapes (nobody says you can’t be creative; once I did a batch of accidental squiggles and the kids loved them), about 2 inches apart. If piping drives you mad, just roll small balls and flatten them with your hand.
-
7If you’re feeling extra, sprinkle a little demerara or pearl sugar over the tops. Or don’t. You’re the boss.
-
8Bake for about 12–14 minutes, until the edges are just golden. Keep an eye the last few minutes—they go from perfect to whoops in a flash. (This is where I usually sneak a taste straight off the tray—risk of burnt mouth be darned.)
-
9Cool on the tray for a few minutes, then transfer to a rack. They crisp as they cool, so don’t stress if they seem too soft.
Approximate Information for One Serving
Nutrition Disclaimers
Number of total servings shown is approximate. Actual number of servings will depend on your preferred portion sizes.
Nutritional values shown are general guidelines and reflect information for 1 serving using the ingredients listed, not including any optional ingredients. Actual macros may vary slightly depending on specific brands and types of ingredients used.
To determine the weight of one serving, prepare the recipe as instructed. Weigh the finished recipe, then divide the weight of the finished recipe (not including the weight of the container the food is in) by the desired number of servings. Result will be the weight of one serving.
Did you make this recipe?
Please consider Pinning it!