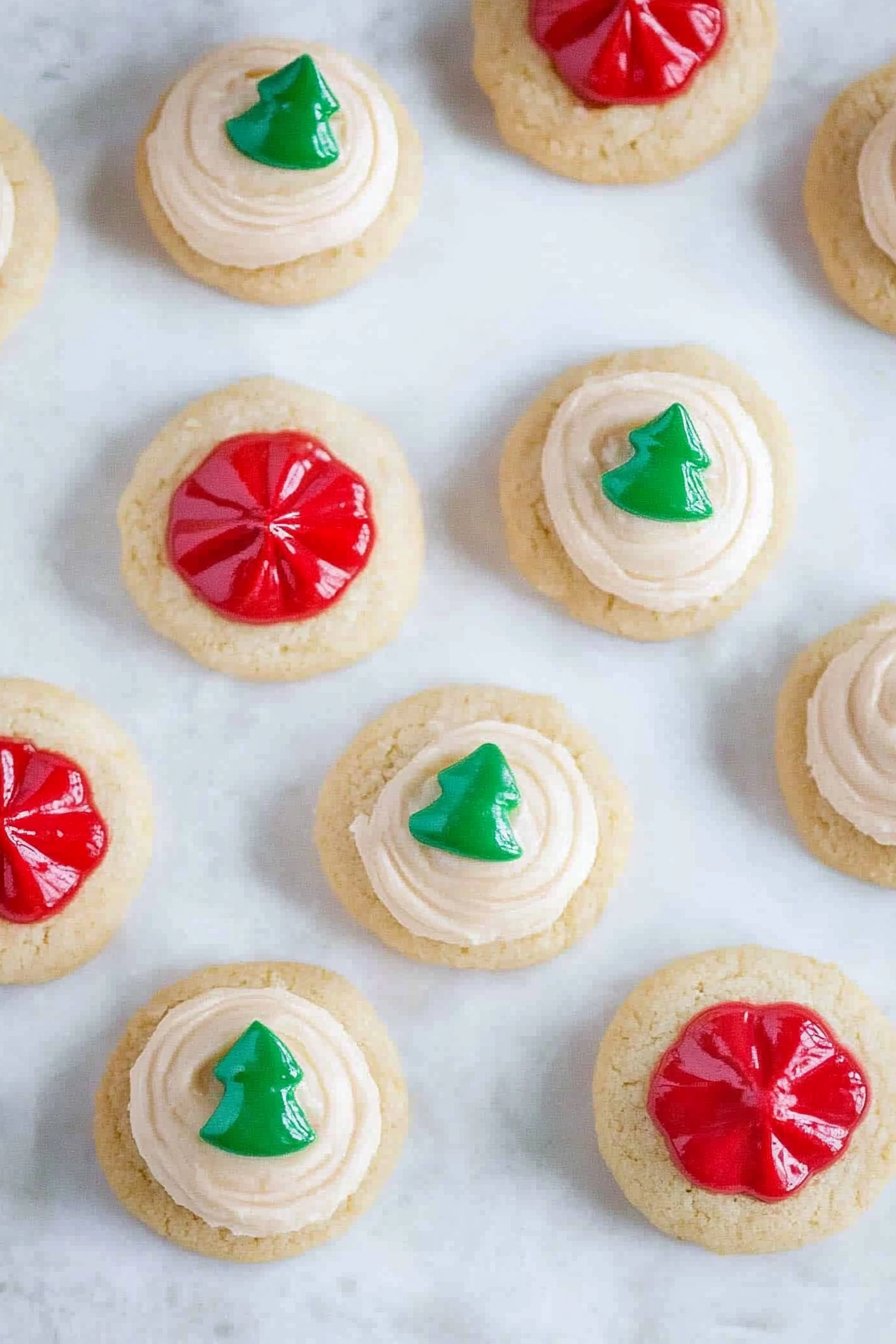
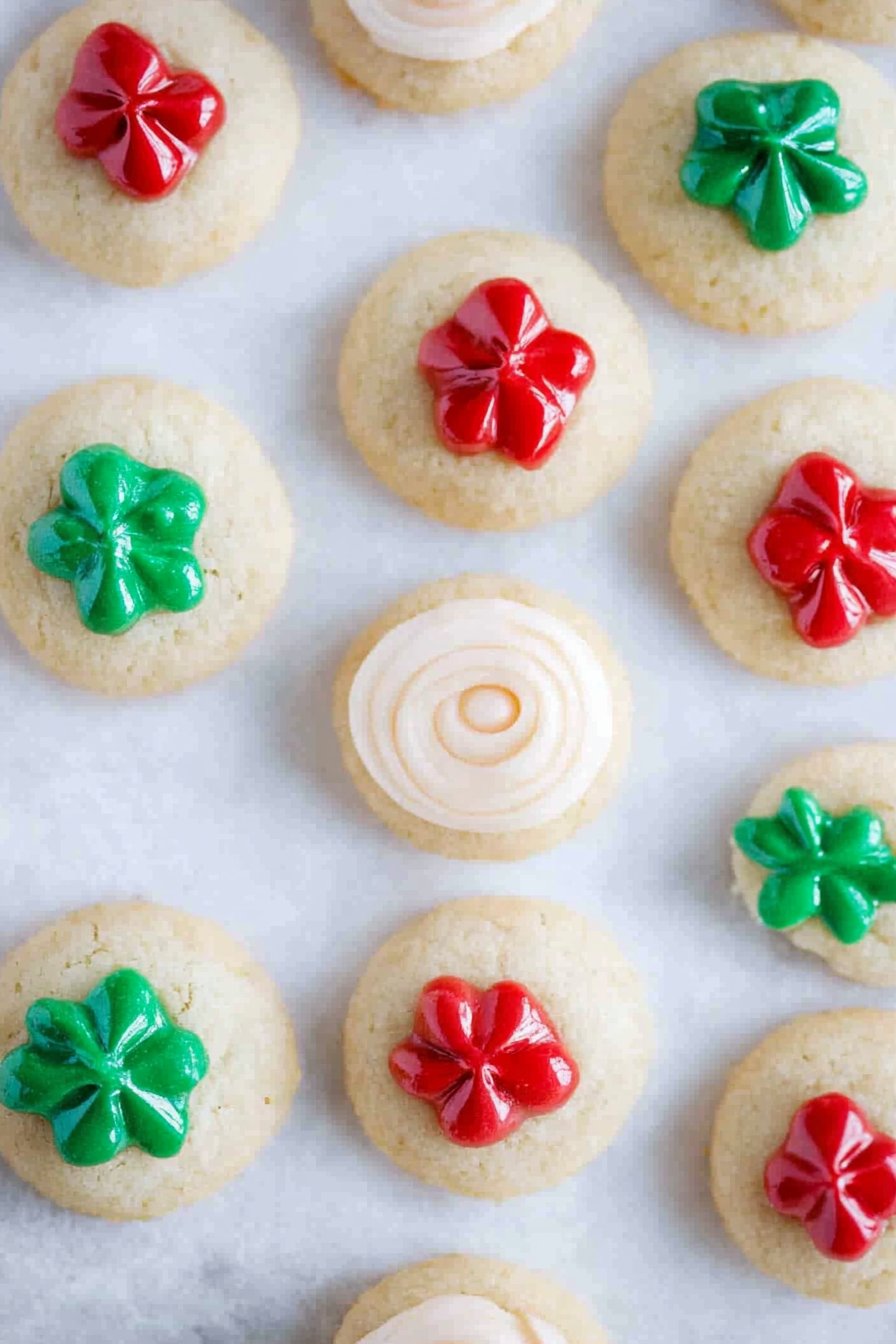
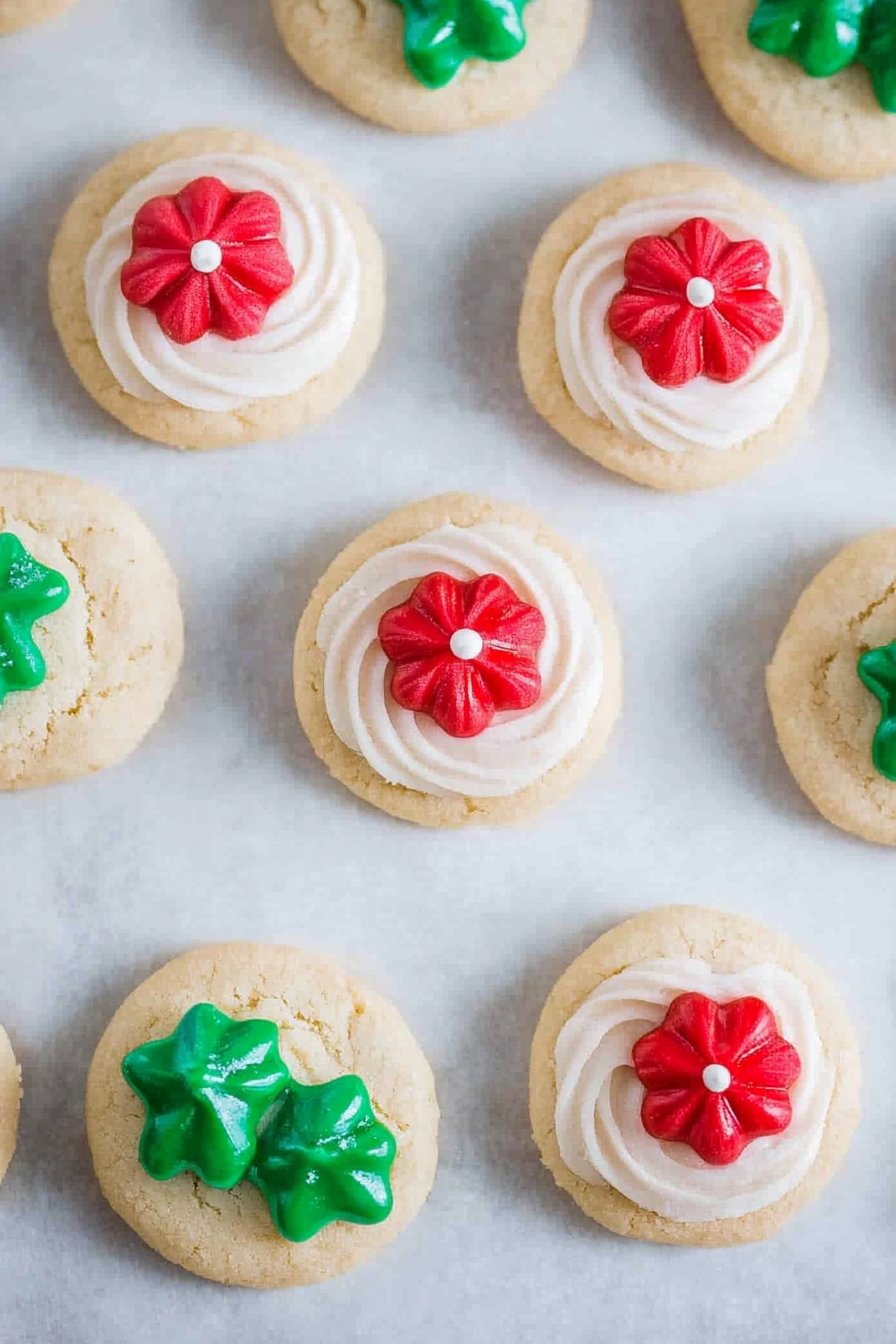
Christmas Melting Moments Sandwich Cookies
Hey there! So, I’m gonna share this little gem of a recipe that I stumbled upon a few Christmases ago. Picture this: the snow was falling outside, the kids were losing it with excitement, and me? I was frantically whipping up something sweet to keep the peace. Enter these Christmas Melting Moments Sandwich Cookies. Seriously, they’re like little hugs in cookie form. No joke, they saved the day. And honestly, there’s something magical about cookies that just melt away in your mouth, isn’t there?
Why You’ll Love This
I make these cookies whenever I want to impress without too much fuss (or when I need to bribe my family into doing chores!). My family goes crazy for them because they’re buttery, crumbly, and just the right amount of sweet. Plus, who doesn’t love a sandwich cookie that looks fancy but is secretly super easy to make? Trust me, this one’s a winner.
What You’ll Need
- 1 cup (225g) unsalted butter, softened (sometimes I just use salted butter and skip the extra salt – shh!)
- 1/2 cup (65g) powdered sugar (more or less, depending on your sweet tooth)
- 1 1/2 cups (195g) all-purpose flour (I hear gluten-free flour works too, but haven’t tried it myself)
- 1/2 cup (65g) cornstarch
- 1 teaspoon vanilla extract (my grandma always insisted on pure vanilla, but the imitation works if you’re in a pinch)
- Pinch of salt
How to Make ‘Em
- Preheat your oven to 350°F (175°C). Line a baking sheet with parchment paper – nothing fancy here.
- In a large bowl, beat the butter and powdered sugar until it’s creamy. This is where I usually sneak a taste (no judgment!).
- Add the vanilla extract, then sift in the flour and cornstarch. Mix until combined but don’t overdo it – it should look like dough, not a sticky mess.
- Roll into small balls (about a tablespoon each) and place on the baking sheet. Gently flatten them with a fork. They might look a bit wonky, but that’s the charm.
- Bake for 10-12 minutes, or until just lightly golden. If they start to brown, you’ve gone too far – pull them out!
Things I’ve Figured Out
So, a few notes: these cookies are pretty forgiving. If you’re out of cornstarch, a bit more flour will do in a pinch, though the texture won’t be quite as melt-in-your-mouth. Also, don’t skimp on the chilling if you’re in a warmer climate – they’ll get mushy.

Fun Variations
I’ve tried adding a bit of zest to the dough once, thinking lemon would be nice – meh. Didn’t really hit the spot. But dipping half the cookie in chocolate? Now that was a game-changer. Also, a sprinkle of crushed peppermint on top gives it a real festive flair.
Equipment Chat
No stand mixer? No problem! A simple hand mixer (or even a wooden spoon, if you’re feeling old school) works just fine. And, if you’re out of parchment paper, just butter the cookie sheet like my mom used to.
Keeping Them Fresh
Store these babies in an airtight container – they’ll keep for about a week, though honestly, in my house, they never last more than a day. I swear they disappear overnight.
Serving Ideas
I like to serve these with a hot cup of cocoa or a glass of cold milk. Funny story, my kids once fashioned a cookie tower and called it a ‘cookie castle’. Who knew cookies could be so architectural?
Lessons Learned
Here’s a tip: don’t rush the cooling process. I once tried stacking them too soon, and ended up with a stuck-together mess. Give ’em some space to breathe!
FAQ Time
Can I freeze the dough? Sure thing! Wrap it well and freeze for up to three months. Just defrost in the fridge overnight.
How do I make them extra festive? Try adding food coloring to the dough or using colored sugar sprinkles on top!
What if I don’t have cornstarch? No worries, just use more flour. It changes the texture a bit, but they’re still delicious!