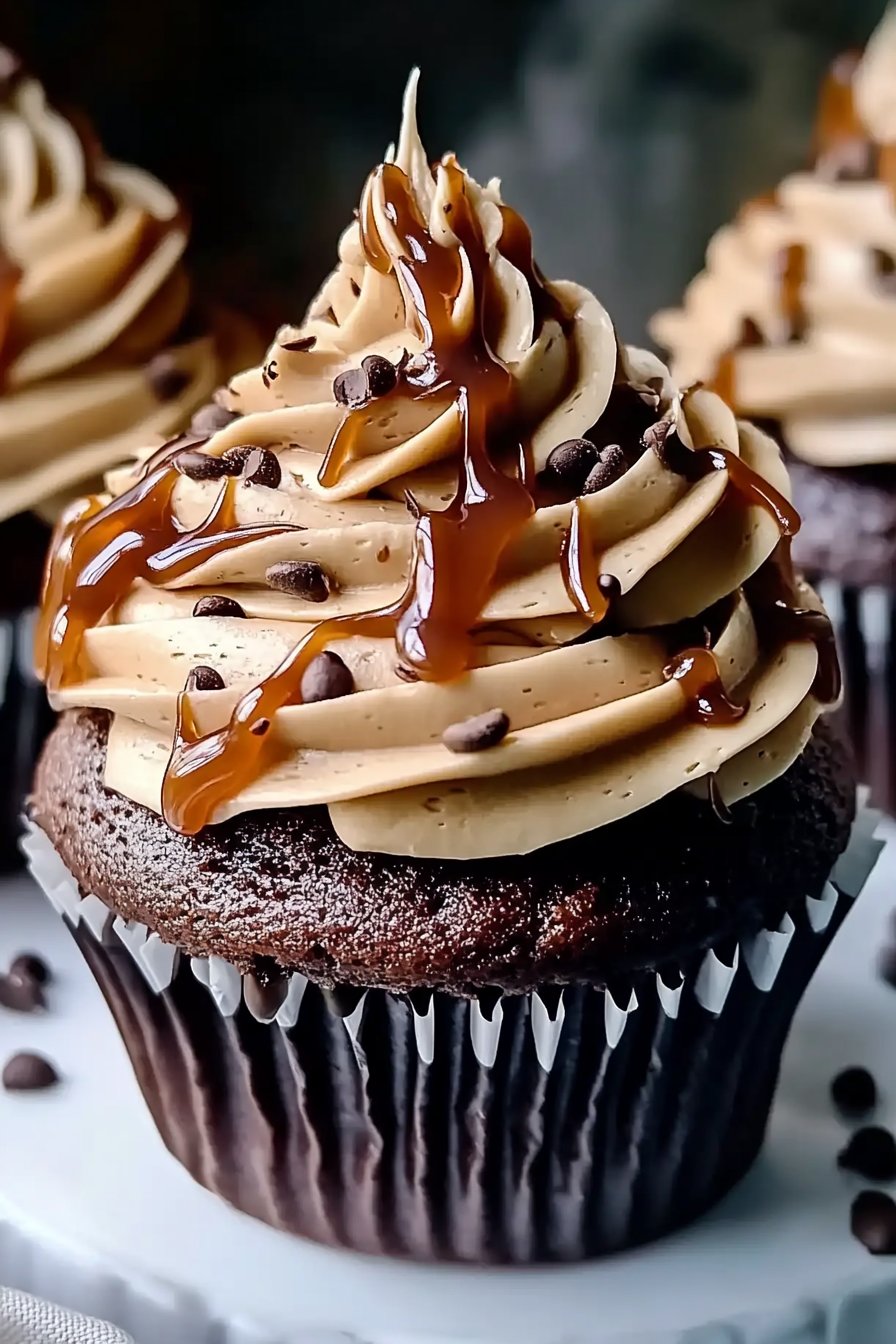
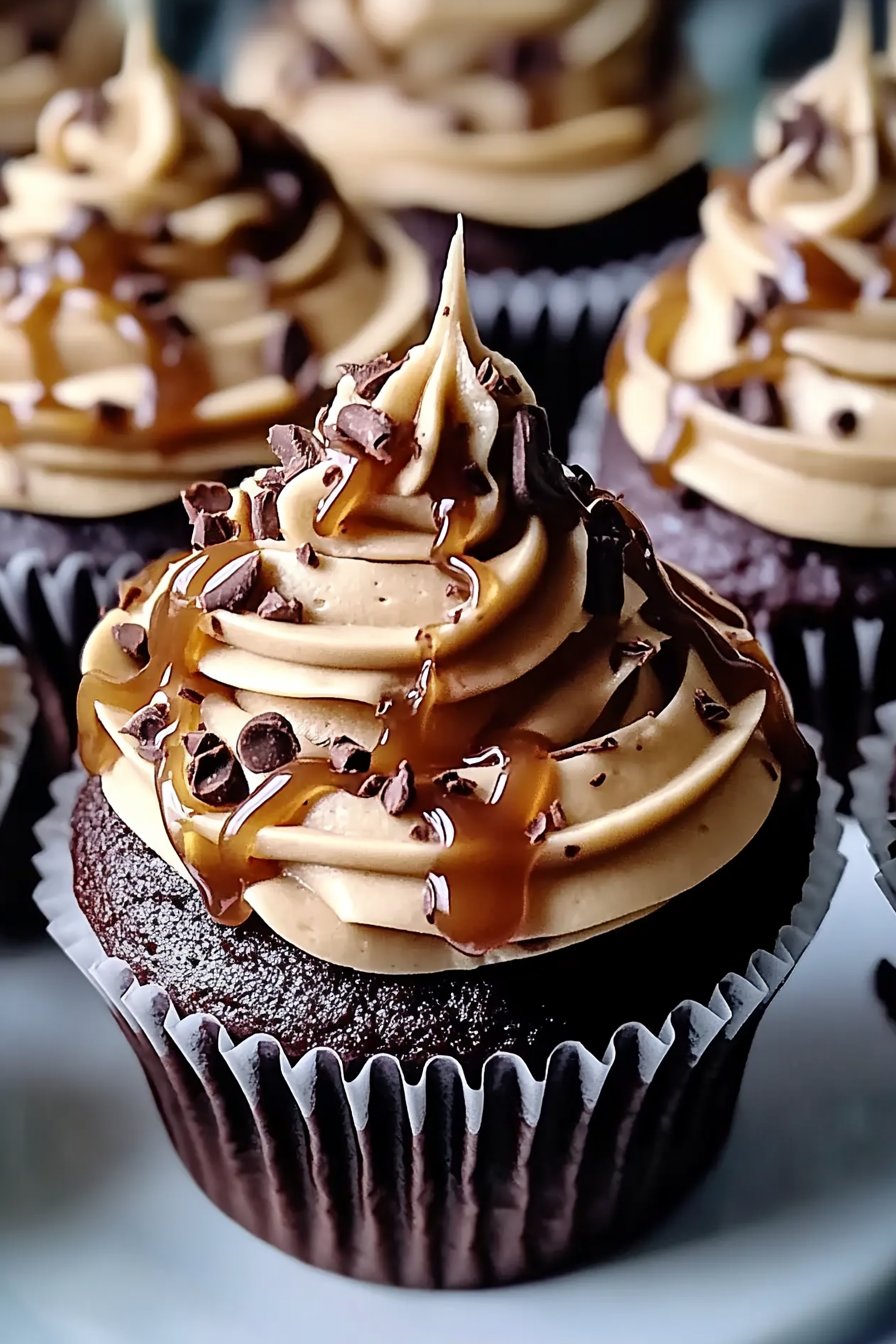
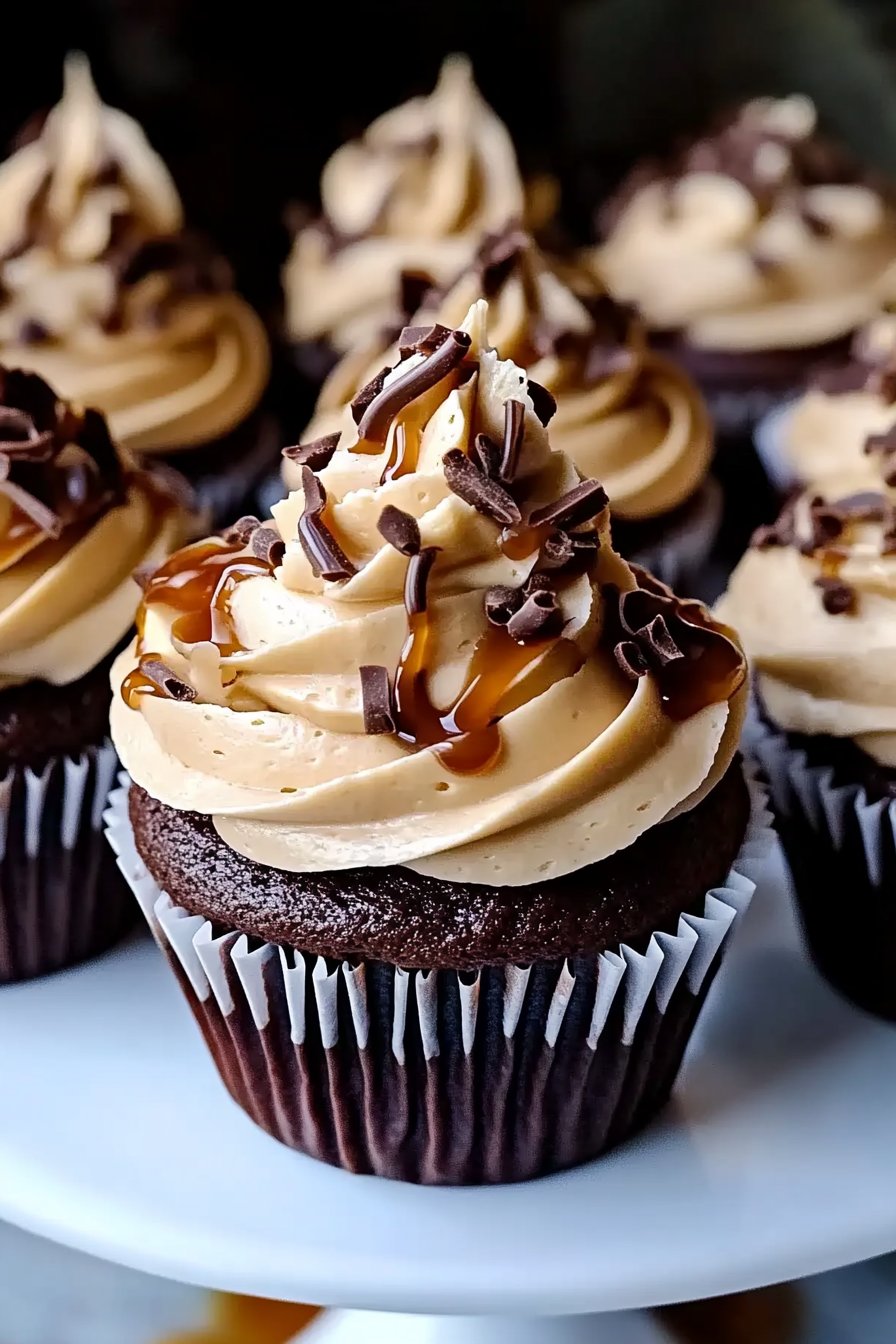
Chocolate Espresso Cupcakes with Salted Caramel Buttercream
So, This Recipe’s Got a Story
Hey there, fellow dessert lover! Let me spill the beans on my go-to guilty pleasure—chocolate espresso cupcakes with salted caramel buttercream. I first made these on a whim after a rather uninspiring day at work. You know, one of those days where nothing seems to go right? I thought, “Why not combine two of my favorite things: chocolate and espresso?” And boy, was that a game-changer! Now, whenever I whip these up, it feels like I’m treating myself to a little luxury. Plus, who doesn’t love the smell of coffee and chocolate wafting through the house? It’s pure bliss.
Why You’ll Love This Recipe
Honestly, I make this when I’m in need of a pick-me-up—or when I want to impress guests with minimal effort. My family goes absolutely bonkers over these cupcakes, especially the caramel buttercream (seriously, they could eat it by the spoonful!). Oh, and that perfect combo of slightly bitter espresso and rich chocolate? It’s a match made in dessert heaven. Plus, if you’ve got a sweet tooth like mine, the salted caramel is gonna hit all the right notes.
What You’ll Need
- 1 cup all-purpose flour (though I sometimes swap in whole wheat just to feel a bit healthier!)
- 1/3 cup unsweetened cocoa powder
- 1/2 teaspoon baking powder
- 1/2 teaspoon baking soda
- 1/4 teaspoon salt
- 1/2 cup brewed espresso (or strong coffee—instant works in a pinch!)
- 1/2 cup milk (any milk will do—I’ve used almond milk too!)
- 1/2 cup vegetable oil
- 1 large egg
- 1 teaspoon vanilla extract
- 3/4 cup sugar
- For the buttercream: 1 cup unsalted butter, softened
- 3 cups powdered sugar
- 1/2 cup homemade or store-bought salted caramel sauce
- 1 teaspoon vanilla extract
Making the Magic Happen
- Start by preheating your oven to 350°F (175°C) and line a muffin tin with cupcake liners. I always seem to run out of liners at the worst times, so I keep a silicone mold handy!
- In a large bowl, whisk together the flour, cocoa powder, baking powder, baking soda, and salt. (This is where I tend to make a bit of a mess, but hey, that’s the fun part!)
- In another bowl, mix the espresso, milk, oil, egg, vanilla, and sugar until smooth. Combine the wet and dry ingredients, stirring until just blended. Don’t worry if the batter seems a bit thin; it should be—it always works out in the end!
- Fill the cupcake liners about two-thirds full. I usually sneak a taste of the batter here, you know, just to make sure it’s good. Bake for 18-20 minutes or until a toothpick comes out clean. Let them cool completely before frosting—trust me, it’s worth the wait.
- For the buttercream, beat the butter until creamy, then gradually add in the powdered sugar. Mix in the caramel sauce and vanilla until you get a smooth, fluffy texture. If you find it too thick, a splash of milk can fix that right up.
- Frost those cooled cupcakes generously. A little extra drizzle of caramel on top never hurt anyone!
Notes from My Kitchen
Here’s a little tip: If your buttercream is too sweet (it happens), a pinch of salt can really balance things out. Also, I once tried adding a bit of cinnamon to the batter—didn’t quite work, maybe too adventurous that day!

Fun Variations
Okay, so I’ve played around a bit and added a splash of whiskey into the buttercream once. It was… interesting. Not for everyone, but hey, if you’re feeling adventurous, give it a whirl! On second thought, maybe just stick with the original for the first try.
What If I Don’t Have…?
No espresso machine? No problem! Instant coffee is your friend here. And if you’re lacking a mixer for the buttercream, good old elbow grease works—though it might take a bit of effort.
Keep Them Fresh (If They Last…)
These cupcakes can be stored in an airtight container at room temperature for up to three days—though honestly, in my house, they never last more than a day!
Serving Up Sweetness
I love serving these with a cup of strong black coffee or a scoop of vanilla ice cream. It’s a family tradition to have these cupcakes during our Sunday brunches!
Lessons Learned
I once tried rushing the cooling process by putting the cupcakes in the fridge. Don’t do that. They got all sad and soggy. Let them cool naturally; it’s worth the patience.
Your Questions, Answered!
Can I make these gluten-free? Sure thing! Swap the all-purpose flour with a gluten-free blend. Just be sure to pick one that’s meant for baking.
What’s the deal with salted caramel? It’s the perfect balance of sweet and salty—like a dessert and a hug all at once!
How do I know when the cupcakes are done? When a toothpick inserted comes out clean with a few crumbs clinging to it. Trust me, you’ll get the hang of it!