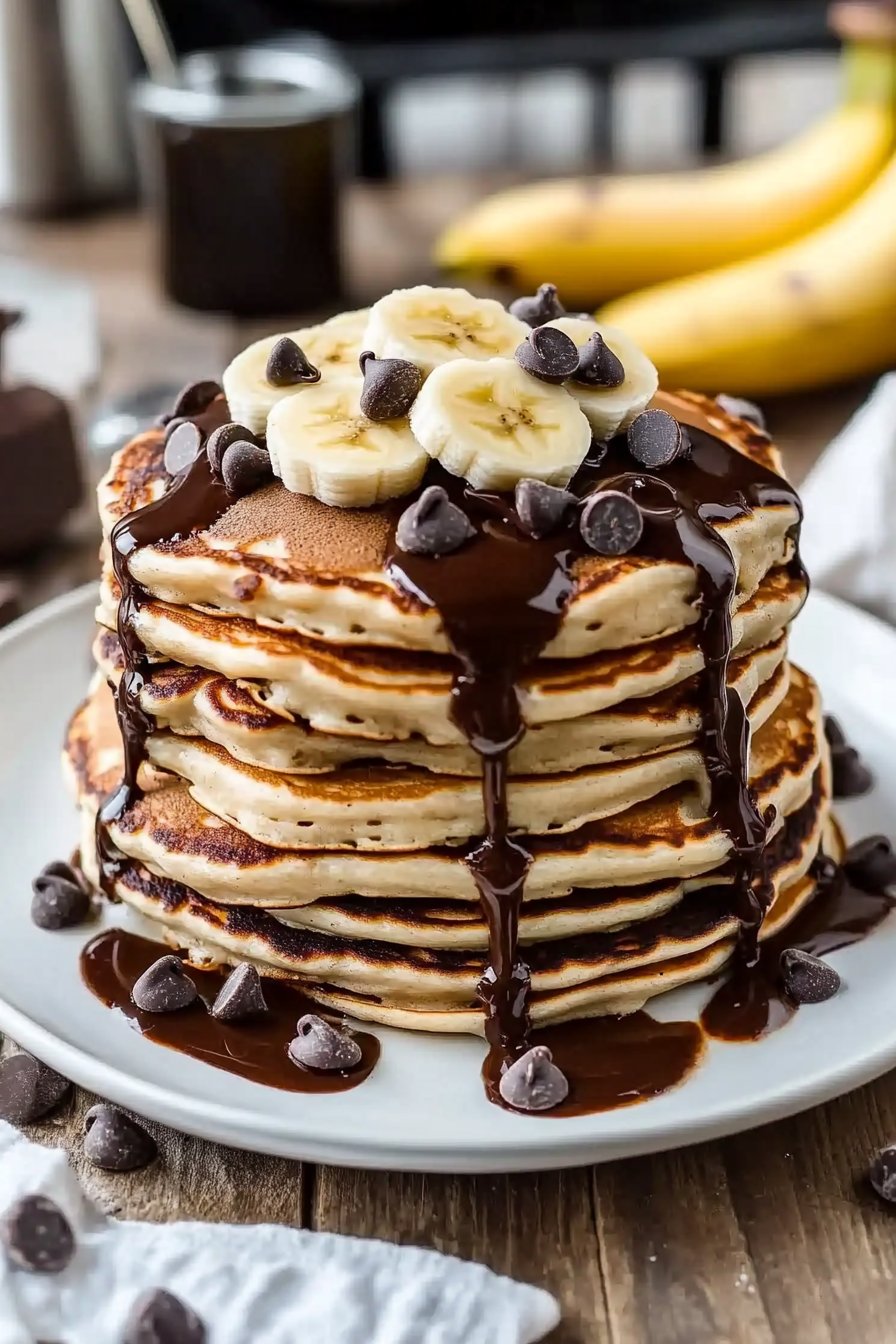
Banana Chocolate Chip Pancake Recipe
Hey there! So, let me tell you about these banana chocolate chip pancakes I whipped up the other day. You see, I was rummaging through my pantry on a lazy Sunday morning (you know those kind of mornings, right?), and I stumbled upon some overripe bananas. My first thought? Pancakes! I mean, who doesn’t love pancakes on a cozy morning?
Why You’ll Love This
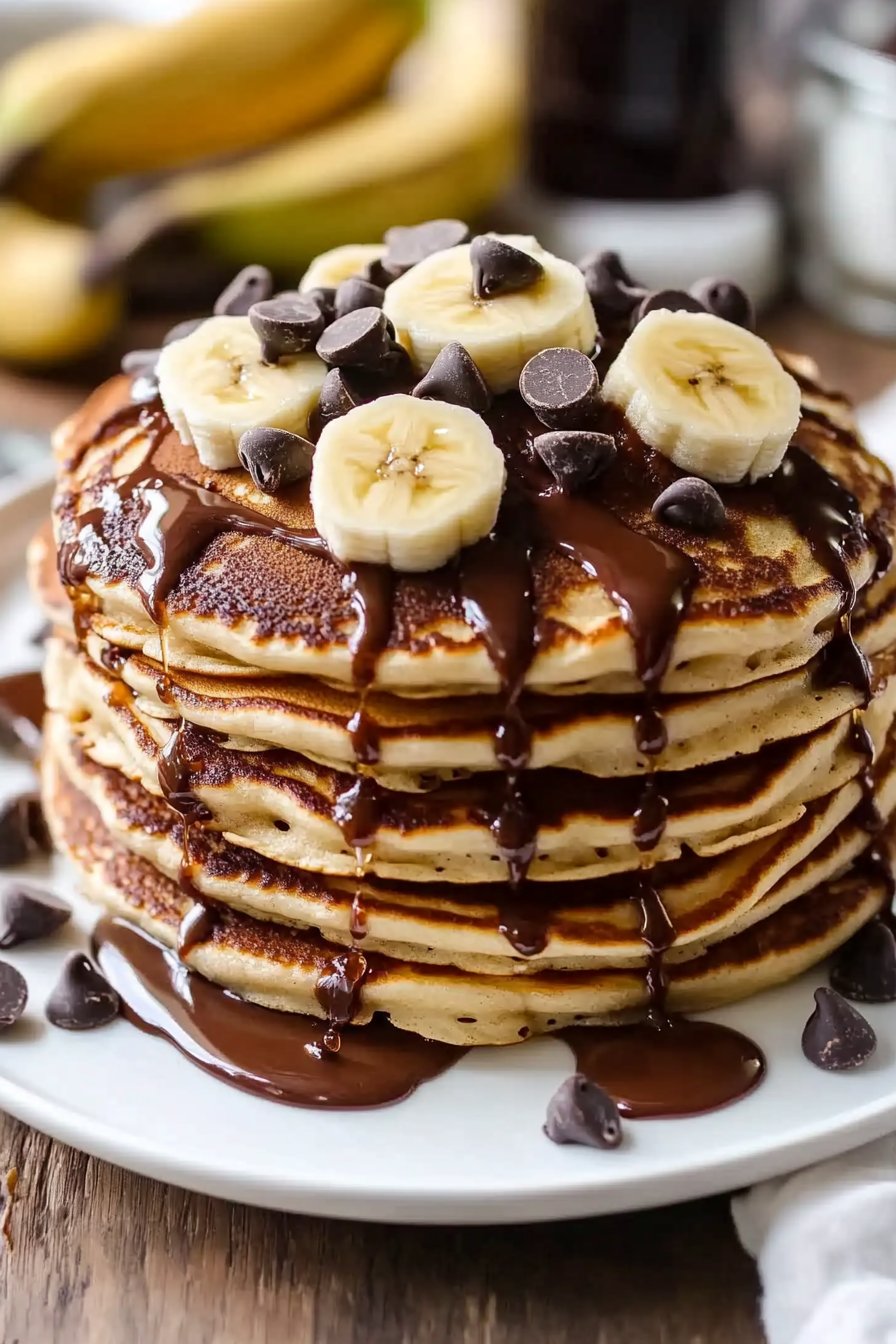
I make this recipe whenever I want to impress my kids—or myself! It’s like, even if you’re kinda sleepy and things go a bit haywire in the kitchen (which, let’s be honest, they often do), these pancakes always turn out to be crowd-pleasers. My family goes crazy for them because they’re fluffy, chocolatey, and have that hint of banana magic. Plus, they’re so forgiving if you accidentally over-mix (not that I’ve ever done that… ahem).
What You’ll Need
- 1 cup all-purpose flour (I’ve used whole wheat in a pinch, and it’s pretty good)
- 2 tablespoons sugar (or a handful if you’re feeling rebellious)
- 1 teaspoon baking powder
- 1/2 teaspoon baking soda
- 1/4 teaspoon salt
- 1 cup buttermilk (or regular milk with a splash of vinegar if you’re improvising)
- 1 large egg
- 2 tablespoons melted butter (sometimes I swap this with coconut oil for a tropical vibe)
- 1 teaspoon vanilla extract
- 2 ripe bananas, mashed (the riper, the better!)
- 1/2 cup chocolate chips (I prefer semi-sweet, but use whatever floats your boat)
How to Make ‘Em
Alright, let’s get cooking! First, in a large bowl, whisk together the flour, sugar, baking powder, baking soda, and salt. In another bowl, mix the buttermilk, egg, melted butter, and vanilla. Mash those bananas and toss them into the wet mix. Combine wet and dry ingredients—don’t stress if it’s a bit lumpy; that’s where the charm is!
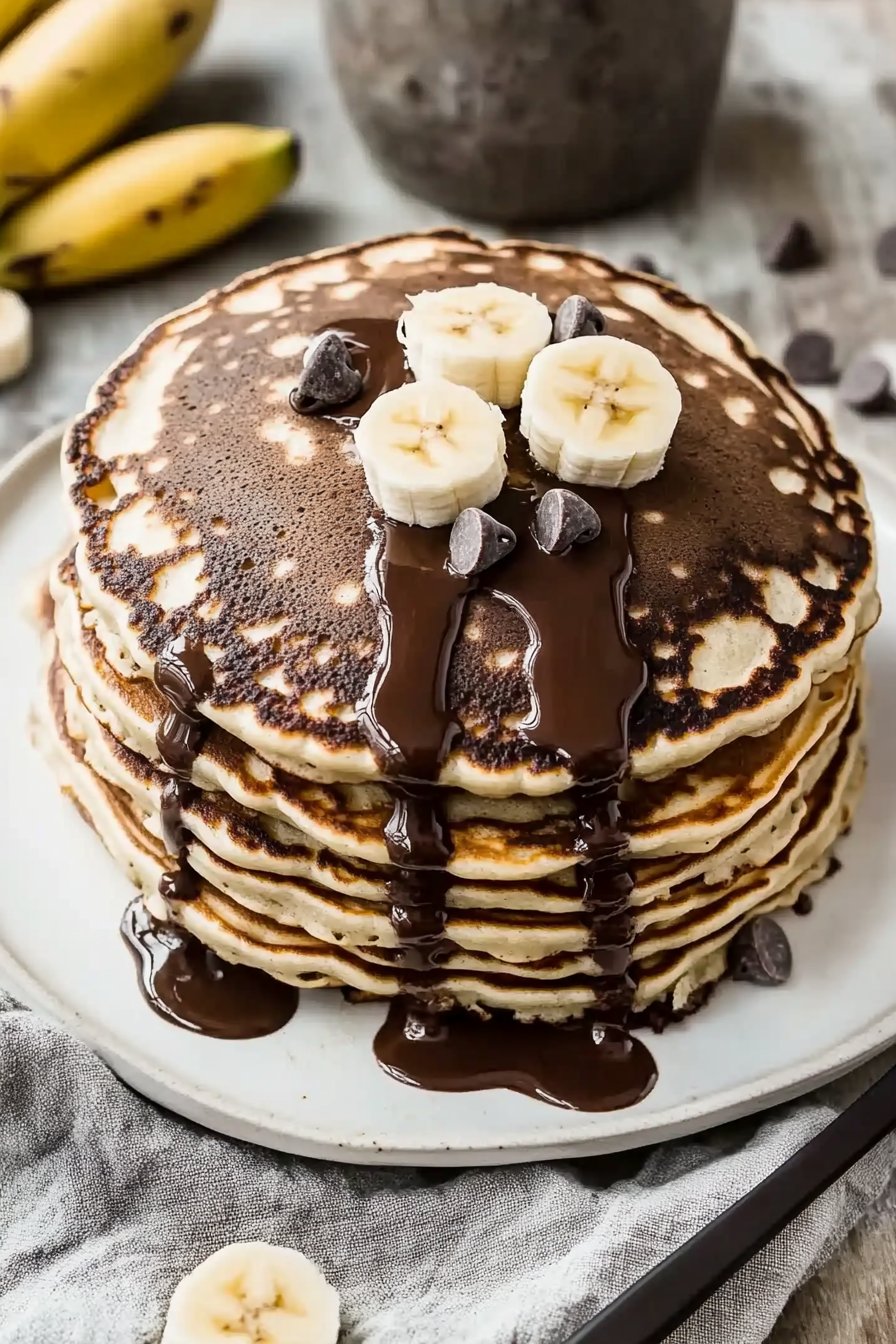
Gently fold in the chocolate chips. Or not so gently, if you’re impatient like me. Heat a non-stick pan over medium heat. Pour about 1/4 cup of batter for each pancake, and cook until you see bubbles on the surface. Flip ’em over and cook for another minute or so.
I admit, this is when I sometimes sneak a taste, you know, just for quality control. Don’t worry if the first pancake looks odd—it always happens!
Some Notes
I realized after a few tries that waiting for the pan to be properly heated makes a world of difference. And, on second thought, try not to flatten the pancakes with your spatula (I’ve been guilty of that).

Variations I’ve Tried
Once, I added a spoonful of peanut butter to the batter—it was divine! However, the time I tried adding blueberries, it turned a bit… mushy. Maybe I should have used fresh instead of frozen?
What Tools You’ll Need
All you really need is a mixing bowl and a skillet. If you don’t have a whisk, a fork works just fine—I’ve done it plenty of times!
Storage Tips
These pancakes can sit in the fridge for a day or two, but honestly, in my house, they never last more than a day! If you do have leftovers, a quick zap in the microwave brings them back to life.
How I Like to Serve Them
We usually serve these with a dollop of whipped cream and a sprinkle of nuts. My kids love it when I drizzle a little honey on top too.
Pro Tips Learned the Hard Way
One time, I tried rushing the resting stage of the batter and regretted it because the pancakes turned out dense. Take it easy—good things take time!
FAQ (We All Have Questions!)
Can I make the batter ahead of time? Sure thing! Just cover it and pop it in the fridge overnight. But, it’s always best fresh!
What can I substitute for buttermilk? As I mentioned, regular milk with a splash of vinegar works wonders. Or lemon juice if you’re feeling fancy.
Are these pancakes freezer-friendly? Absolutely! Just layer them with parchment paper and freeze. Reheat in the oven for best results.