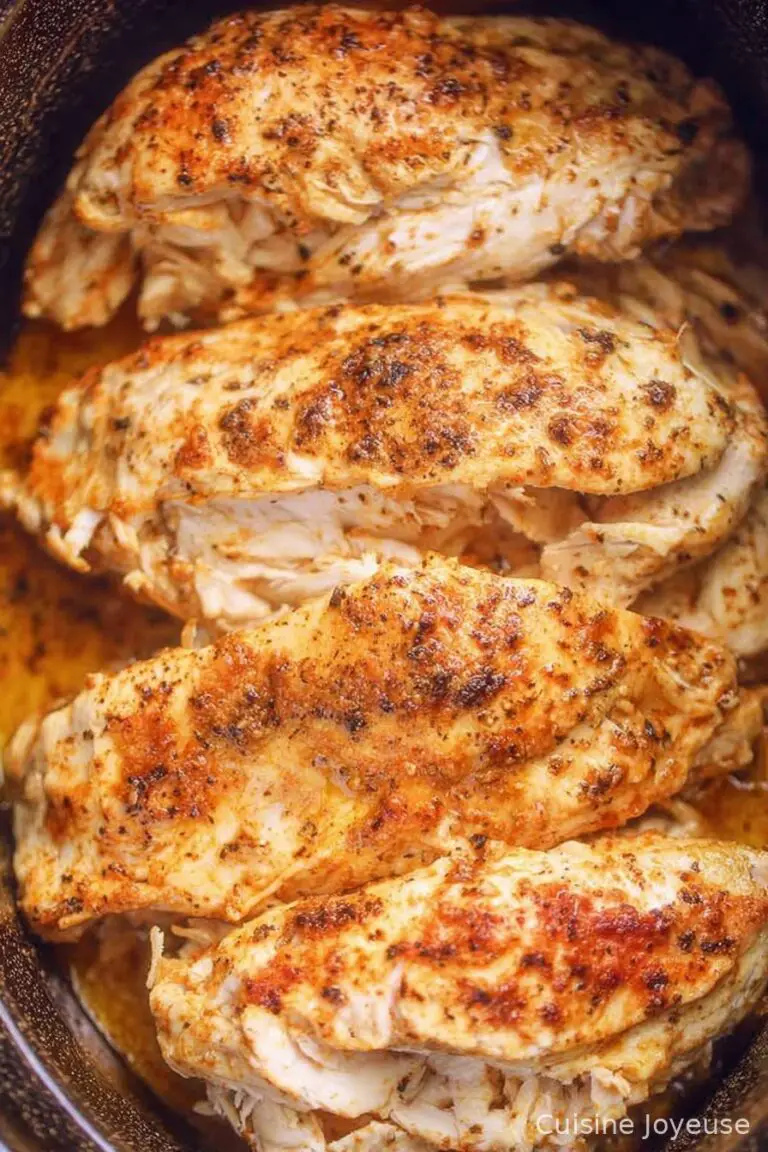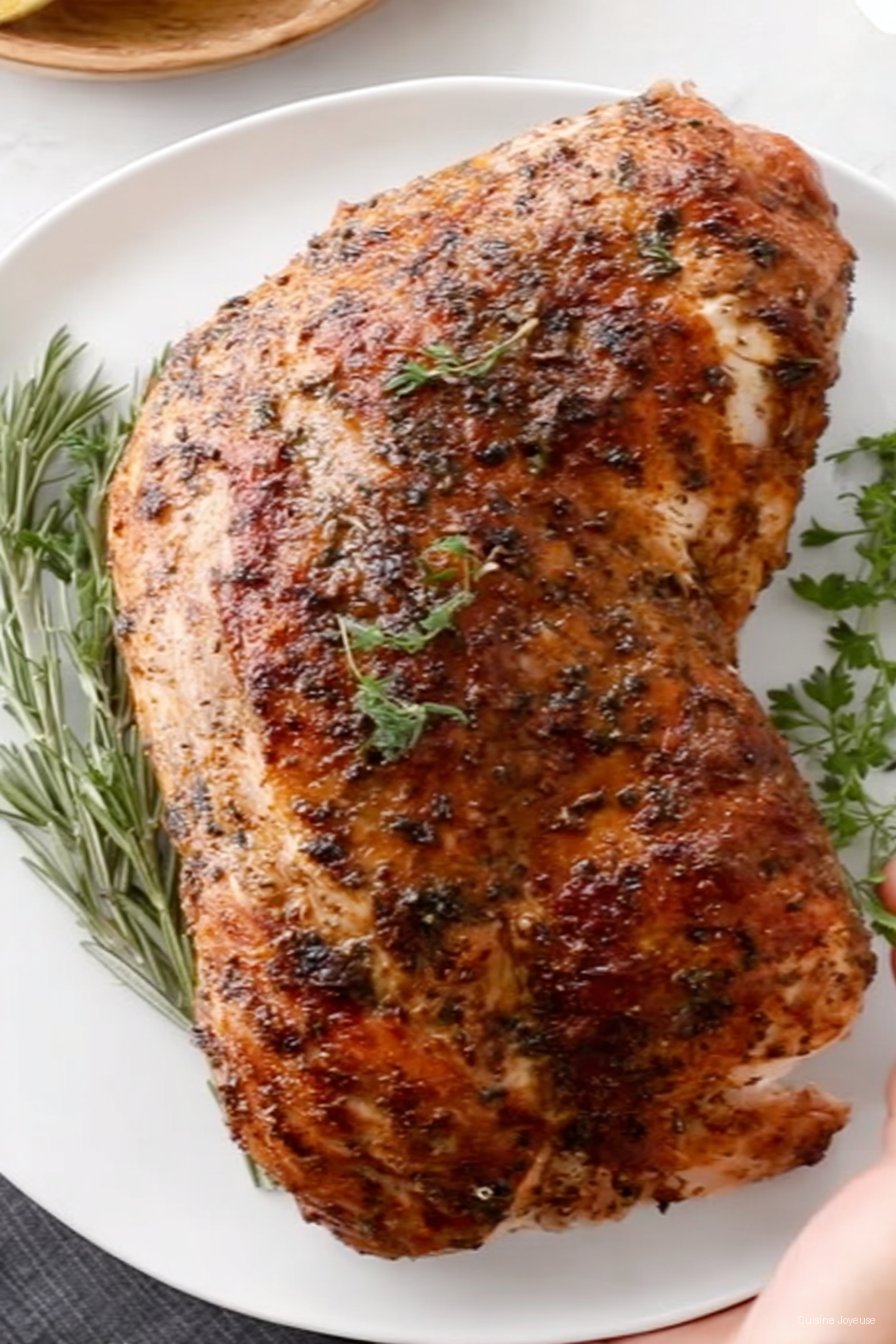
Air Fryer Turkey Breast
The Time I Nearly Forgot Thanksgiving (But the Air Fryer Saved Me)
Okay, so picture this: it’s the Wednesday before Thanksgiving, and I’m feeling like a total hotshot because I’ve actually remembered to thaw the turkey breast on time… except, wait, the oven died! Total kitchen chaos. Enter my trusty air fryer, who honestly doesn’t get enough credit in this house (sibling rivalry with the instant pot, you know?). So yeah, that’s how this Air Fryer Turkey Breast recipe came to life – a messy, slightly panicked experiment that turned out so much better than anyone expected. But really, isn’t that the way most good recipes are born?
Why I Keep Coming Back to This
I make this when I’ve totally forgotten to plan, or when the idea of scrubbing the roasting pan makes me want to run for the hills. My family actually requests it now, which says a lot since they’re the pickiest poultry critics east of the river (small river, but still). And honestly, the skin gets so crispy that I end up eating half of it before dinner – sorry, not sorry. Plus, cleanup is a breeze, unless you count the occasional rogue turkey juice splatter. Oh, and if you’re scared it’ll dry out, don’t be. I messed that up once, learned my lesson, and now it’s always juicy (knock on wood…)
The Stuff You’ll Need (and Some I Play Fast and Loose With)
- 2-3 lb turkey breast (bone-in preferred, but I’ve used boneless when the store’s out – works fine, just cooks a bit faster)
- 2 tablespoons olive oil (or melted butter – I swap depending on mood, or whatever’s closer in the fridge)
- 1 tablespoon kosher salt (my grandmother swore by Maldon flakes, but uh, table salt’s been fine in a pinch)
- 1 teaspoon black pepper
- 1 teaspoon smoked paprika (or regular, or honestly sometimes chili powder if that’s what I grab first)
- 1 teaspoon garlic powder
- 1/2 teaspoon dried thyme (fresh is lovely if you’ve got it, but who plans that far ahead? Not me.)
- Optional: squeeze of lemon, dash of cayenne, bit of honey for sweetness
So, What’s the Game Plan?
- Pat the turkey breast dry. Really give it a good paper towel massage (I always forget this, but it’s key for crispiness!)
- Rub all over with olive oil (or butter). Don’t be shy – get into every nook and cranny like you’re giving it a spa session.
- Mix the salt, pepper, paprika, garlic powder, thyme, and whatever extras you’re adding. Sprinkle and rub the seasoning in. Sometimes I do this step and then remember I only seasoned one side, so flip it and do the other, and don’t worry, it’ll all come together.
- Preheat your air fryer to 350°F (180°C). I know some folks skip this but actually, for turkey, I’ve found the jumpstart helps the skin.
- Into the basket she goes! Skin side down first for 20 minutes, then flip (carefully, it’s hot) skin side up for another 25–35 minutes. Basically, I start checking at 45 minutes – poke it with a thermometer in the thickest part. If it says 160–165°F, you’re golden (it’ll rise as it rests anyway).
- Rest for at least 10 minutes. I know it’s hard. I’ve sliced early and the juices ran everywhere, so be patient and pretend you’re a fancy chef for just a bit.
This is where I usually sneak a crispy bit and burn my fingers. Not recommended, but impossible to resist.
Lessons (Sometimes Learned the Hard Way)
- I tried skipping the oil once – dry city. Don’t.
- If you have a smaller basket (mine’s a bit chonky), you might need to angle the breast. As long as it fits, it cooks.
- Actually, I find letting the turkey come to room temp for 30 minutes before air frying makes the cooking more even, tho I forget half the time.
- Don’t overcrowd – learned that when I tried to do two mini-breasts at once. They steamed. Meh.
Stuff I’ve Tried (Winners and Not-So-Winners)
- Herb Butter Under the Skin: Works great, but gets a tad messy if you go overboard like me.
- Sriracha Honey Glaze: Adds a killer kick, but my cousin Megan said it was “too much like chicken wings” (which…is that a bad thing?).
- Marinating overnight: Makes it even juicier! Except when I forgot it and it marinated two days and got kind of weirdly mushy – don’t do that.
What If You Don’t Have an Air Fryer?
Okay, obviously that’s the main thing here, but I made something similar in a convection oven once (just increase by 10-15 mins). Skillet sear works for just the skin, but you miss that circulating air magic. Or here’s a link to Serious Eats’ air fryer recs if you’re feeling fancy.
Leftovers: The Reality
Technically you can keep leftovers in an airtight container for 3-4 days in the fridge (or freeze for up to 3 months). But, honestly, even when I double the recipe, there never seems to be any left after sandwiches the next day. Must be gremlins. Oh, and reheating is best in the air fryer for a few mins at 350°F to get the skin crispy again. Microwave? Nah, unless you want sadness.
How I Serve It (Possibly Too Many Ways)
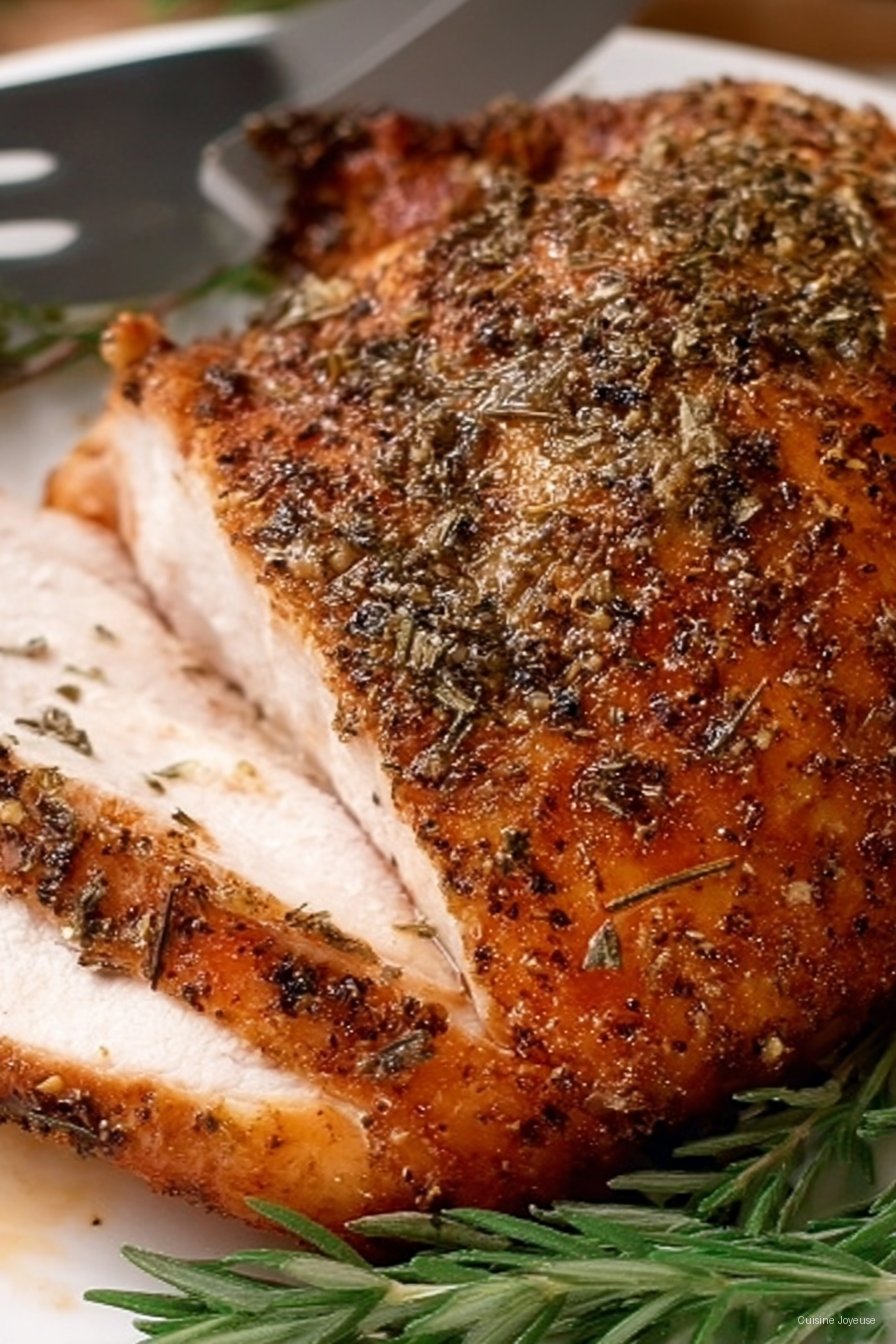
This honestly ends up in sandwiches more often than on a fancy platter. But for holidays, I’ll slice against the grain and fan on a plate with heaps of mashed potatoes and herb gravy (recipe here if you’re curious). My dad likes it with cranberry sauce, but I’m partial to a bit of hot English mustard – old habits die hard.
Don’t Make My Mistakes: Real-Life Pro Tips
- Don’t rush the rest–seriously! I got impatient and it was a waterfall of turkey juice everywhere.
- Let the breast hit at least 160°F but not much more or it dries out. I panicked the first time and overcooked it – learned my lesson.
- Preheat the air fryer. It’s worth the tiny wait. I tried skipping it and the skin just didn’t do its magic.
- If the skin’s browning too fast but the inside’s not done, tent with foil. Forgot this once, ended up with skin like burnt toast. Oops.
Questions I Actually Get Asked (And Sometimes Mess Up Answering)
- “Can you use a frozen turkey breast?” Hmm, nope–not straight in the air fryer. It needs to be thawed. I tried once, thinking I’d save time, and it kind of steamed and ended up weirdly uneven. Better to thaw overnight in the fridge, just to be safe.
- “Do you really need a meat thermometer?” Honestly, yes. I tried guessing once and the center was still pink. Learned that the hard way. They’re cheap, and it’s worth it. Or just borrow one from a neighbor, like I did before I caved and got my own.
- “Do you have to flip it?” Yup. If you don’t, the bottom doesn’t get as brown and crispy, though it’s not the end of the world if you forget. I sometimes do, especially if I get distracted by the dog.
- “Can I do a bigger breast?” Probably, but make sure it’ll fit and add extra time. My friend tried a monster 5-lb one and had to wedge it in – took almost double the time and a lot of swearing.
- “Any substitute seasonings?” Oh sure! I usually raid the spice drawer and use whatever’s there. Even Italian seasoning or herbes de Provence works if you like to live on the edge.
So there you go. Next time you want turkey without the fuss (or you, y’know, totally forget to plan ahead like I always do), this Air Fryer Turkey Breast is your ace in the hole. Got questions? Just shout, or check this Skinnytaste guide—I use it for inspiration sometimes too. Happy frying, mate!
Ingredients
- 2 pounds boneless skinless turkey breast
- 2 tablespoons olive oil
- 1 teaspoon salt
- 1/2 teaspoon black pepper
- 1 teaspoon garlic powder
- 1 teaspoon dried thyme
- 1/2 teaspoon smoked paprika
- 1 teaspoon onion powder
Instructions
-
1Pat the turkey breast dry with paper towels and brush all sides with olive oil.
-
2In a small bowl, mix together salt, black pepper, garlic powder, dried thyme, smoked paprika, and onion powder.
-
3Rub the spice mixture evenly over the turkey breast.
-
4Preheat the air fryer to 350°F (175°C) for 3 minutes.
-
5Place the turkey breast in the air fryer basket, skin side up if applicable. Cook for 35-40 minutes, or until the internal temperature reaches 165°F (74°C).
-
6Remove the turkey breast from the air fryer and let it rest for 10 minutes before slicing and serving.
Approximate Information for One Serving
Nutrition Disclaimers
Number of total servings shown is approximate. Actual number of servings will depend on your preferred portion sizes.
Nutritional values shown are general guidelines and reflect information for 1 serving using the ingredients listed, not including any optional ingredients. Actual macros may vary slightly depending on specific brands and types of ingredients used.
To determine the weight of one serving, prepare the recipe as instructed. Weigh the finished recipe, then divide the weight of the finished recipe (not including the weight of the container the food is in) by the desired number of servings. Result will be the weight of one serving.
Did you make this recipe?
Please consider Pinning it!!