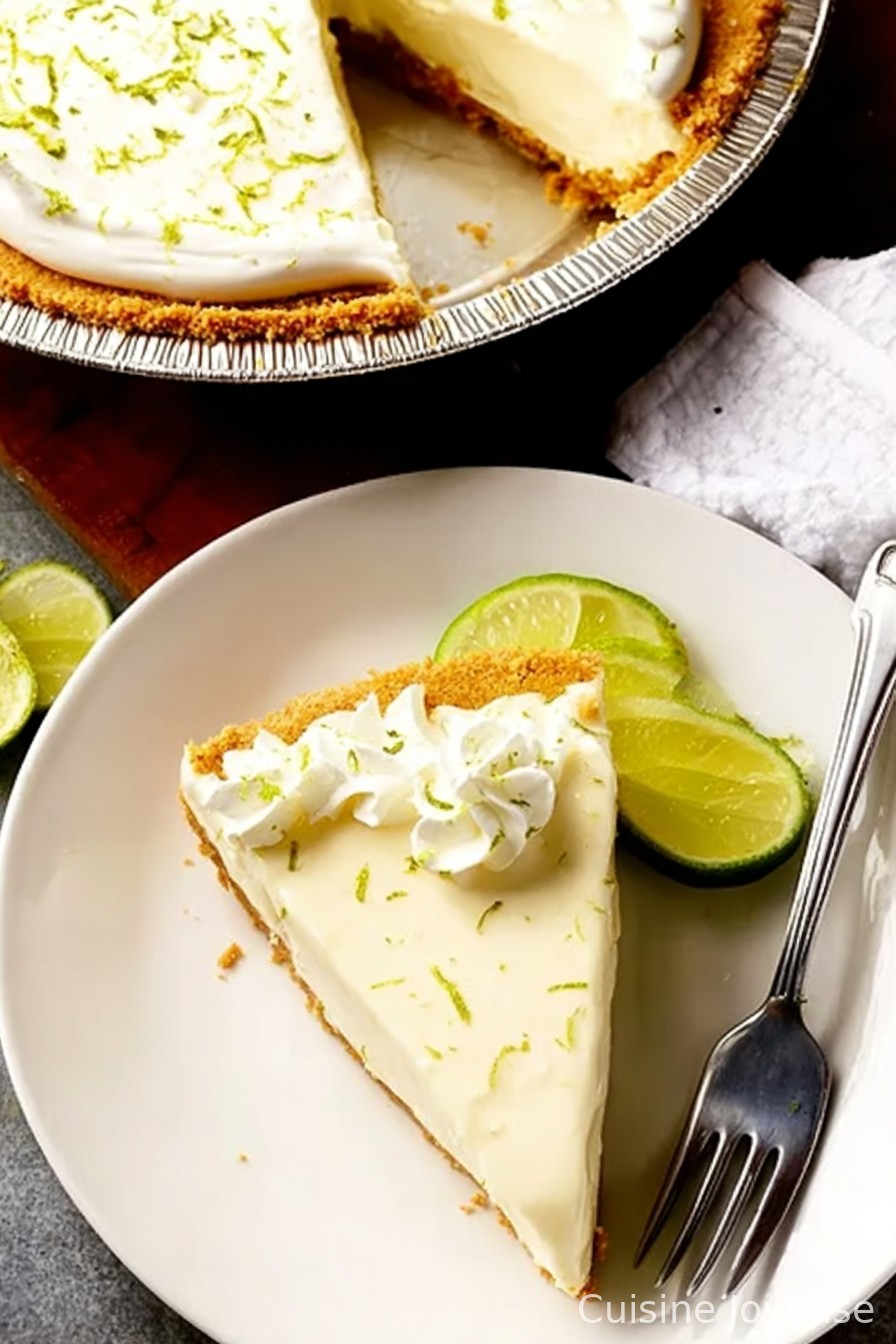
Easy Key Lime Pie
Okay, can I confess something right off the bat? If you’ve ever tried to squeeze a bag of rock-hard limes late at night because you promised to make pie for a summer barbecue, you’re my people. Actually, the first time I made this Easy Key Lime Pie (let’s be honest—I forgot the graham cracker crust in the oven a tad too long), it was for my Aunt Mabel’s potluck. She was thrilled anyway. I swear the sweet-tart filling fixes nearly anything. Also, there’s nothing like that first nostalgic bite, makes me think of beach trips and Aunt Josie’s hilarious sunhat that once flew away into the neighbor’s yard. But never mind that, let’s talk pie!
So Why Do I Keep Making This Pie?
I whip this up when folks say they’re ‘just stopping by’ (and then actually show up). My family goes bonkers for it—my nephew once ate two slices before dinner and didn’t even look guilty. It’s so simple, even when I’m tired from work, I can pull it off. Also, I’ve had my fair share of pie fails (I once dropped one face-first on the floor; dog appreciated it), but this recipe is weirdly forgiving. And it’s kind of fun hearing the disbelief when people realize the pie isn’t from that famous bakery downtown. Even my neighbor, who calls himself a ‘pie-purist’, came back for seconds. Wait, where was I?
What You’ll Need (and Some Honest Swaps)
- 1 ½ cups graham cracker crumbs (store-bought is fine—or any crunchy cookie, lemon thins work in a pinch!)
- 6 tablespoons melted unsalted butter (I sometimes use salted if that’s what I’ve got—and honestly can’t tell the difference)
- 3 tablespoons sugar (don’t stress, I’ve used honey before when I ran out—tastes a bit different, but still good)
- 1 can (14oz) sweetened condensed milk (Brand doesn’t matter, though my grandma swore by Eagle Brand. Meh.)
- 4 large egg yolks (brown eggs, white eggs, duck eggs—whatever’s in the fridge)
- ½ cup key lime juice (from about a dozen key limes… or 6 regular limes if you can’t find those tiny ones—the bottled stuff’s fine too, I won’t judge. Nellie & Joe’s is what I buy when I’m feeling extra lazy)
- 1 tablespoon lime zest (optional, but gives it a zing. Zesting is oddly satisfying until you forget and zest your knuckles.)
- Whipped cream for topping (homemade is best, but Reddi-wip works if you’re in a rush)
How I Throw This Pie Together
- Preheat your oven to 350°F (or maybe 175°C, for my pals on the metric system), and set out an 8 or 9-inch pie plate. If you’ve only got a cake pan, use that—it’ll work.
- Mix the graham cracker crumbs, melted butter, and sugar in a bowl till it looks like sandy wet beach sand (which is more fun than it sounds). Press that stuff into the pie plate with your hands or the bottom of a mug. Don’t stress if it’s uneven—no one will notice once it’s filled.
- Bake the crust for 8-10 minutes—and don’t do what I did that one time: left it in while chatting on the phone. Golden is good, charred is…less good. Let it cool a bit. Or don’t. I rarely wait.
- Meanwhile, whisk up the egg yolks and lime zest until it thickens a little. (This is where I sneak a taste. Just kidding—raw eggs, eek. Or am I?)
- Pour in the condensed milk and lime juice, whisk (or use a fork; heck, a spoon works in a jam) until smooth and creamy. If it looks a little weird, totally normal. It’ll set up nicely in the oven. Probably.
- Pour that glorious filling into your slightly-cooled crust. Smooth the top. Bake for 15 minutes; the center will jiggle just a little. It should—not too firm, not too soupy. It’s kind of a Goldilocks thing.
Let it cool on the counter until it’s room temp. Then into the fridge it goes—at least 3 hours. Or overnight, which I really think makes it taste even better the next day!
Things I’ve Learned (Nobody’s Perfect, Right?)
- Don’t go too heavy on the zest—once I added so much, it was almost like eating perfume. Yikes.
- If you’re using bottled lime juice, toss in a bit more zest to make up for the missed fresh flavor.
- The crust doesn’t have to be perfect. If it crumbles, just call it rustic. Works every time—or almost every time, anyway.
How I’ve Tweaked This (Successes and the Not-So-Great)
- I once tried making this with gingersnap cookies instead of graham crackers—spicy but actually not bad! (Probably wouldn’t do the Oreo crust again… was kinda weirdly sweet.)
- Have swapped half the condensed milk for Greek yogurt when I ran out. Pie was a bit tangier, but honestly? Not terrible.
- I keep meaning to make a coconut crust—hasn’t happened yet. Maybe this summer. Or next.
Do You Even Need a Pie Plate?
Pie plate is standard, but if you’re like me and that thing vanished (borrowed? abducted by pie aliens?), a cake pan or even a square baking dish totally works. Just don’t use a springform—learned that one the hard way, the crust leaks. Oh, and if you need more help with lining or prepping pans, Serious Eats explains it nicely here.
Stashing Leftovers (If You Have Any…)
This pie will last about 3-4 days in the fridge, just wrapped (or covered with a plate if plastic wrap is nowhere to be found). But honestly, in my house it never lasts more than a day—sometimes not even that long. Once, I hid a slice behind the pickles. Didn’t work.
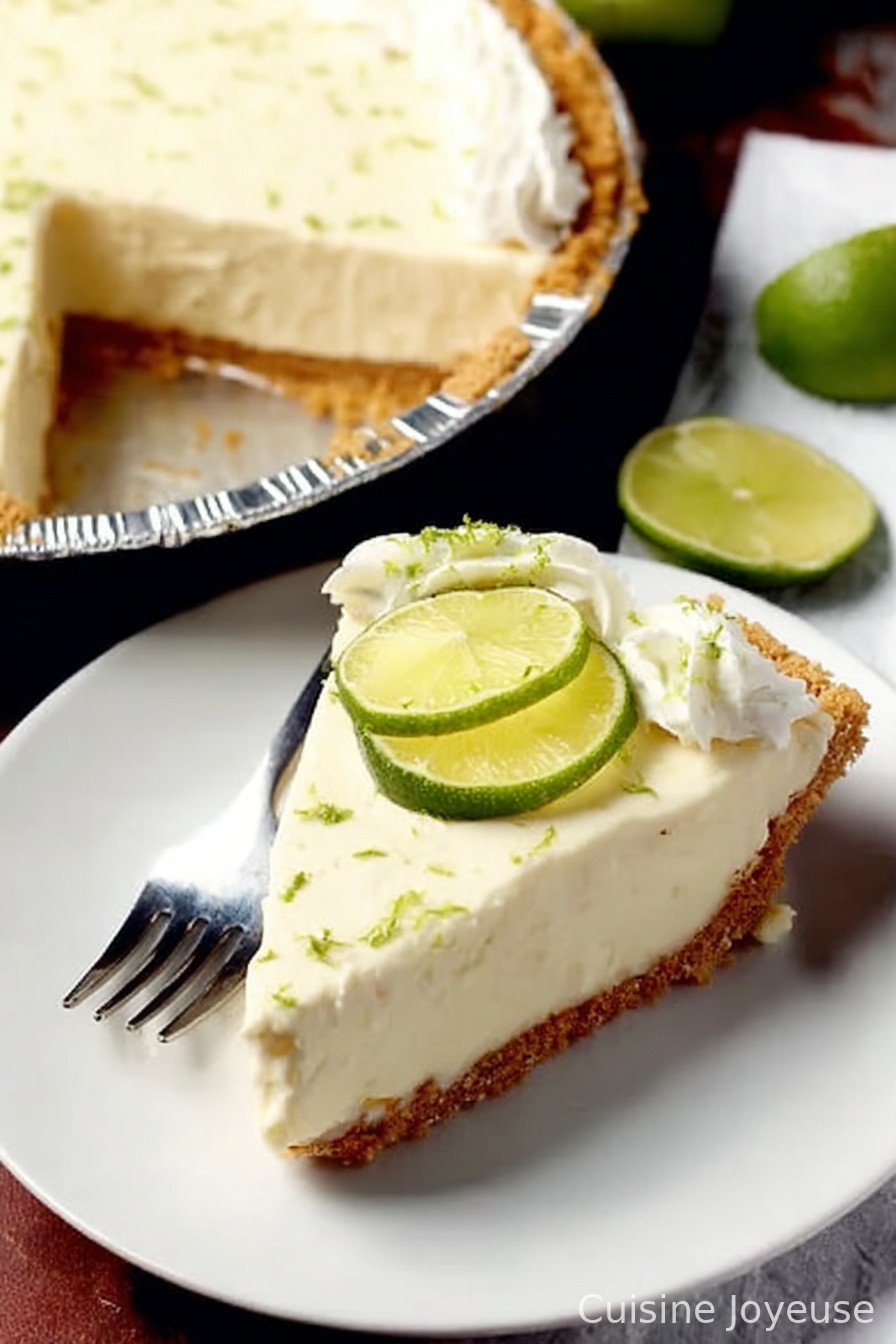
How We Serve It (And a Family Quirk)
I love piling on fresh whipped cream—sometimes with a handful of toasted coconut if I’m in a tropical mood. My cousin claims it’s ‘sacrilege’ to serve without extra lime zest on top, but I let the whipped cream take the spotlight. Also, sometimes we eat it right from the dish—who’s judging?
Mistakes That Taught Me
- I tried to rush the chilling once, popped it in the freezer for 30 minutes so I could take it to a party, but nope—edges were all icy. Just let it chill in the fridge, no shortcuts.
- Baked it at a higher temp thinking it’d be done faster. Top browned weirdly, center didn’t set… lesson learned, slow and steady is your friend.
A Few Real Questions Folks Have Asked Me
- Can I use regular limes instead of key limes?
- Oh absolutely, I do it all the time because key limes are fiddly and honestly, expensive where I live. The taste is a bit more mellow but still zingy.
- Do I REALLY need to bake the pie?
- I get this a lot! I usually bake for food safety with the eggs (and it helps everything set up), but I’ve seen no-bake versions online. I just feel better giving it 15 minutes in the oven, but you do you.
- Can I make this in advance?
- Yep, and actually, I think it tastes better the next day! The flavors get friendly in the fridge. But don’t add the whipped cream until you’re ready to serve—it melts and gets a bit sad otherwise.
- Help, my crust stuck to the pan!
- Been there. Next time, give the pan a swipe of butter, or just embrace the crumbly crust. Maybe call it a key lime mess—no shame.
And look, if you just want to eat the filling by the spoonful before you even pour it into the crust? No judgment; we’ve all been there. Alright, that was quite a ramble, but if you’ve made it this far—which, thanks for indulging me—go grab some limes and get baking!
Ingredients
- 1 1/2 cups graham cracker crumbs
- 1/3 cup granulated sugar
- 6 tablespoons unsalted butter, melted
- 1 can (14 oz) sweetened condensed milk
- 4 large egg yolks
- 1/2 cup key lime juice (fresh or bottled)
- 1 tablespoon grated lime zest
- 1 cup whipped cream (for topping)
Instructions
-
1Preheat the oven to 350°F (175°C).
-
2In a medium bowl, mix graham cracker crumbs, sugar, and melted butter until combined. Press the mixture firmly into the bottom and up the sides of a 9-inch pie dish.
-
3Bake the crust for 8 minutes, then remove from oven and allow to cool slightly.
-
4In a large bowl, whisk together sweetened condensed milk, egg yolks, key lime juice, and lime zest until well blended. Pour the filling into the cooled crust.
-
5Bake for 12 minutes or until the center is set but still slightly jiggly. Remove and let cool to room temperature, then refrigerate for at least 2 hours.
-
6Before serving, top with whipped cream and garnish with additional lime zest if desired.
Approximate Information for One Serving
Nutrition Disclaimers
Number of total servings shown is approximate. Actual number of servings will depend on your preferred portion sizes.
Nutritional values shown are general guidelines and reflect information for 1 serving using the ingredients listed, not including any optional ingredients. Actual macros may vary slightly depending on specific brands and types of ingredients used.
To determine the weight of one serving, prepare the recipe as instructed. Weigh the finished recipe, then divide the weight of the finished recipe (not including the weight of the container the food is in) by the desired number of servings. Result will be the weight of one serving.
Did you make this recipe?
Please consider Pinning it!!