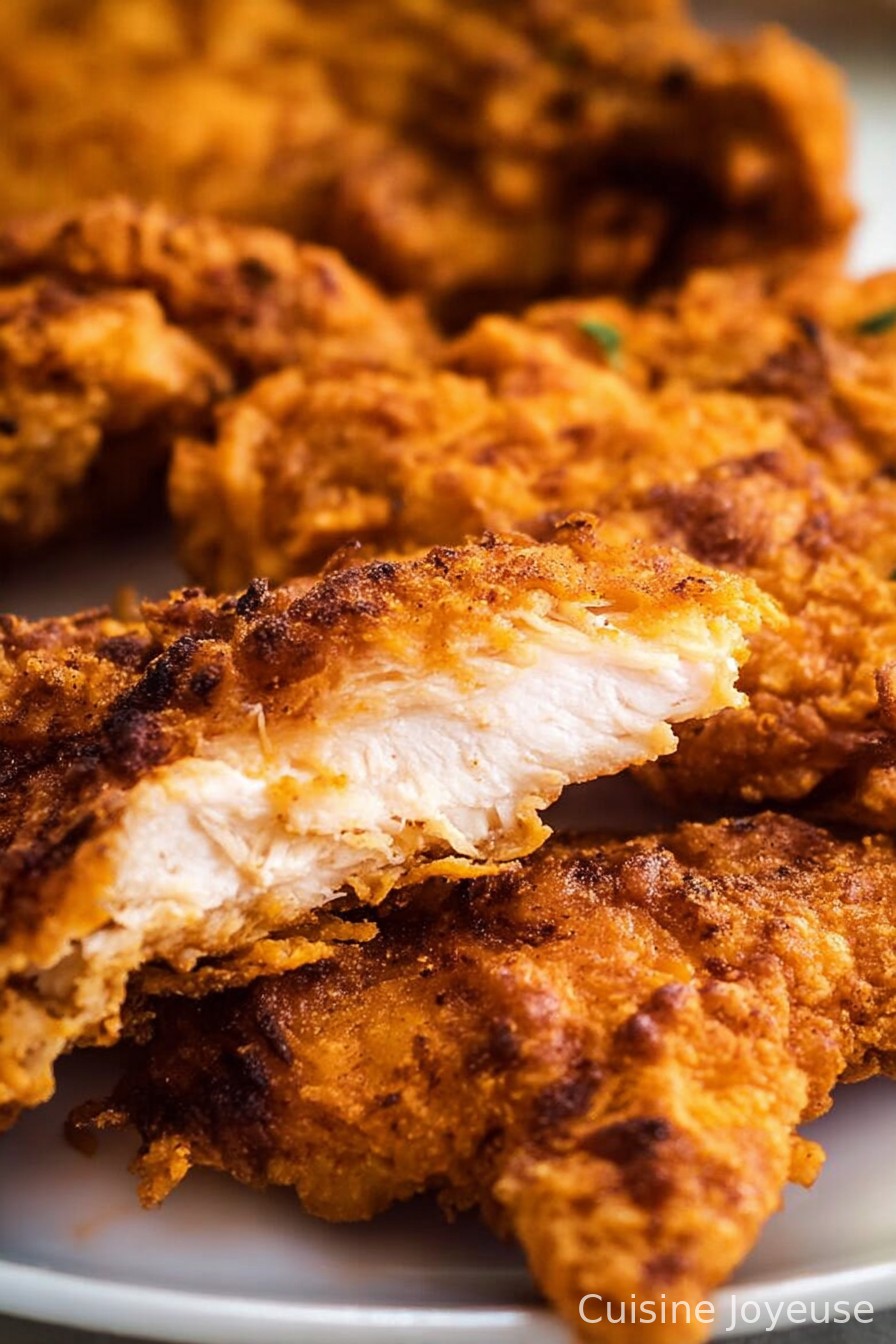
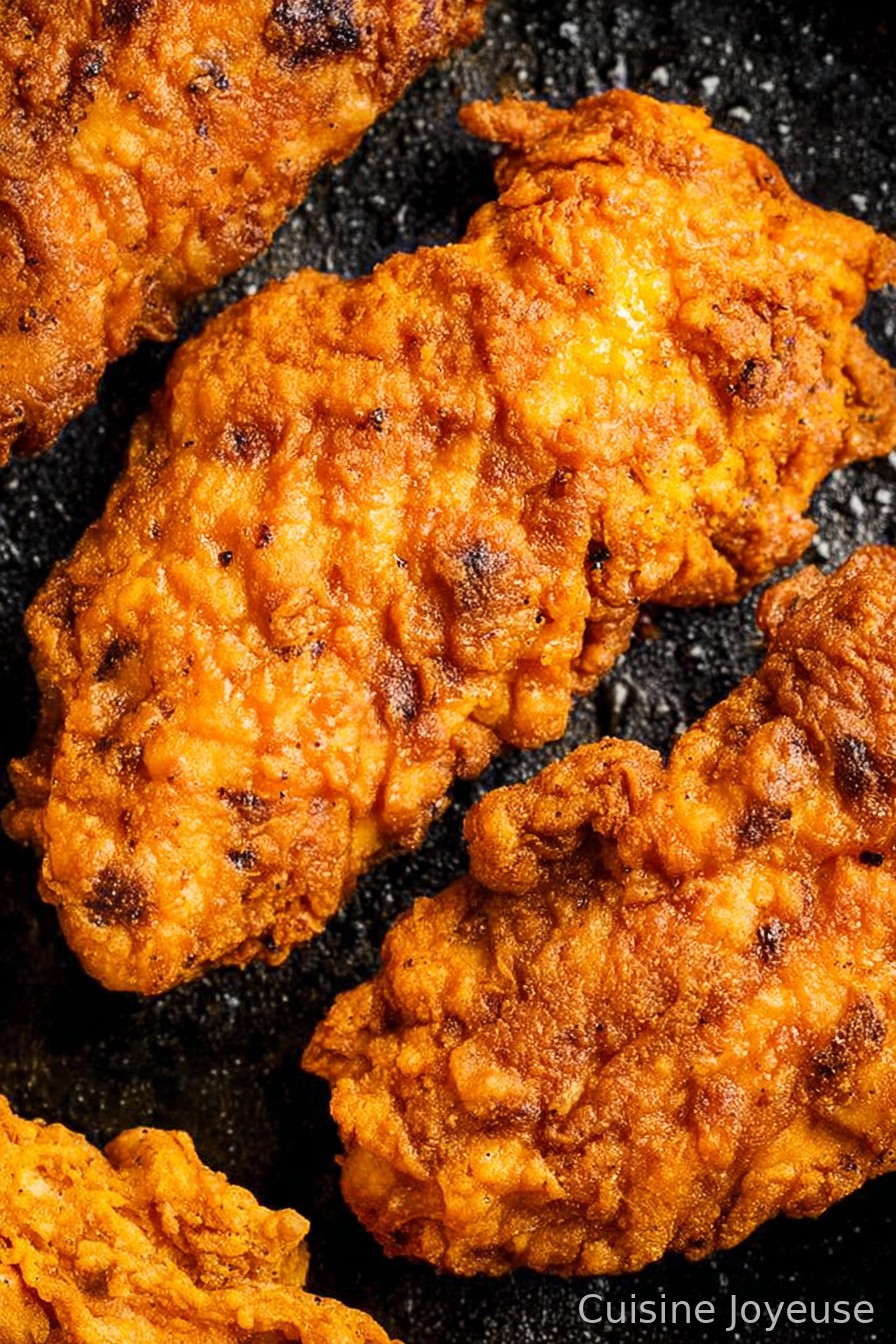
Crispy Oven Fried Chicken
Let Me Tell You About My Crispy Oven Fried Chicken
You ever get a craving for fried Chicken but don’t want the hassle (or, honestly, the sticky kitchen aftermath) of deep frying it? Yeah, me too, way too often. So this crispy oven fried Chicken is my go-to. I remember the first time I made it—it was pouring outside, the football game was about to start, and I’d forgotten oil on my big shop. Did I panic? Yep. But after a bit of kitchen improvising (and some, uh, creative language), out popped this golden, crunchy magic. Now, even my neighbor pops round whenever he gets a whiff from the drive. He never brings the Tupperware back, but, c’est la vie, right?
Why I Think You’ll Love This (or maybey, need it in your life)
- I make this when we’ve got that “it’s gotta be comfort food tonight” feeling (I swear my kids can sense it, somehow).
- My family goes a bit bonkers for the crispy coating—I once had to hide a piece behind the blender just so I could taste leftovers for lunch (spoiler, I forgot about it and it was gone anyway… thanks kids).
- If you’re scared of hot oil splatters and ruined shirts (I so am), this is your ticket.
- Honestly, it saves a heap of dishes. And for a home cook, that’s the real MVP.
- I used to think only deep-frying got it crunchy, but oven magic does the trick—provided you don’t skip the step nobody likes: preheating!
What You’ll Need (Substitutions & “My Gran Did It This Way” Tips)
- About 1.5kg chicken (drumsticks and thighs are my fav, but boneless works if you’ve got fussy eaters or just less patience)
- 2 cups buttermilk (or, here’s my hack: milk + a decent splash of lemon juice if you forget buttermilk like, always)
- 1 1/2 cups plain flour (whole wheat works, but it’s a bit less crisp; self-raising? That’s a thing I’ve seen but haven’t tried, tbh)
- 1 1/2 cups cornflakes, crushed (or panko, or just more flour—though it won’t be quite as crazy crunchy)
- 1 tsp smoked paprika (sometimes I double this, but up to you, mate)
- 1 tsp garlic powder
- 1 tsp onion powder (or just chuck in a bit more garlic powder)
- 1/2 tsp cayenne (only if you like it with a bit of kick—my youngest claims it’s “lava” otherwise, so I keep it mild)
- Big pinch of salt & black pepper (I never actually measure—just, you know, go with your gut)
- 4-5 tbsp oil (canola, veggie, or olive oil—whatever’s in the cupboard)
How I Actually Cook This (Warts and All)
- Soak the chicken in buttermilk. Just toss your chicken in a bowl with the buttermilk and let it sit. An hour’s great, overnight’s even better, but if you’re short on time, even 30 mins does the trick. (I sometimes forget I started this, so—don’t panic, it’ll still work fine!)
- Preheat your oven like you mean it. Crank it up to 220°C/425°F. Trust me, it makes the crunch happen.
- Coating time! Mix flour, cornflakes, paprika, garlic (onion powder, all that jazz) in a big, shallow bowl. Season generously. (This is where I usually sneak a taste of the coating. Just me? Okay then.)
- Dredge every piece. Grab the chicken, shake off excess buttermilk, coat well in the flour-cornflake mixture. I press it on pretty firmly. Don’t be dainty. If you’ve got sticky fingers, you’re doing it right.
- Oil it up. Line baking sheet with foil or parchment (easy washing up!) and set a wire rack on top—if you’ve got one. Not got one? Straight on the tray works, but you’ll have to flip halfway (just saying… it’s still tasty).
- Drizzle or spritz (if you have a spray bottle, fancy) oil on each piece. Not drowning, just enough that they get crisp.
- Bake for 35-45 mins, until golden and crispy. Flip halfway if you’re not using a rack. Chicken should be cooked through—just peek and if it looks dry, probably best to eat right away or reheat with a damp paper towel covering it.
Learned the Hard Way (Notes ‘form’ my kitchen)
- Don’t skip the buttermilk soak. Without it, the coating just won’t stick the same (I tried to cut that corner, and, let’s be honest, it was… underwhelming).
- If your coating’s looking a bit patchy, pack a bit more on—it’s forgiving. Actually, too much is never enough, right?
- Leave space between chicken pieces. If they’re all squished up, you’ll steam the coating instead of crisping it (ask me how I know…)
If You’re Feeling Adventurous (Variations I’ve Definitely Tried… and One Disaster)
- Swap out the cornflakes for crushed tortilla chips—surprisingly ace, and more Tex-Mex than KFC.
- I once did a honey-garlic glaze in the last 10 minutes of baking. Delicious, but sticky as heck—maybe skip if you hate cleaning up.
- Tried using almond flour once (keto phase, don’t ask)—tasted alright, but didn’t go very golden. Maybe not worth repeating.
Do You Need Fancy Kit? (Equipment Chat)
In a perfect world, you’d use a wire rack over a baking tray; it keeps the chicken crispy all over. Don’t have one? I just crumple up some foil into logs and balance the chicken on that—works in a pinch! Oh, and grab some tongs unless you don’t mind messy fingers (honestly though, that’s part of the fun).
Got Leftovers? (Storage Reality Check)
Fridge, sealed container, up to 3 days—but honestly, in my house it never lasts more than a day! If you do reheat, pop it back in the oven for 10 mins at 180°C just to get some crunch back (microwave is a bit of a let down, but hey—needs must!).
How I Like to Serve It (And When I Don’t)
I’m all about the classic sides: pile up some coleslaw, maybe a big dollop of mash, if you’re feeling fancy. For picnics, I wrap the cooled chicken in foil and it’s almost better at room temp (I think this tastes better the next day, though my brother says that’s “criminal”—each to their own).
Once, I tried putting it on waffles with syrup—it’s, uh, more American than my breakfast appetite was ready for, but honestly, try it once.
If I Could Give Only One Pro Tip (Learned The Painful Way)
Don’t crowd the tray. I once tried to stack a few too close and ended up with soggy-skinned bits—meh. Also, don’t rush the preheat, or the chicken turns out pale and sad, and no one needs that, especially not on a Sunday night.
Real FAQ’s, Because My Friends Never Stop Asking
- Can I use breasts instead of drumsticks? Yep, but watch the time. Breasts can dry out faster. Actually, I find thighs are juicier, but it’s your call.
- Is it really crispy? I get this all the time—yes! But don’t skimp the oil spray or the hot oven. If it’s still not crisp, on second thought, maybe try flipping it one more time in the oven toward the end.
- What if I’m gluten-free? I’ve swapped in gluten-free flour and GF cornflakes for my mate Dave. Turns out fine, although the flavor changes a bit.
- I don’t have buttermilk, help! Ok, just use milk + a splash of lemon juice or vinegar, let it sit 10 mins. It totally works, promise.
- Can I freeze it? Sure, but it’s never quite as crispy reheated—think of it as emergency lazy dinner material. (Not that I haven’t done it…)
Well, if you made it this far, I’m guessing you’re pretty serious about your chicken—so I hope this crispy oven fried chicken brings as much joy (and neighbor envy) to your kitchen as it does to mine. Let me know if you find that missing Tupperware lid? Still looking for mine…
Ingredients
- 8 chicken drumsticks or thighs, skin-on
- 1 cup buttermilk
- 1 cup all-purpose flour
- 1 cup panko breadcrumbs
- 1 teaspoon salt
- 1/2 teaspoon black pepper
- 1 teaspoon paprika
- 1/2 teaspoon garlic powder
- 1/2 teaspoon onion powder
- 2 tablespoons olive oil (for drizzling)
Instructions
-
1Preheat your oven to 425°F (220°C). Line a baking sheet with parchment paper or a wire rack.
-
2In a large bowl, marinate the chicken pieces in buttermilk for at least 15 minutes for extra tenderness.
-
3In another bowl, mix together flour, panko breadcrumbs, salt, pepper, paprika, garlic powder, and onion powder.
-
4Remove chicken from buttermilk, allowing excess to drip off. Dredge each piece in the flour mixture until well coated.
-
5Arrange the coated chicken on the prepared baking sheet. Drizzle olive oil evenly over the top of the chicken pieces.
-
6Bake for 35-40 minutes or until the chicken is golden brown and cooked through, with an internal temperature of 165°F (74°C). Serve hot and enjoy!
Approximate Information for One Serving
Nutrition Disclaimers
Number of total servings shown is approximate. Actual number of servings will depend on your preferred portion sizes.
Nutritional values shown are general guidelines and reflect information for 1 serving using the ingredients listed, not including any optional ingredients. Actual macros may vary slightly depending on specific brands and types of ingredients used.
To determine the weight of one serving, prepare the recipe as instructed. Weigh the finished recipe, then divide the weight of the finished recipe (not including the weight of the container the food is in) by the desired number of servings. Result will be the weight of one serving.
Did you make this recipe?
Please consider Pinning it!!