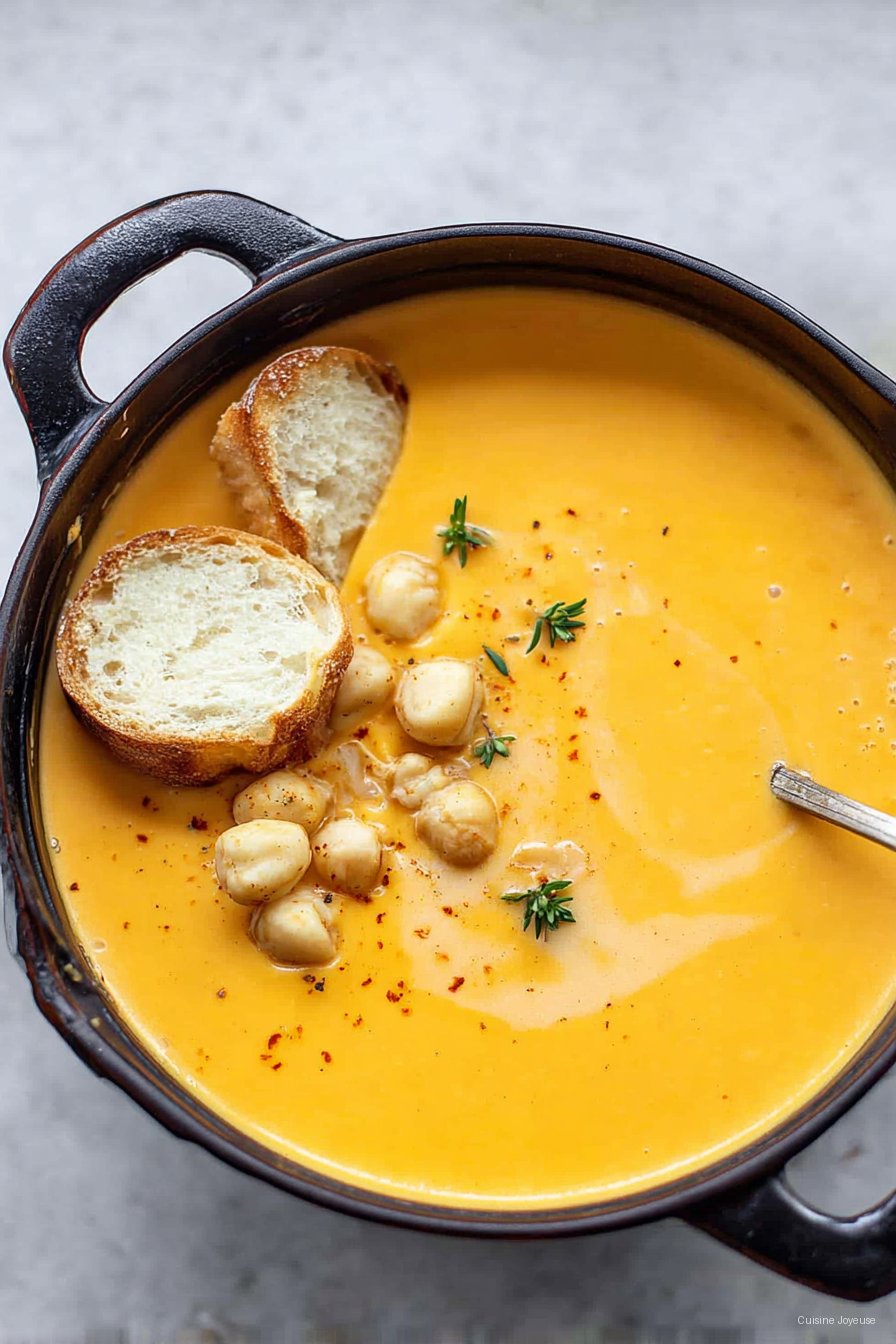
Creamy Butternut Squash Soup
Creamy Butternut Squash Soup—Trust Me, It’s Worth the Mess
If you’ve ever ended up with squash guts on your shirt (been there, done that), you’re in the right place. I first made this soup on a blustery November day when my cousin showed up unannounced with three butternut squashes and a wild plan to “make something autumnal.” We winged it, spilled a bit (okay, a lot), and laughed so hard we nearly forgot about the soup. Luckily, it smelled so good we remembered just in time. To this day, every time I make it, I think of that afternoon—and how my dog tried to eat a raw squash chunk and immediately regretted his life choices.
Why You’ll Love This (or at least not hate it)
I make this creamy butternut squash soup when the weather can’t decide if it’s winter or just being dramatic. My family goes nuts for it—except my husband, who claims he “doesn’t like soup” but somehow always goes back for seconds (explain that to me, please). I love it because it’s the kind of recipe that forgives you for forgetting to buy heavy cream or for letting the squash roast a little too long. And let’s be honest, sometimes the color looks… well, interesting, but it tastes amazing regardless.
Here’s What You’ll Need (with a few swaps)
- 1 large butternut squash (about 2 to 2.5 lbs) – Sometimes I cheat and buy the pre-cut stuff. It’s pricey but saves my poor wrists.
- 1 medium yellow onion, roughly chopped – I’ve used red onions in a pinch; it’s fine.
- 2 carrots, peeled and chopped – Or skip if you’re out. I did once and no one noticed.
- 3 garlic cloves, smashed – My grandmother insisted on peeling every clove, but I just bash them with a knife and call it a day.
- 3-4 cups vegetable broth – Chicken broth works too. I’ve even used water with a bouillon cube; didn’t taste half bad!
- 2 tbsp olive oil – Butter is lovely if you’re feeling fancy.
- 1/2 tsp ground nutmeg – Or cinnamon if you want a twist (sometimes both if I can’t decide; it gets a bit wild).
- Salt and pepper, to taste
- 1/2 cup heavy cream or full-fat coconut milk – But honestly, sometimes I just use a splash of milk or skip it for a lighter vibe.
Let’s Get Cooking! (Don’t sweat the mess)
- Roast the squash and veggies: Preheat your oven to 400°F (200°C). Toss squash, onion, carrots, and garlic with olive oil, salt, and pepper. Spread them on a big baking sheet (if it’s crowded, use two—I always think one will do and then regret it). Roast everything for about 30-35 minutes, until tender and a bit caramelized. This is when I steal a roasted carrot. For “quality control.”
- Blend it up: Dump veggies into a large pot (I sometimes just use the baking sheet, carefully). Add the broth. Bring it to a gentle simmer for 10 minutes, just to get all the flavors mingling.
- Puree time: Here’s where a stick blender is your best mate (seriously, I’ve tried doing this in batches in a blender and ended up with hot soup on the ceiling). If you don’t have one, just let the soup cool a bit before blending in batches. It’s a faff but doable.
- Creamy finale: Stir in your cream or coconut milk. Taste and adjust salt, pepper, and maybe a little extra nutmeg. The color might look a bit odd now—don’t freak out, it evens out.
- Serve: Ladle into bowls. Sometimes I swirl in a bit more cream on top. Looks fancy, takes two seconds.
Some Things I’ve Learned (the messy way)
- I once tried to speed up roasting by turning the oven hotter. Ended up with charred squash outsides and raw middles. Don’t do that.
- Forgot to peel the squash once. Uh, texturally… not great.
- Actually, I find letting the soup sit for 20 mins before serving makes it taste even better. Go figure.
Variations I’ve Tried (some good, some…not)
- I threw in an apple once—adds a hint of sweetness. Kind of lovely.
- Chipotle powder for smoky heat? Yes please (unless you’re my spice-averse cousin, then maybe not).
- Once added lentils for protein. It was “hearty,” but honestly, it made the texture a bit odd. Next time, I’ll just serve bread on the side.
- Some folks swear by adding a little maple syrup, and you know what? I tried it, and it’s not bad at all.
What You’ll Need in the Kitchen
- Baking sheet – Don’t have one? Use a roasting pan, or honestly, a big oven-proof dish works.
- Big soup pot
- Stick blender (hand blender)—If you don’t have one, a regular blender will do, but just watch out for hot splashes. (I ruined a tee shirt once. RIP.)
- Stirring spoon and ladle
Storing This Soup (If It Even Lasts That Long)
Pour leftovers into an airtight container and pop it in the fridge. It’ll keep 3 days, maybe 4 if you’re lucky—though honestly, in my house it never lasts more than a day! You can freeze it too; just skip the cream or add it after reheating. Texture can get a little funny, but nothing a good whisk won’t fix.
How I Like to Serve It
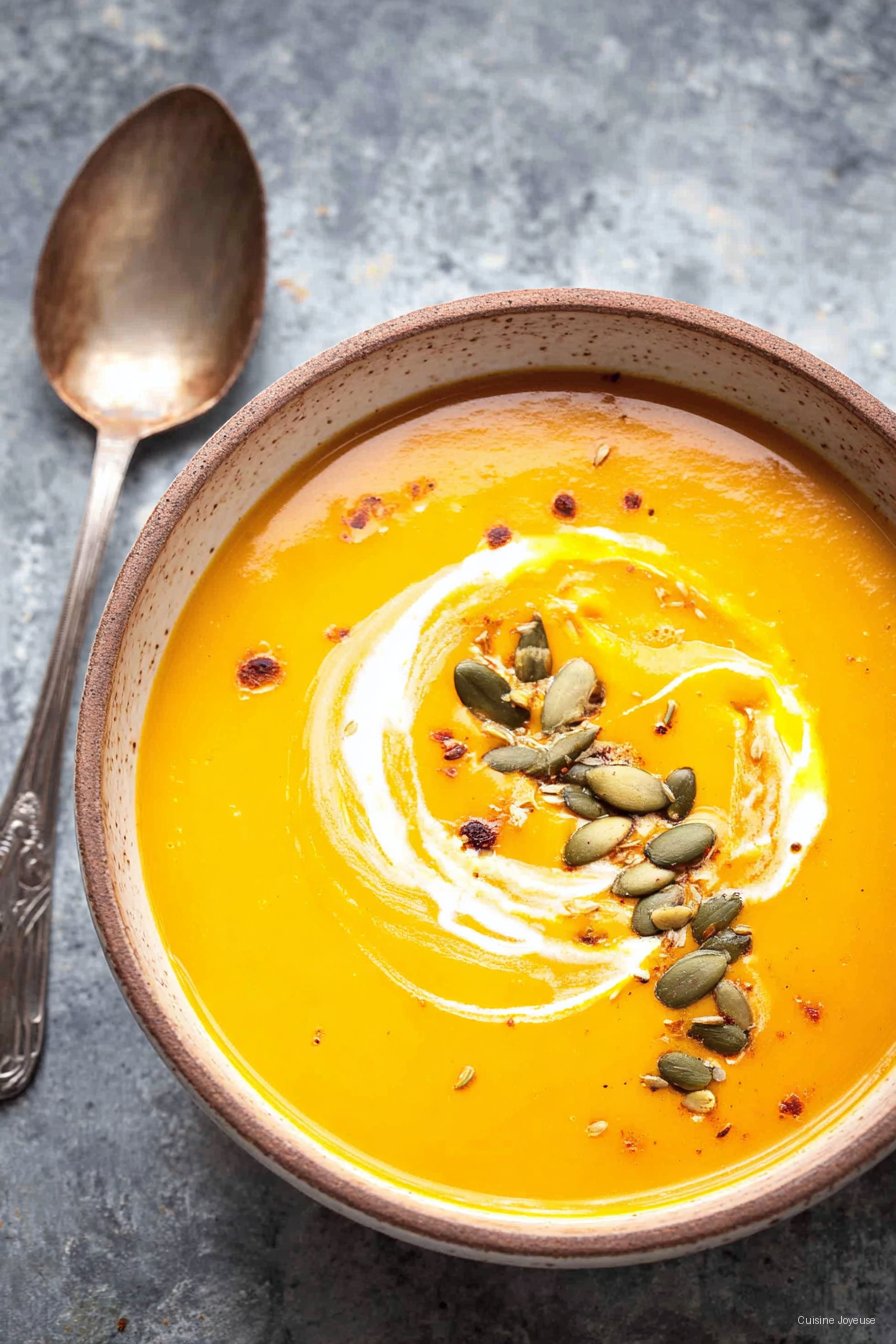
Best with a hunk of crusty bread (preferably warm, but sometimes we just grab whatever’s handy). My family also likes a sprinkle of pumpkin seeds or a dollop of sour cream on top. Once, we even crumbled bacon over it for a treat. Oh, and on really lazy days, I’ll just eat it straight from the mug with a spoon, no judgement.
Lessons Learned: Real-Life Soup Wisdom
- Don’t try to peel the squash with a dull knife. I’ve done it; my hands were sore for days.
- I rushed the blending once and left chunks. Not the vibe I was going for. Take a minute, blend it well.
- Taste as you go! I added too much nutmeg once and… well, let’s just say, less is more.
FAQ—People Actually Ask Me These
- Can I make this vegan? Yep! Just use veggie broth and coconut milk, skip the cream. Done and dusted.
- What if I don’t have butternut squash? Try pumpkin or even sweet potato. Actually, a mix works nicely too (did that last Thanksgiving when I forgot what I’d bought).
- How do I get it super smooth? Good question. I use a stick blender and just keep going until it’s silky. If it’s still lumpy, run it through a mesh strainer (or just call it “rustic”).
- Can I prep this ahead? Absolutely. Honestly, I think this tastes better the next day anyway—flavors sort of mellow and mingle, you know?
- Do you have a fave bread to serve with it? Oh yes—if you want to bake, I love the no-knead recipe here. Or just grab a loaf form your local bakery. No shame!
- Any tips for picking a good squash? I go for ones that feel heavy for their size and have matte skin. Glossy ones tend to be underripe—learned that the hard way.
- Oh, and where do you get your soup bowls? Funny you ask—I got mine at a flea market but Food52 has some gorgeous ones. Not an ad, just a fan.
Before I forget, here’s a random aside: When I first tried making this, I thought “cream” was essential, but—surprise!—it’s just as good without. Sometimes less is more. But now and then, I go all out and top it with fried sage leaves, which makes me feel borderline chef-y. Anyway, enough rambling—go make some soup, and don’t stress if your kitchen looks like a squash murder scene. Been there, survived that, and it’s always worth it.
Ingredients
- 1 medium butternut squash (about 2 lbs), peeled, seeded, and cubed
- 1 medium yellow onion, chopped
- 2 cloves garlic, minced
- 2 tablespoons olive oil
- 4 cups vegetable broth
- 1/2 cup heavy cream
- 1/2 teaspoon ground nutmeg
- Salt and black pepper to taste
Instructions
-
1Heat olive oil in a large pot over medium heat. Add chopped onion and cook until softened, about 4 minutes.
-
2Stir in minced garlic and cook for 1 minute until fragrant.
-
3Add cubed butternut squash, vegetable broth, nutmeg, salt, and pepper. Bring to a boil, then reduce heat and simmer for 25-30 minutes, until squash is tender.
-
4Remove pot from heat. Use an immersion blender to puree the soup until smooth, or carefully blend in batches using a countertop blender.
-
5Stir in the heavy cream. Taste and adjust seasoning as needed. Serve hot, garnished with a swirl of cream or fresh herbs if desired.
Approximate Information for One Serving
Nutrition Disclaimers
Number of total servings shown is approximate. Actual number of servings will depend on your preferred portion sizes.
Nutritional values shown are general guidelines and reflect information for 1 serving using the ingredients listed, not including any optional ingredients. Actual macros may vary slightly depending on specific brands and types of ingredients used.
To determine the weight of one serving, prepare the recipe as instructed. Weigh the finished recipe, then divide the weight of the finished recipe (not including the weight of the container the food is in) by the desired number of servings. Result will be the weight of one serving.
Did you make this recipe?
Please consider Pinning it!!