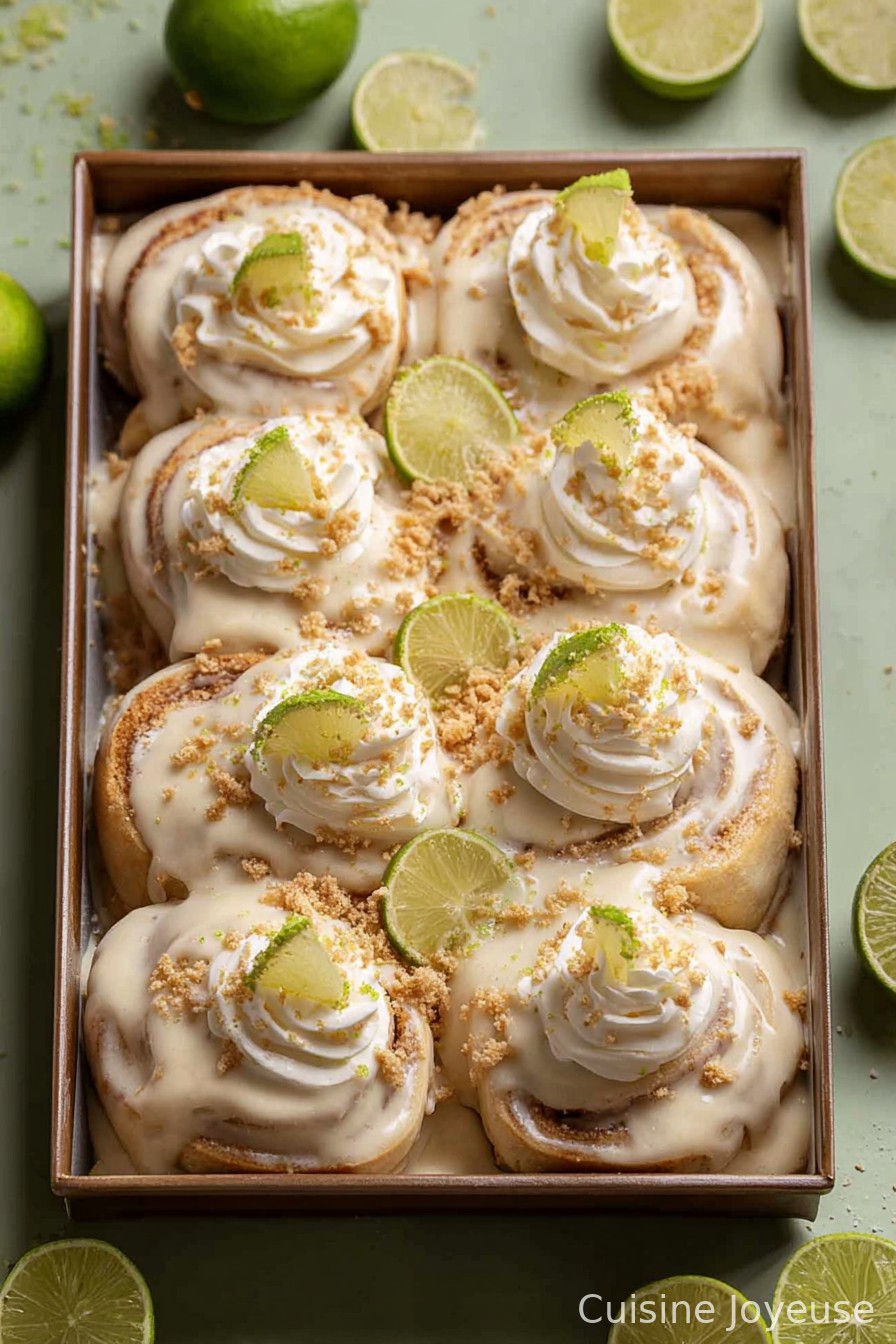
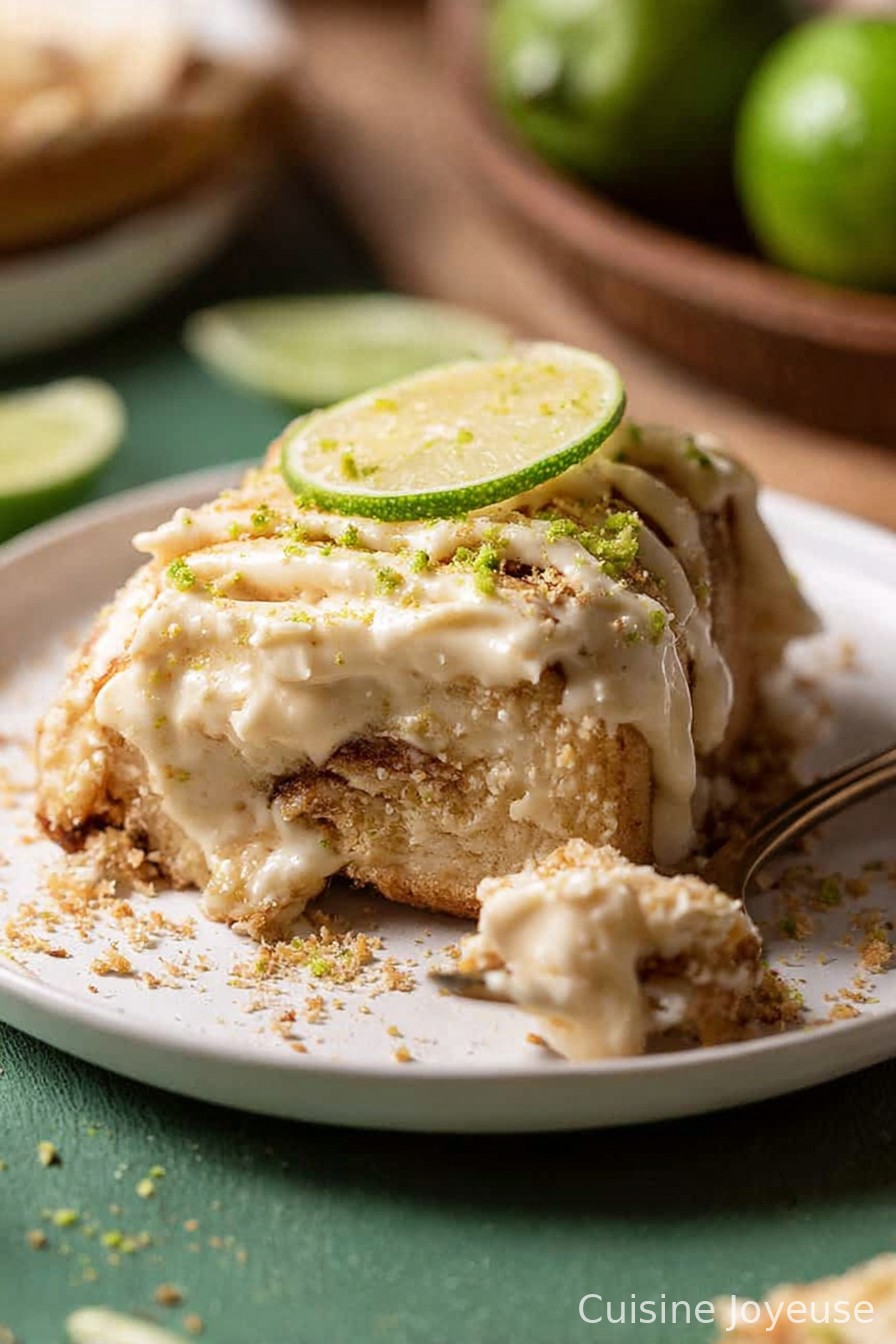
Zesty Key Lime Pie Rolls
Let Me Tell You About Zesty Key Lime Pie Rolls…
Okay, so I have to admit: the first time I made these Zesty Key Lime Pie Rolls was strictly out of laziness. My cousin wanted the classic pie, but I just did not have it in me that day to make a whole crust and faff around with a pie tin. Enter: handy dandy rolls. But, my goodness, I was not expecting the combo of that zippy lime filling with pillowy dough to be this dangerous. I’ve been rolling (pun—completely intended) these babies out ever since. And honestly, who doesn’t want mini key lime pies you can eat with your hands? Like, no fork? Count me in.
Why I Keep Making These All Summer
I make this recipe whenever my family starts dropping subtle (not subtle) hints that they’re “really craving something sweet but not too heavy.” My nephews think it’s basically doughnuts in disguise—I’m pretty sure my sister hasn’t forgiven me for the sugar buzz last Easter. Also, when I want that crave-able key lime zing without busting out the food processor, these rolls absolutely save my bacon. Honestly, rolling the dough is fun (if a little sticky—just warning you), and the smell in the kitchen is wildly dangerous for your self-control. The hardest part? Not licking the icing bowl (I fail at this frequently, to be fair).
What You’ll Need (And What You Can Swap)
- 2 cups all-purpose flour (I sometimes swap out 1/2 cup for whole wheat if I’m feeling virtuous, but don’t stress if you don’t have any on hand)
- 2 tablespoons granulated sugar (my grandma swears by raw sugar, but I’ve used regular and it comes out just fine)
- 1 packet (2 1/4 tsp) instant yeast
- 1/2 teaspoon salt
- 3/4 cup warm milk (I’ve grabbed almond milk in a pinch—works, but the texture’s barely different)
- 3 tablespoons melted butter
- 1 large egg
- For the Filling:
- 1/3 cup cream cheese, softened (full disclosure: I’ve accidentally used the whipped type. Somehow, it still works!)
- 1/3 cup sweetened condensed milk
- 1/4 cup key lime juice (when I’m out, regular lime juice with a touch of lemon does the trick)
- Zest of 2 key limes (or regular limes if you’re not near the tropics)
- 2 tablespoons powdered sugar
- For the Icing:
- 1 cup powdered sugar
- 2 tablespoons key lime juice (again, regular will do if that’s all you’ve got)
- 1 tablespoon softened butter
Here’s the Play-by-Play (aka How To Not Make A Total Mess Of It)
- Mix up the dough: In a big bowl, whisk flour, sugar, salt, and yeast. Then add warm milk, melted butter, and the egg. Stir until it comes together in a shaggy, floury mess.
- Knead that dough: Dump it onto a lightly floured surface and knead for about 5 minutes, until it’s smoothish. Don’t panic if it’s a little sticky—just grit your teeth and keep going. (If you have a stand mixer, by all means, let it do its thing!)
- First rise: Toss the dough into an oiled bowl, cover with a tea towel, and leave it somewhere vaguely warm for about an hour, or till it’s roughly doubled. In winter, I park mine on top of the dryer—don’t judge.
- Make the filling: Beat together cream cheese, condensed milk, lime juice, zest, and powdered sugar until it’s smooth. This is usually where I sneak my first taste. If it’s too runny, add a bit more powdered sugar; you want it spreadable but not soupy.
- Roll it out: Punch down the dough (actually, I really love this part), then roll into a big rectangle, about 1/4 inch thick—if it’s wonky, that’s fine. Perfection is overrated, right?
- Load with filling: Spread the cream cheese-lime magic all over, right to the edges if you’re wild. Roll it up tightly, like you’re making a cinnamon roll, and pinch the seam shut.
- Slice and arrange: Cut into 10 to 12 rolls (a bit uneven? That just means more for the lucky few). Line them up in a buttered baking dish, leaving space to rise.
- Let them puff: Cover and let rise another 30 minutes. If your kitchen’s cold, just give it a little extra time—no biggie.
- Bake: Slide into a 350F (180C) oven for 20 to 24 minutes, until just golden but not dry. (If they look a bit pale underneath, that’s normal. Better soft than overdone, in my humble opinion.)
- Whip up the icing: While they’re still warm, mix up powdered sugar, lime juice, and butter into a zesty frosting. Slather over the rolls once they’re out—don’t wait for them to be cold, the icing melts in and it’s glorious.
Real-Life Notes from My Kitchen
- If your filling leaks out a bit, no worries—scrape it up and spoon over the top. No one’ll complain.
- I once tried chilling the dough overnight. Actually, I find it works better if you let it come back to room temp before rolling or it’ll fight you every inch of the way.
- Regular limes work fine but aren’t quite as zingy—might be a psychological thing, who knows?
My Experiments (aka Roll Stories)
- Once tossed in a handful of crushed graham crackers into the filling—great crunch
- Tried swirling in mashed strawberries… eh, it got messy and weirdly pink, but maybe you’ll have better luck
- If you’re feeling fancy, sprinkle some toasted coconut on top. Game changer
Don’t Sweat the Equipment
You don’t have to own a rolling pin—I’ve used a wine bottle before. For slicing, dental floss (unflavored, trust me!) makes for surprisingly neat cuts, especially if your knife’s seen better days.
Storage Stuff (Assuming You Actually Have Leftovers)
Store covered at room temp for about a day, maybe two. Better in the fridge if it’s warm, but let them come to room temp before eating. In my house? These are gone by breakfast the next day. If you want to freeze, just wrap well and ice after thawing.
How I Like to Serve ‘Em
Big mug of coffee, sunny porch, maybe with berries or a dollop of whipped cream if I’m feeling posh. My uncle swears by a little extra lime zest on top. And if we’re being honest—sometimes we just eat them right out of the pan, no judgement.
Pro Tips I Learned the Hard Way
- Don’t rush the dough rising. I once forgot and the rolls came out dense as a brick. Slow and steady—listen to your dough!
- If you’re doubling the icing—I’m not saying you should, but… you totally can.
- Don’t overbake. I tried for “extra golden” once and they basically entered scone territory. Not the vibe.
Questions Folks Actually Asked Me
- Can I use bottled lime juice? Sure, but if you can get real limes, the zest is kind of a must for that true zing. Bottled is handy, though.
- Do these work with gluten-free flour? I’ve tried a cup-for-cup blend once—needed an extra splash of liquid, but they turned out okay-ish.
- Could I make these ahead? Yep, make the night before and let the rolls rise in the fridge overnight. Let them warm up before baking in the morning.
- Is the icing really necessary? Well, technically no, but life’s too short to skip icing, isn’t it?
- Can I halve the recipe? Yep, did it twice. Just make sure to check sooner on the bake time.
Anyway, if you do give these Zesty Key Lime Pie Rolls a spin, let me know how you find ’em. Or tell me how you doctor ’em up—always looking for another excuse to bake another batch. Cheers, and may your kitchen be just messy enough to show you’ve had fun!
Ingredients
- 2 cups all-purpose flour (I sometimes swap out 1/2 cup for whole wheat if I’m feeling virtuous, but don’t stress if you don’t have any on hand)
- 2 tablespoons granulated sugar (my grandma swears by raw sugar, but I’ve used regular and it comes out just fine)
- 1 packet (2 1/4 tsp) instant yeast
- 1/2 teaspoon salt
- 3/4 cup warm milk (I’ve grabbed almond milk in a pinch—works, but the texture’s barely different)
- 3 tablespoons melted butter
- 1 large egg
- 1/3 cup cream cheese, softened (full disclosure: I’ve accidentally used the whipped type. Somehow, it still works!)
- 1/3 cup sweetened condensed milk
- 1/4 cup key lime juice (when I’m out, regular lime juice with a touch of lemon does the trick)
- Zest of 2 key limes (or regular limes if you’re not near the tropics)
- 2 tablespoons powdered sugar
- 1 cup powdered sugar
- 2 tablespoons key lime juice (again, regular will do if that’s all you’ve got)
- 1 tablespoon softened butter
Instructions
-
1Mix up the dough: In a big bowl, whisk flour, sugar, salt, and yeast. Then add warm milk, melted butter, and the egg. Stir until it comes together in a shaggy, floury mess.
-
2Knead that dough: Dump it onto a lightly floured surface and knead for about 5 minutes, until it’s smoothish. Don’t panic if it’s a little sticky—just grit your teeth and keep going. (If you have a stand mixer, by all means, let it do its thing!)
-
3First rise: Toss the dough into an oiled bowl, cover with a tea towel, and leave it somewhere vaguely warm for about an hour, or till it’s roughly doubled. In winter, I park mine on top of the dryer—don’t judge.
-
4Make the filling: Beat together cream cheese, condensed milk, lime juice, zest, and powdered sugar until it’s smooth. This is usually where I sneak my first taste. If it’s too runny, add a bit more powdered sugar; you want it spreadable but not soupy.
-
5Roll it out: Punch down the dough (actually, I really love this part), then roll into a big rectangle, about 1/4 inch thick—if it’s wonky, that’s fine. Perfection is overrated, right?
-
6Load with filling: Spread the cream cheese-lime magic all over, right to the edges if you’re wild. Roll it up tightly, like you’re making a cinnamon roll, and pinch the seam shut.
-
7Slice and arrange: Cut into 10 to 12 rolls (a bit uneven? That just means more for the lucky few). Line them up in a buttered baking dish, leaving space to rise.
-
8Let them puff: Cover and let rise another 30 minutes. If your kitchen’s cold, just give it a little extra time—no biggie.
-
9Bake: Slide into a 350F (180C) oven for 20 to 24 minutes, until just golden but not dry. (If they look a bit pale underneath, that’s normal. Better soft than overdone, in my humble opinion.)
-
10Whip up the icing: While they’re still warm, mix up powdered sugar, lime juice, and butter into a zesty frosting. Slather over the rolls once they’re out—don’t wait for them to be cold, the icing melts in and it’s glorious.
Approximate Information for One Serving
Nutrition Disclaimers
Number of total servings shown is approximate. Actual number of servings will depend on your preferred portion sizes.
Nutritional values shown are general guidelines and reflect information for 1 serving using the ingredients listed, not including any optional ingredients. Actual macros may vary slightly depending on specific brands and types of ingredients used.
To determine the weight of one serving, prepare the recipe as instructed. Weigh the finished recipe, then divide the weight of the finished recipe (not including the weight of the container the food is in) by the desired number of servings. Result will be the weight of one serving.
Did you make this recipe?
Please consider Pinning it!