pure vanilla cookie
So, Here’s the Story of My Pure Vanilla Cookie Obsession
Look, if you’re anything like me, sometimes you bake cookies because it’s a grey Tuesday and you need a little sunshine you can eat. Pure vanilla cookies are my comfort zone — my sister calls them “boring” (rude), but she always takes the most from the cooling rack. The first time I made these, I was in charge of dessert for a block party, and I totally forgot to buy chocolate chips… which, as it turned out, was the best thing ever. I made a batch with just vanilla and butter, and my neighbor Barb (who’s a bit of a cookie snob) literally asked for the recipe. So here we are — just you, me, and the kind of soft, chewy cookie that makes you forget your WiFi isn’t working. Oh, and if you don’t eat one while they’re still a bit warm, I don’t know if we can be friends.
Why You’ll End Up Loving These (Even If You Think You Need Chocolate)
- I make these when I’m out of all the “fancy” mix-ins and just want the cookie part to sing. Honestly, the vanilla flavor shines right through — no distractions, no chocolate guilt (if that’s a thing?).
- My family goes crazy for these because they taste like childhood and snow days and whatever else nostalgia is made of. (Sometimes I add rainbow sprinkles just to watch my nephew lose his mind.)
- Truth: At least half the time, I “forget” to chill the dough. But the results are always pretty solid — except that one time in August when my kitchen was 95°F, so maybe try to keep things cool. Cookies shouldn’t melt before you bake them.
What You’ll Need (With a Few Friendly Substitutions)
- 1 cup (225g) unsalted butter, softened — I’ve used salted butter and skipped the salt, works fine if that’s all you’ve got
- 1 and 1/4 cups granulated sugar (brown sugar gives a slightly chewier bite; Grandma swore by half and half but I never listen)
- 1 tablespoon pure vanilla extract — I know, that sounds like a lot, but trust; sometimes I swap in vanilla bean paste if I’m feeling fancy or just want to show off
- 1 large egg (room temp, but who am I kidding, sometimes I use it straight form the fridge)
- 2 cups (250g) all-purpose flour — have used self raising in a pinch, but cut out the baking powder and salt if you do
- 1/2 teaspoon baking powder
- 1/4 teaspoon baking soda
- 1/4 teaspoon salt (skip if using salted butter)
Oh, and one of my friends once swapped out a quarter of the flour for almond flour and loved it, though I think it tastes a bit nutty (obviously).
Let’s Make Pure Vanilla Cookies (With a Little Wingin’ It)
- Preheat the oven to 350°F (175°C). Line a couple of baking sheets with parchment. Or, grease ’em if you’ve run out — I do it all the time.
- Beat the butter and sugar together in a big bowl until it looks pale and fluffy. This takes a good few minutes (sometimes I get bored and stop early, but you really do want it nice and creamy).
- Whisk in the vanilla and the egg. If it looks a bit curdled, don’t panic — it always evens out with the flour.
- In a separate bowl (or, honestly, I often just sift right over the wet mix to save dishes), stir or sift the flour, baking powder, baking soda, and salt together.
- Mix dry stuff into the wet stuff, slowly, until you have a soft dough that holds together. Sticky? Chill it for 20 minutes (or leave it while you make a cuppa; no one’s judging).
- Scoop out heaped tablespoons, roll into balls with your hands (sometimes they look a bit lumpy; totally fine), and space them out on your baking sheets. They spread a little but not too much.
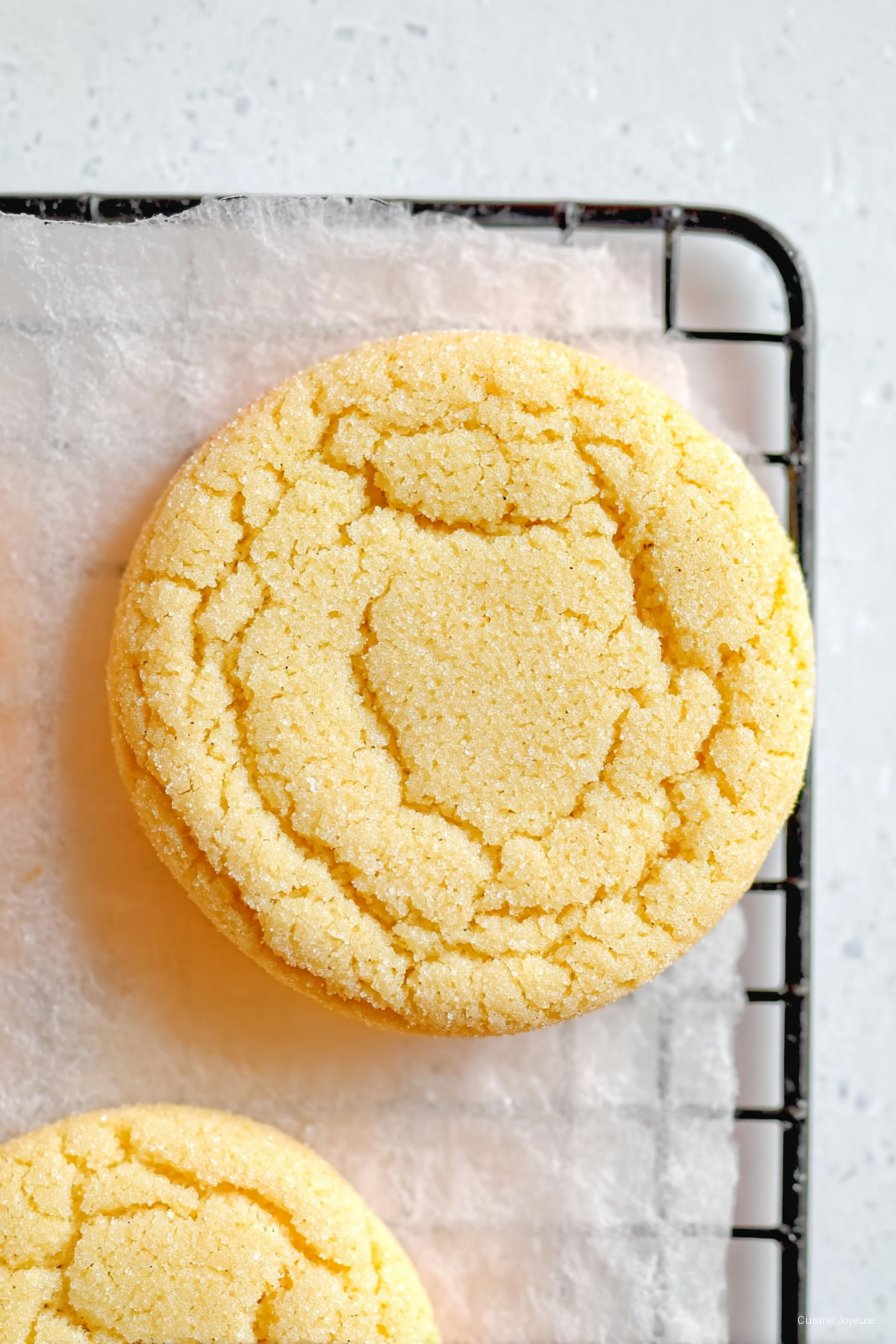
- Bake for 10 to 12 minutes — edges just turning barely golden, centers set but still a bit soft. This is where I usually sneak a taste straight off the tray and burn my mouth, because patience is not my thing.
- Let them cool on the baking tray for at least 5 minutes, then move to a rack (if you have one) so they don’t get soggy bottoms. Though, sometimes I just leave them, because who has time for racks?
Notes: The Mess-Ups I’ve Made So You Don’t Have To
- If you overbake even by a couple minutes, they’ll crisp up like your gran’s old biscuits — which isn’t a crime, but definitely different. I like mine soft in the middle.
- Once tried doubling the vanilla, and it was like eating perfume. Stick with my measurements for now.
- I think they taste even better the next day (if you manage to hide a few).
Variations I’ve Tried (Some Winners, Some “Meh”)
- Rainbow sprinkles on top for birthdays — kids go wild.
- Swapped half the vanilla for lemon zest once: actually, I find it works better if you just add a little zest rather than swapping, but up to you.
- I tried plopping in white choc chips: didn’t love it (too sweet, oddly enough), but maybe someone in your household digs that sort of thing.
Kitchen Gear (And What To Do If You’re Missing Stuff)
- Mixer: Stand or electric hand — or elbow grease if you’re up for an arm workout. I did it with a fork once when my mixer died; not ideal, but hey, cookies were made.
- Baking trays & parchment: If you don’t have parchment, grease your tray well and hope for the best (usually works!)
- Cooling rack: Only if you happen to have one — otherwise, a big chopping board will do.
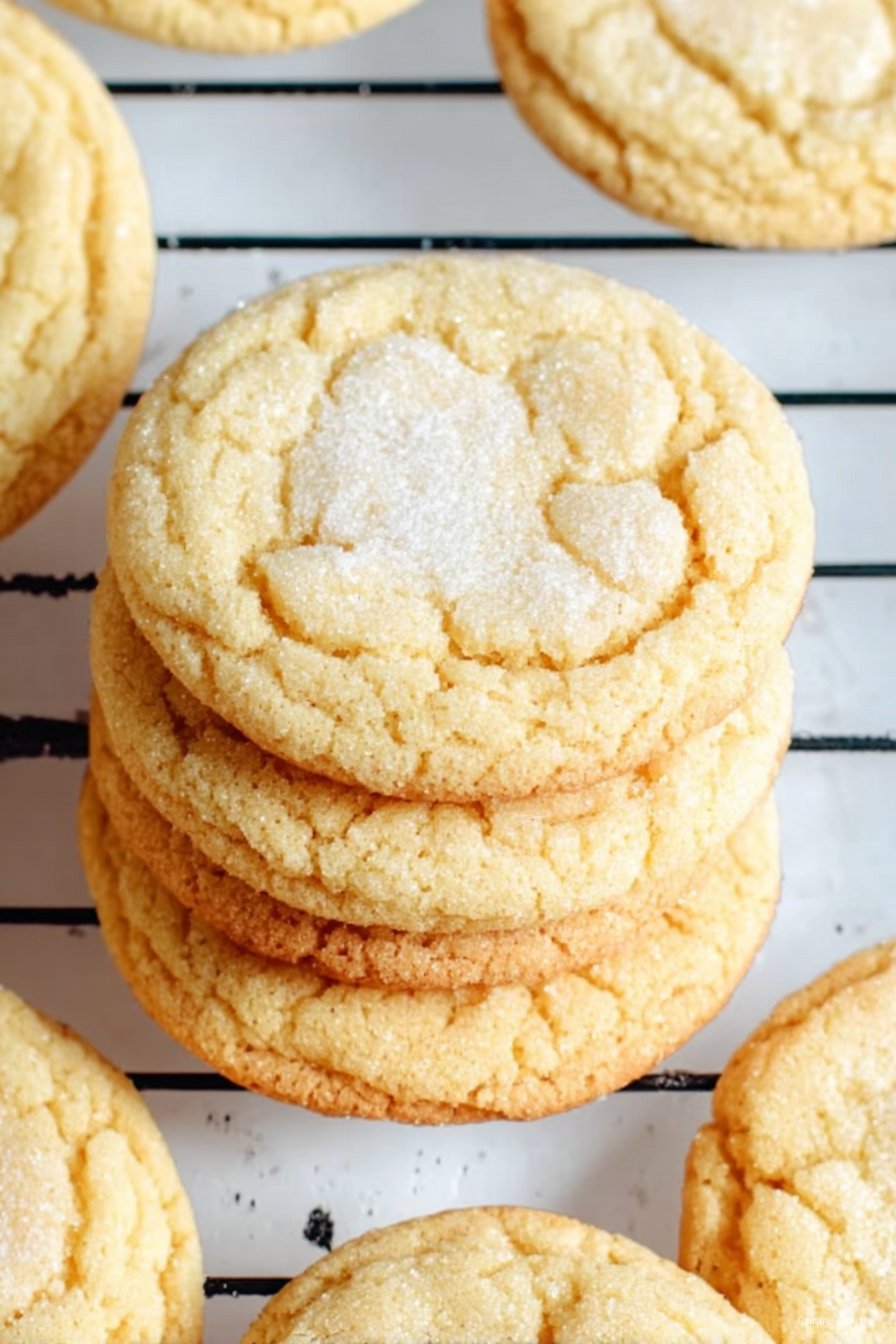
How To Store These (Though Good Luck Needing This Advice)
Pop them in an airtight container at room temp. They technically last up to four days. Though honestly, in my house, I’m lucky if there’s a single cookie left on day two — and that’s usually because someone forgot the container in the microwave.
How I Like To Serve ‘Em (Yes, Even For Breakfast)
Okay, confession: I love these with a mug of Yorkshire tea, especially if I can sneak out to the back porch on a chilly morning. My brother crumbles them over ice cream (bit mad, but good). For actual parties, I sometimes dust them with a little powdered sugar for that “just snowed” look — score one for fake fancy.
If I Had To Offer an Actual Pro Tip
I once tried to rush the creaming step (was running late, story of my life) and ended up with flat, greasy cookies that tasted fine but looked, well, tragic. Don’t skimp on that part, even if your arm gets tired or the kids are staring you down for samples.
Pure Vanilla Cookie FAQs – For Real Questions I’ve Been Asked
- Is real vanilla extract totally necessary? I mean, in a perfect world, yes. But the fake stuff will still give you a cookie. It just won’t have that warm, almost floral thing going on (& honestly, sometimes budget says “use what ya got”!). If you want to splurge, I like King Arthur‘s.
- Can I freeze them? Absolutely — either baked or as dough balls. Just add an extra minute to bake from frozen, if you can wait that long. Here’s a super helpful post from Sally’s Baking Addiction about freezing cookie dough, actually.
- Why did mine spread too much? Could be butter too warm (been there), dough too warm, or maybe just a heavy hand with the vanilla. Try chilling or using the fridge-cold egg next time, and don’t overdo the mixing at the end.
- Can I use margarine? You can, but… I’ve tried it and the flavor’s just not the same, sorry! Butter is worth it for these.
Okay, that’s probably more than anyone ever wanted to know about pure vanilla cookies. But if you end up making these, send me a photo or tell me what you swapped — I love hearing about people’s cookie adventures, even if you do use margarine (no hard feelings!).
Oh, almost forgot — happy baking, friend. Save me one if you can (but I know you won’t — and that’s okay)!
Ingredients
- 1 cup unsalted butter, softened
- 1 cup granulated sugar
- 2 large eggs
- 2 teaspoons pure vanilla extract
- 2 1/2 cups all-purpose flour
- 1/2 teaspoon baking powder
- 1/4 teaspoon salt
- 1 tablespoon milk
Instructions
-
1Preheat oven to 350°F (175°C). Line two baking sheets with parchment paper.
-
2In a large bowl, cream together the butter and sugar until light and fluffy.
-
3Beat in the eggs one at a time, then add pure vanilla extract and milk.
-
4In a separate bowl, whisk together flour, baking powder, and salt.
-
5Gradually mix the dry ingredients into the wet mixture until a soft dough forms.
-
6Scoop rounded tablespoons of dough onto prepared baking sheets, spacing 2 inches apart. Bake for 10-12 minutes or until the edges are just golden. Cool on a wire rack.
Approximate Information for One Serving
Nutrition Disclaimers
Number of total servings shown is approximate. Actual number of servings will depend on your preferred portion sizes.
Nutritional values shown are general guidelines and reflect information for 1 serving using the ingredients listed, not including any optional ingredients. Actual macros may vary slightly depending on specific brands and types of ingredients used.
To determine the weight of one serving, prepare the recipe as instructed. Weigh the finished recipe, then divide the weight of the finished recipe (not including the weight of the container the food is in) by the desired number of servings. Result will be the weight of one serving.
Did you make this recipe?
Please consider Pinning it!!