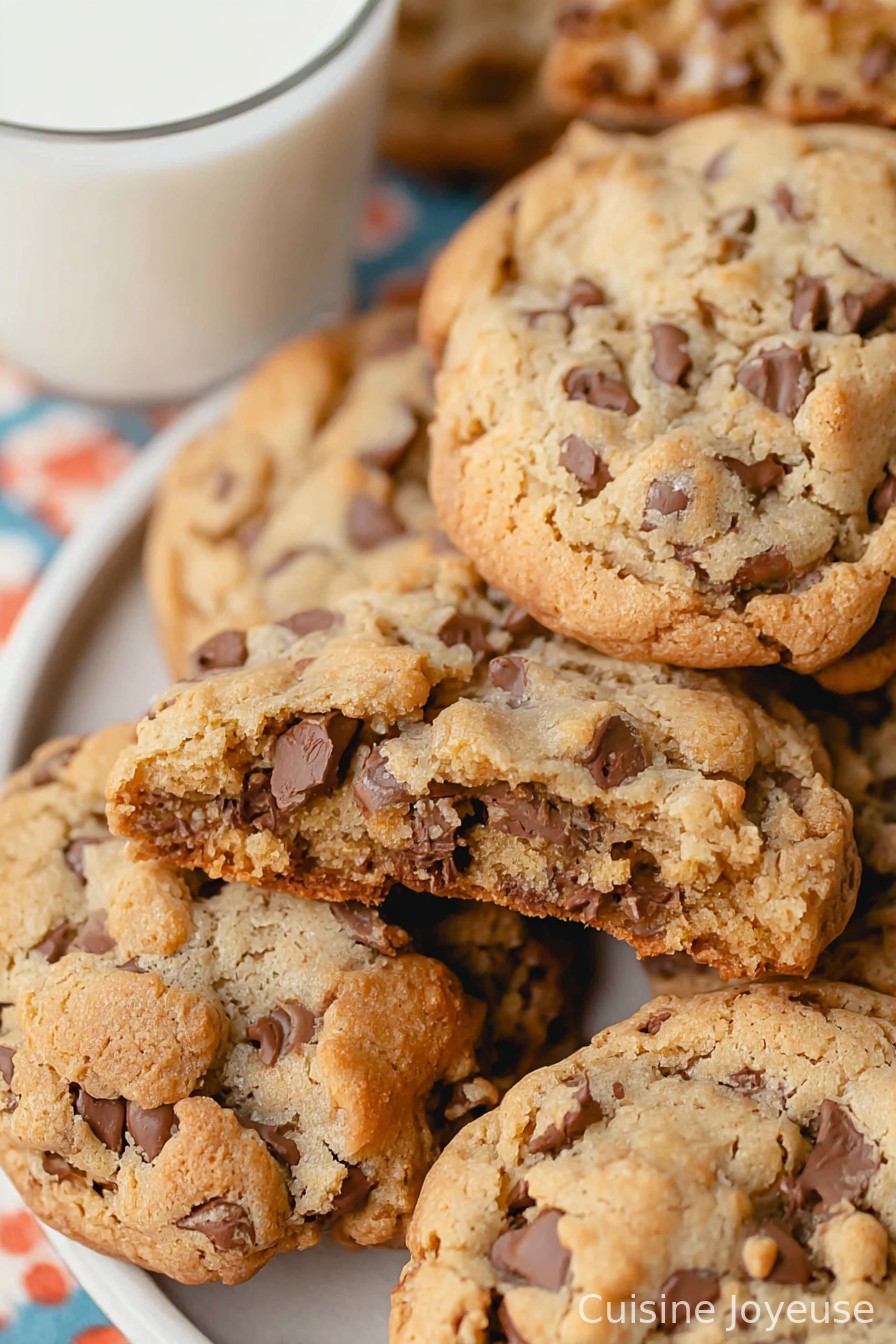
Crumbl Chocolate Chip Cookies Copycat Recipe
Alright, Here’s How I Ended Up Obsessing Over This Cookie
You ever have one of those days where you just need a ridiculously big, gooey, bakery-style cookie to, I dunno, cure existential dread or maybe just keep your family from bickering for five minutes? That’s pretty much how I stumbled upon making my own version of Crumbl’s chocolate chip cookie. The first time I ever tasted one in the actual shop (which, let’s be honest, was way too expensive for what is basically a monster-sized cookie), all I could think was, “Man, I can do this at home, probably cheaper, and—no offense, Crumbl—maybe just a smidge less over the top with the sugar.”
So, armed with very little patience and a strong desire for melted chocolate, I cobbled together this copycat recipe. The first few batches were… well, let’s just say the dog was delighted. But it’s friendly, low-drama, and just a lot of fun to bake (if you don’t mind getting buttery fingers and a kitchen that looks like a small flour tornado came through).
Why I Keep Making This (Even When I Need to Clean Up Afterwards)
I make this when my kids come barging in from soccer, covered in mud, demanding “the big cookies” (absolutely refusing anything store-bought, which—thanks, kids), or when I just want to impress friends without actually tackling something difficult. The dough comes together fast, especially if you’re not fussy about sifting flour or chilling the dough for hours—though it does help, but who’s got that kind of patience sometimes?
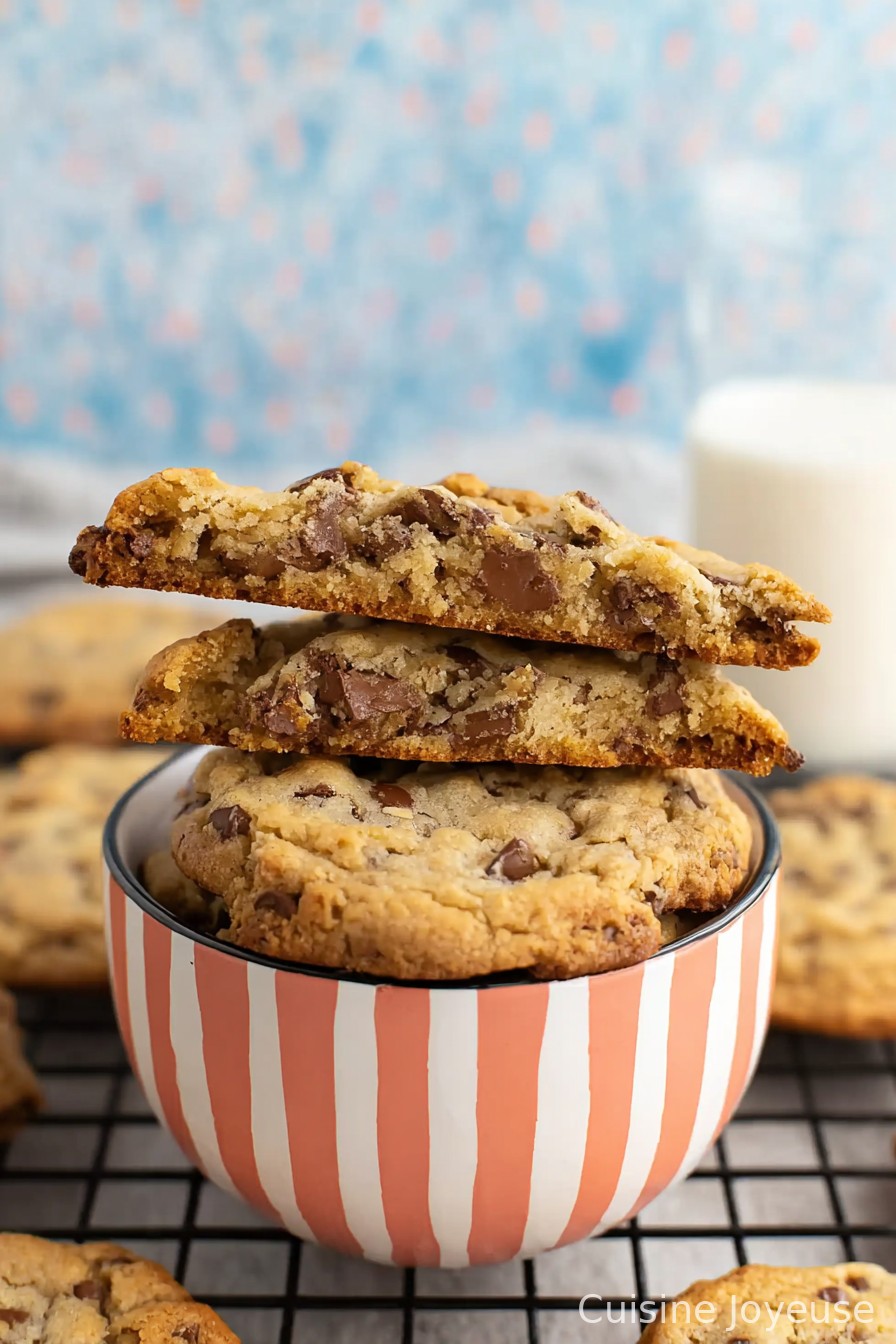
My family goes a little wild for these because they’re thick, soft, and way better than those thin, sad cookies you get in most packs (no offense, but, you know, truth hurts). No one complains if they’re a little underbaked inside; actually, that’s the best part, in my opinion. And for everyone who doesn’t love a giant pool of chocolate chips…well, you’re probably not reading this recipe, so I won’t worry about it!
So, What Do You Need? (With My Usual Substitutions)
- 1 cup (about 225g) unsalted butter, softened (Honestly, I’ve used salted and just skipped adding salt later. Tastes about the same.)
- 1 and 1/4 cup brown sugar, packed (light or dark—you pick. I seriously just grab whichever is in the cabinet.)
- 1/2 cup granulated sugar (Cane sugar works too. Once I used coconut sugar by accident and, weirdly, it was alright.)
- 2 large eggs (Room temp? Who remembers to do this? Just warm them up with your hands a bit.)
- 2 tsp vanilla extract (Imitation or real—I can never taste the difference once it’s baked, but don’t tell my grandma.)
- 3 cups all-purpose flour (Good old plain flour. My friend swears by bread flour for chewier cookies, but I can’t be bothered.)
- 1 tsp baking powder
- 1/2 tsp baking soda (& occasionally I accidentally swap these, still turns out okay, mostly!)
- 1/2 tsp salt
- 2 cups (about a big handful plus some extra) semi-sweet chocolate chips (If you only have milk chocolate, use those. Or mix both if you’re feeling wild.)
Let’s Make These Together (Warning: Arm Workout Ahead)
- Cream the butter and sugars. Toss the softened butter into a bowl. Grab a wooden spoon or a hand mixer (sometimes I’m lazy and let my mixer do all the work). Beat that with both sugars ’til it looks light and fluffy. This is where I usually taste it, even though, yeah, raw eggs later. It’s fine. I’m still kicking.
- Add eggs and vanilla. Plop in the eggs one at a time, mixing after each (I tend to get impatient and throw both in, never noticed a real difference). Stir in the vanilla—don’t measure it, just pour until it smells good!
- Toss in dry stuff. Flour, baking powder, baking soda, and salt all get dumped in together. Mix gently—unless you want flour in your eyebrows (which has, uh, definitely happened). Honestly, it looks a bit clumpy here, but keep going.
- Bring on the chocolate chips. Fold in chips by hand with a spatula (I always drop a bunch on the floor—bonus snack for the dog). The dough will be thick; you want it to hold its shape when scooped. If it’s too soft and gloopy, I just stick the whole bowl in the fridge for 30 minutes.
- Scoop & shape. Now, use a big cookie scoop (I use two spoons—messy but gets the job done), plop big heaps of dough onto a lined baking tray. Then, here’s my trick: I smush them just a tiny bit so they bake evenly but stay that glorious Crumbl thickness.
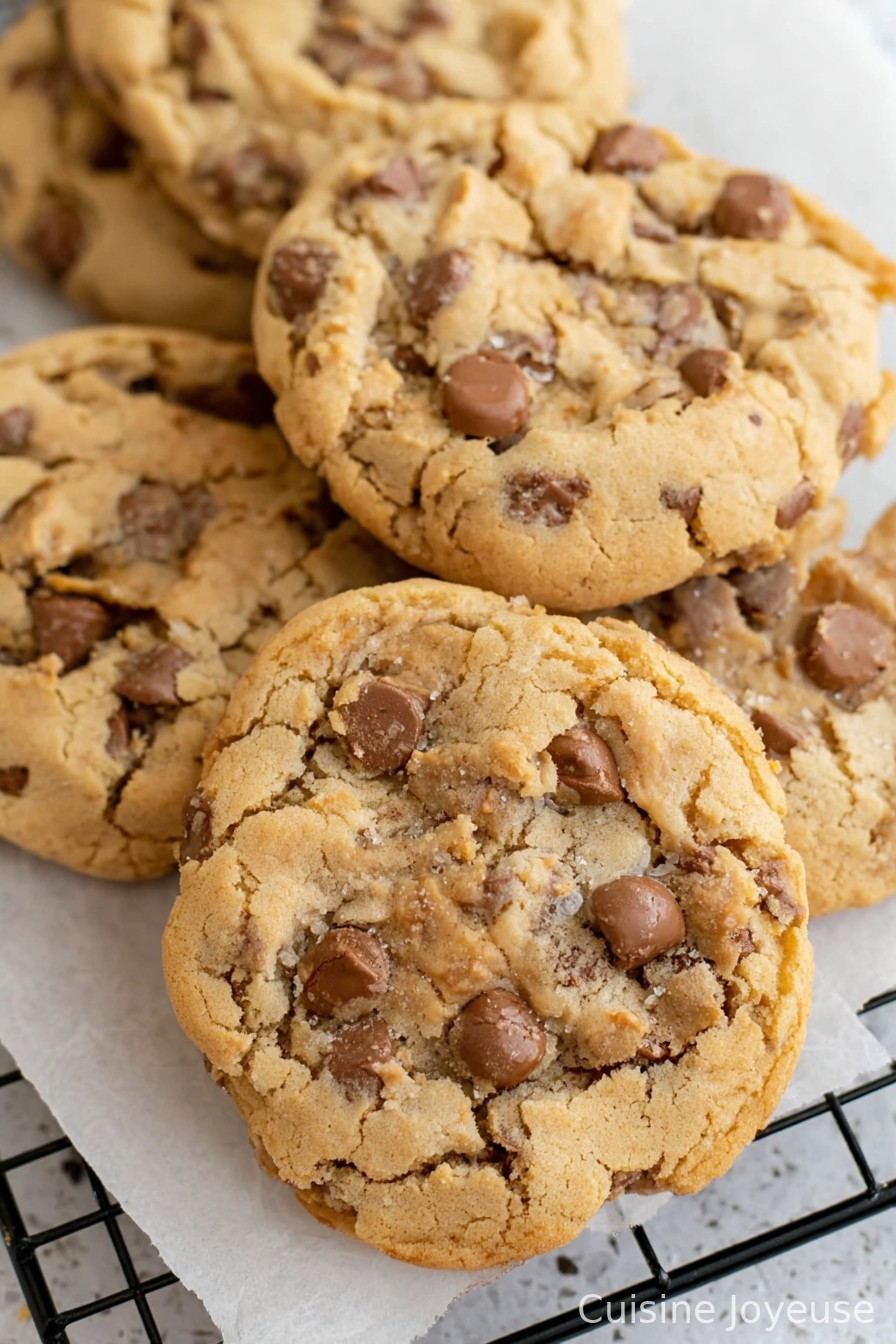
- Fire up the oven. Bake at 350°F (around 180°C) for 12-14 minutes. If your oven is temperamental like mine (seriously, should probably get it checked), watch closely after the 12-minute mark. You want just golden edges and soft, pale middles.
- Final move: Cool, but not for long. Let ’em sit for 10 mins on the tray—the middles keep cooking a bit. After that, eat one warm if your mouth can handle it, which mine usually can’t, but it never stops me.
What I Wish I’d Known (AKA Notes Form Trial & Error)
- If you use cold butter, the dough’s gonna be chunky and you’ll have to arm wrestle it into shape. Warm it up, trust me.
- I used to underbake them out of fear of dry cookies. Turns out, that’s the move—these taste better a little gooey.
- When I forget to chill the dough, they do spread more, but honestly? I kinda like ’em that way now and then.
Mixing It Up (Variations That Worked & One That Flopped)
- I’ve swapped a 1/2 cup oats in for that same amount of flour. Gives ’em a bit of a nutty bite—kid approved!
- Peanut butter chips instead of half the chocolate chips: works, though the cookies almost collapse under so much stuff.
- Once tried stuffing them with marshmallows. Uh, they all just leaked out and made a sticky mess. Would not recommend (unless you’re cleaning your oven soon?).
Equipment (And What To Do If You Don’t Have It)
- Big mixing bowl (I’ve used a soup pot in a pinch. Not even ashamed.)
- Hand mixer is great but a wooden spoon and elbow grease will do the trick
- Cookie scoop—handy but if you don’t have one, use two spoons or just grab lumps with your hands (messy but fun for the kids too)
- Baking sheet + parchment (foil works if that’s all you’ve got, just be prepared to scrub after)
Keeping Them Fresh (If You Even Need To)
Honestly, in my house these big cookies barely last the afternoon, but if you’re blessed with more self control, store them in an airtight container. They’re soft for about three days, though I think they taste even better the next day (if only because I actually get to eat one in peace). For longer, toss ’em in the freezer and just zap ’em in the microwave for 15 seconds when snack attack hits.
How I Like To Serve These (And My Slightly Odd Tradition)
Serve them still a little warm with a scoop of vanilla ice cream pressed in the middle—my kids call it “cookie sandwiches” and insist it was their genius idea (it wasn’t, but let’s let them have it). Sometimes I’ll sprinkle a touch of sea salt on top; really ups the fancy factor for zero effort.
If I Could Say One Thing: Pro Cookie Tips I Learned The Hard Way
- Don’t skip parchment, unless you like chiseling cookies off a tray—learned that the hard way.
- I once tried rushing the creaming step and ended up with weirdly flat cookies… so take five minutes to beat the butter and sugars up nicely.
- Overmixing once they’re together? Makes ’em tough. Stop as soon as the flour disappears. Trust me, you don’t want jaw workout cookies.
Cookie Q&A: Answers To Things Folks Have Actually Asked Me
- Can I make these ahead and bake later?
Absolutely! I usually scoop the dough, freeze it, and then just bake from frozen—add a couple minutes to the bake time. (Sometimes the frozen ones turn out prettier, oddly enough.) - I don’t have brown sugar—what now?
Mix white sugar with a glug of molasses if you have it; otherwise, just use white sugar. Cookies will be a bit paler, but flavor’s still great. - Why are my cookies spreading too much?
Probably your butter was too melty (or, on second thought, maybe your flour was a bit shy—no shame in tossing in a bit more if the dough looks droopy). Chill the dough if this happens. - Can I add nuts?
A handul of walnuts or pecans is awesome here. Except my youngest will sulk if there’s a nut in sight, so I usually skip or just do half the batch with. - How do I keep them chewy?
Don’t overbake! Pull the cookies when the centers still look a bit underdone. They’ll set as they cool—promise.
Oh, and if you ever get halfway through and realize you’re out of eggs—don’t panic. I once subbed in a mashed banana and the results weren’t…terrible? Just a tad banana-y, haha. Honestly, that’s how most of my kitchen adventures go; full of little chaos, but that’s half the fun. Happy baking, mate!
Ingredients
- 1 cup unsalted butter, softened
- 1 cup light brown sugar, packed
- 1/2 cup granulated sugar
- 2 large eggs
- 2 teaspoons vanilla extract
- 2 3/4 cups all-purpose flour
- 1 teaspoon baking soda
- 3/4 teaspoon salt
- 2 cups semi-sweet chocolate chips
Instructions
-
1Preheat oven to 350°F (175°C). Line two baking sheets with parchment paper.
-
2In a large bowl, cream together the butter, brown sugar, and granulated sugar until light and fluffy.
-
3Add eggs one at a time, beating well after each addition. Mix in vanilla extract.
-
4In a separate bowl, whisk together flour, baking soda, and salt. Gradually add dry ingredients to wet mixture, mixing until just combined.
-
5Fold in chocolate chips. Scoop large portions of dough onto prepared baking sheets, spacing several inches apart.
-
6Bake for 10-12 minutes or until edges are lightly golden and centers are set. Cool on the pan for 5 minutes before transferring to a wire rack.
Approximate Information for One Serving
Nutrition Disclaimers
Number of total servings shown is approximate. Actual number of servings will depend on your preferred portion sizes.
Nutritional values shown are general guidelines and reflect information for 1 serving using the ingredients listed, not including any optional ingredients. Actual macros may vary slightly depending on specific brands and types of ingredients used.
To determine the weight of one serving, prepare the recipe as instructed. Weigh the finished recipe, then divide the weight of the finished recipe (not including the weight of the container the food is in) by the desired number of servings. Result will be the weight of one serving.
Did you make this recipe?
Please consider Pinning it!!